The next parcel subscription arrived today (Thursday 19th October).
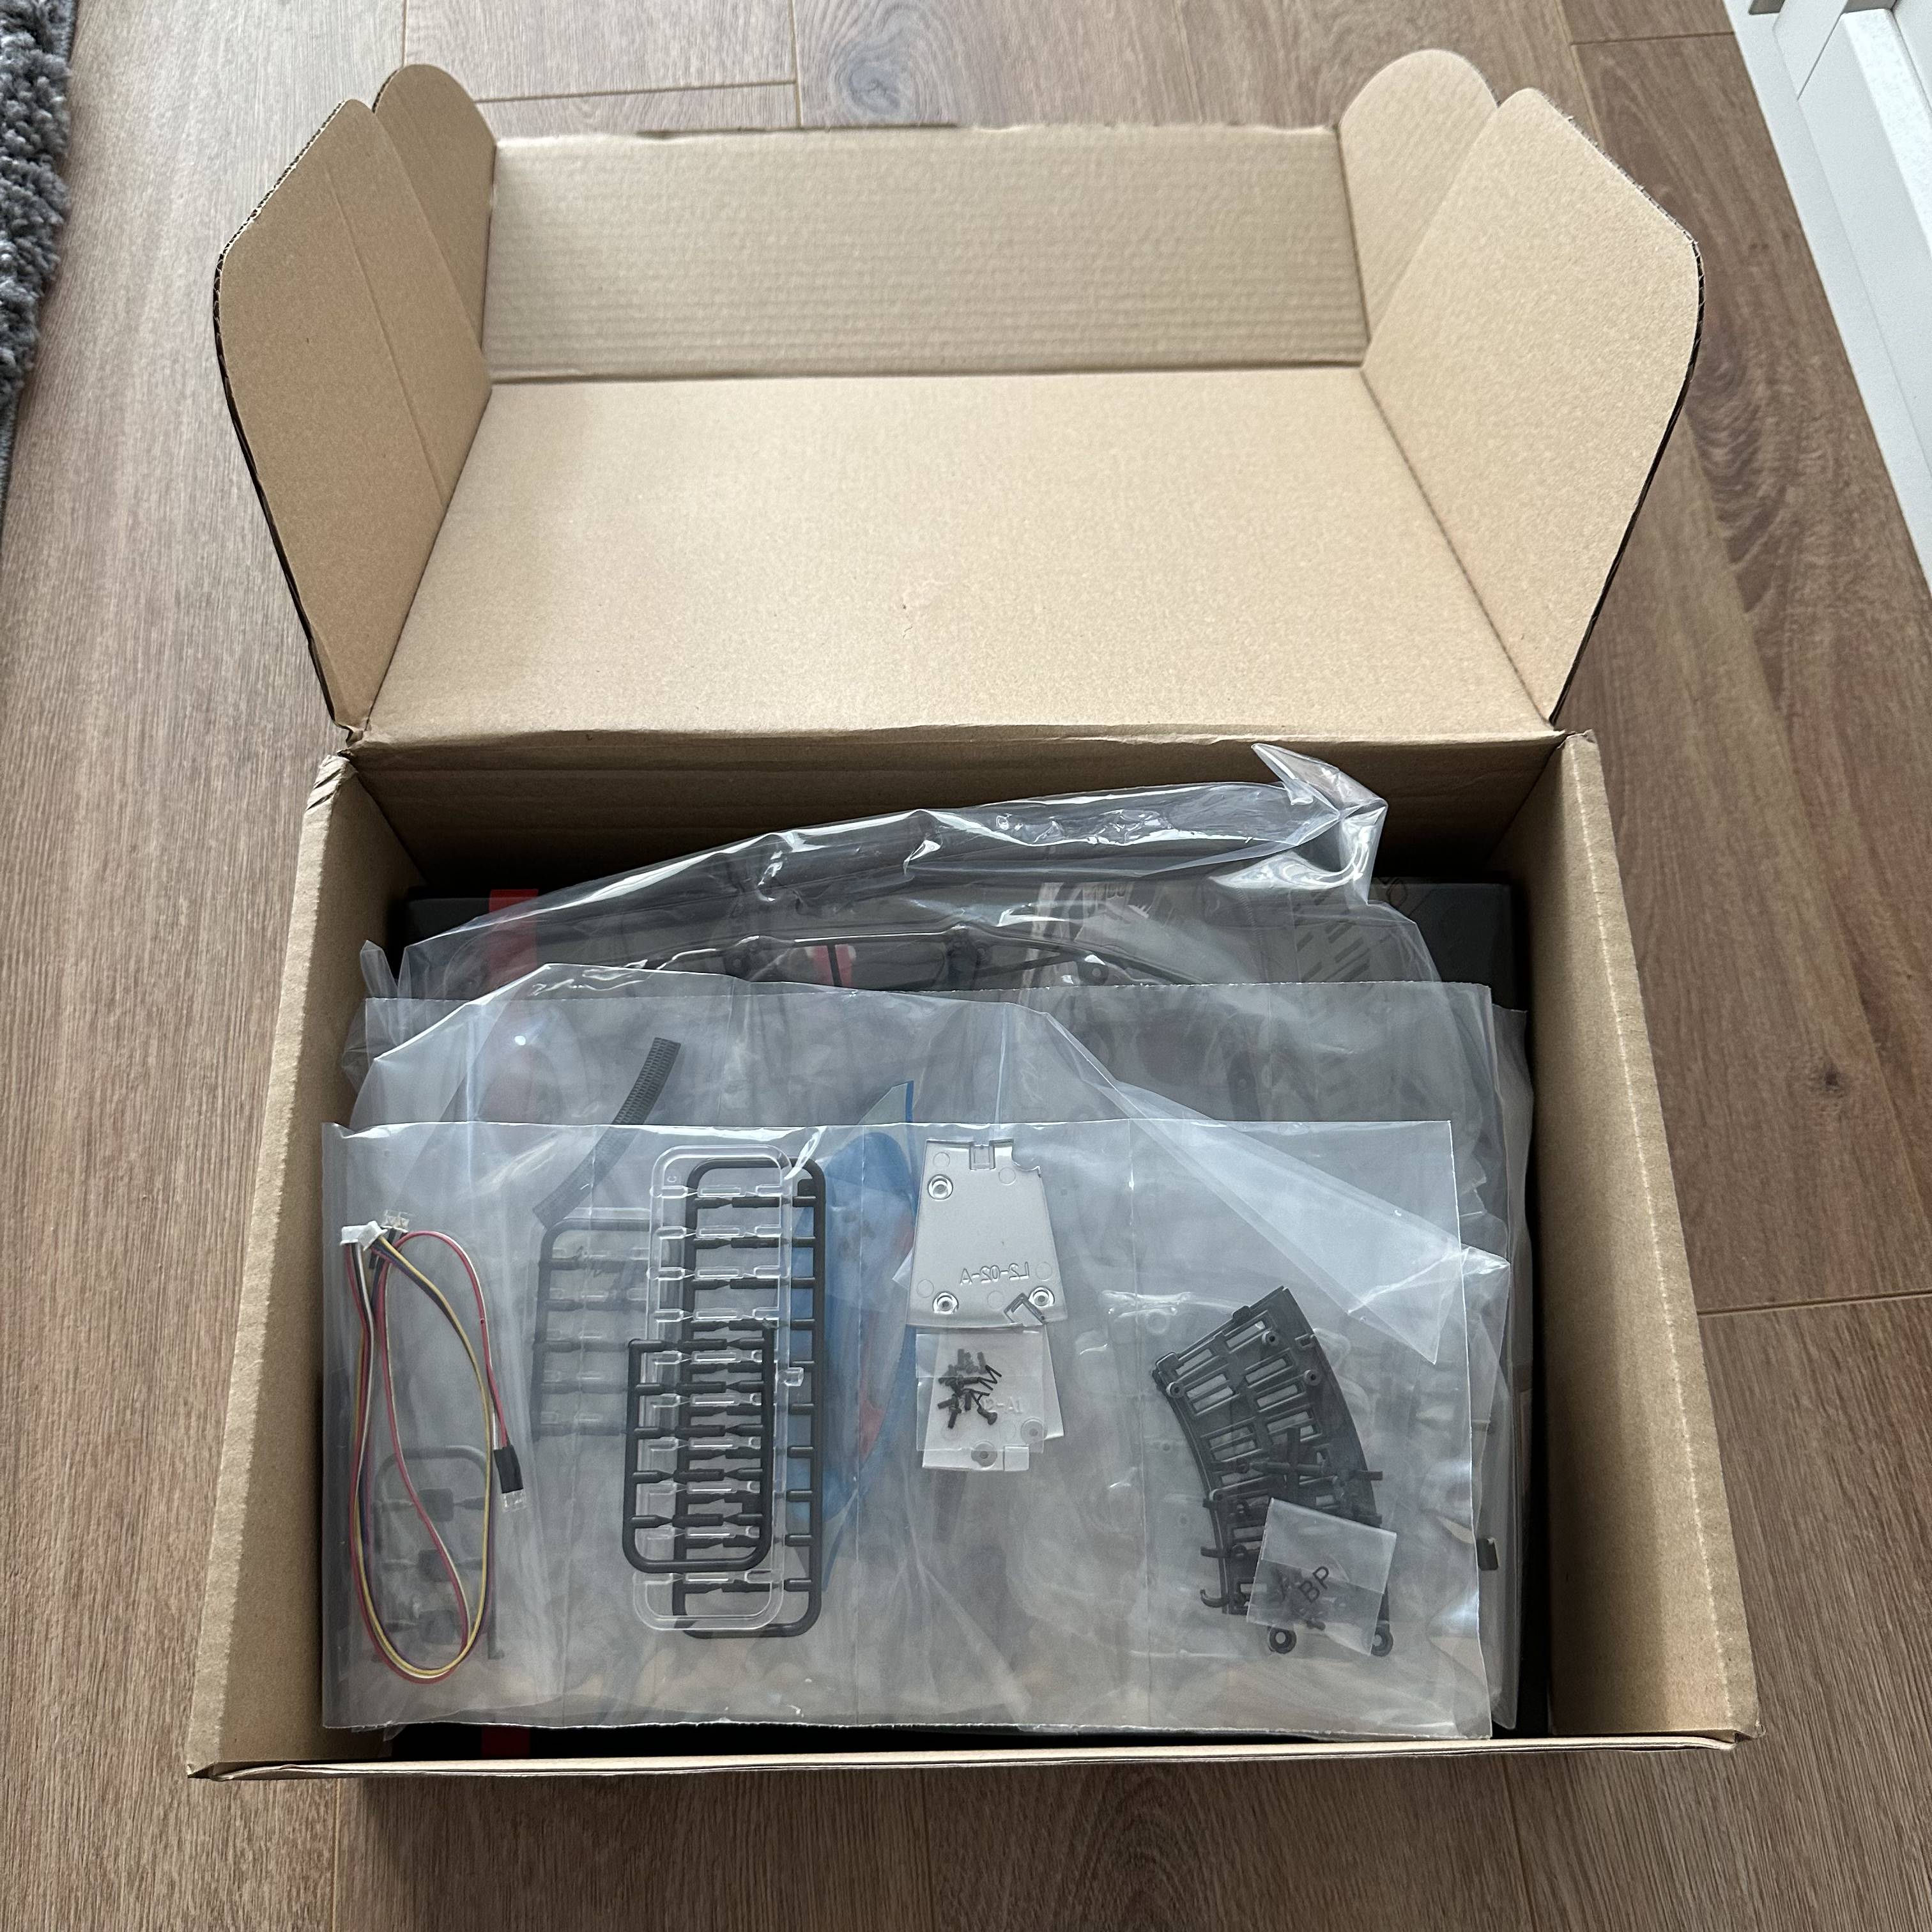
What was in the box:
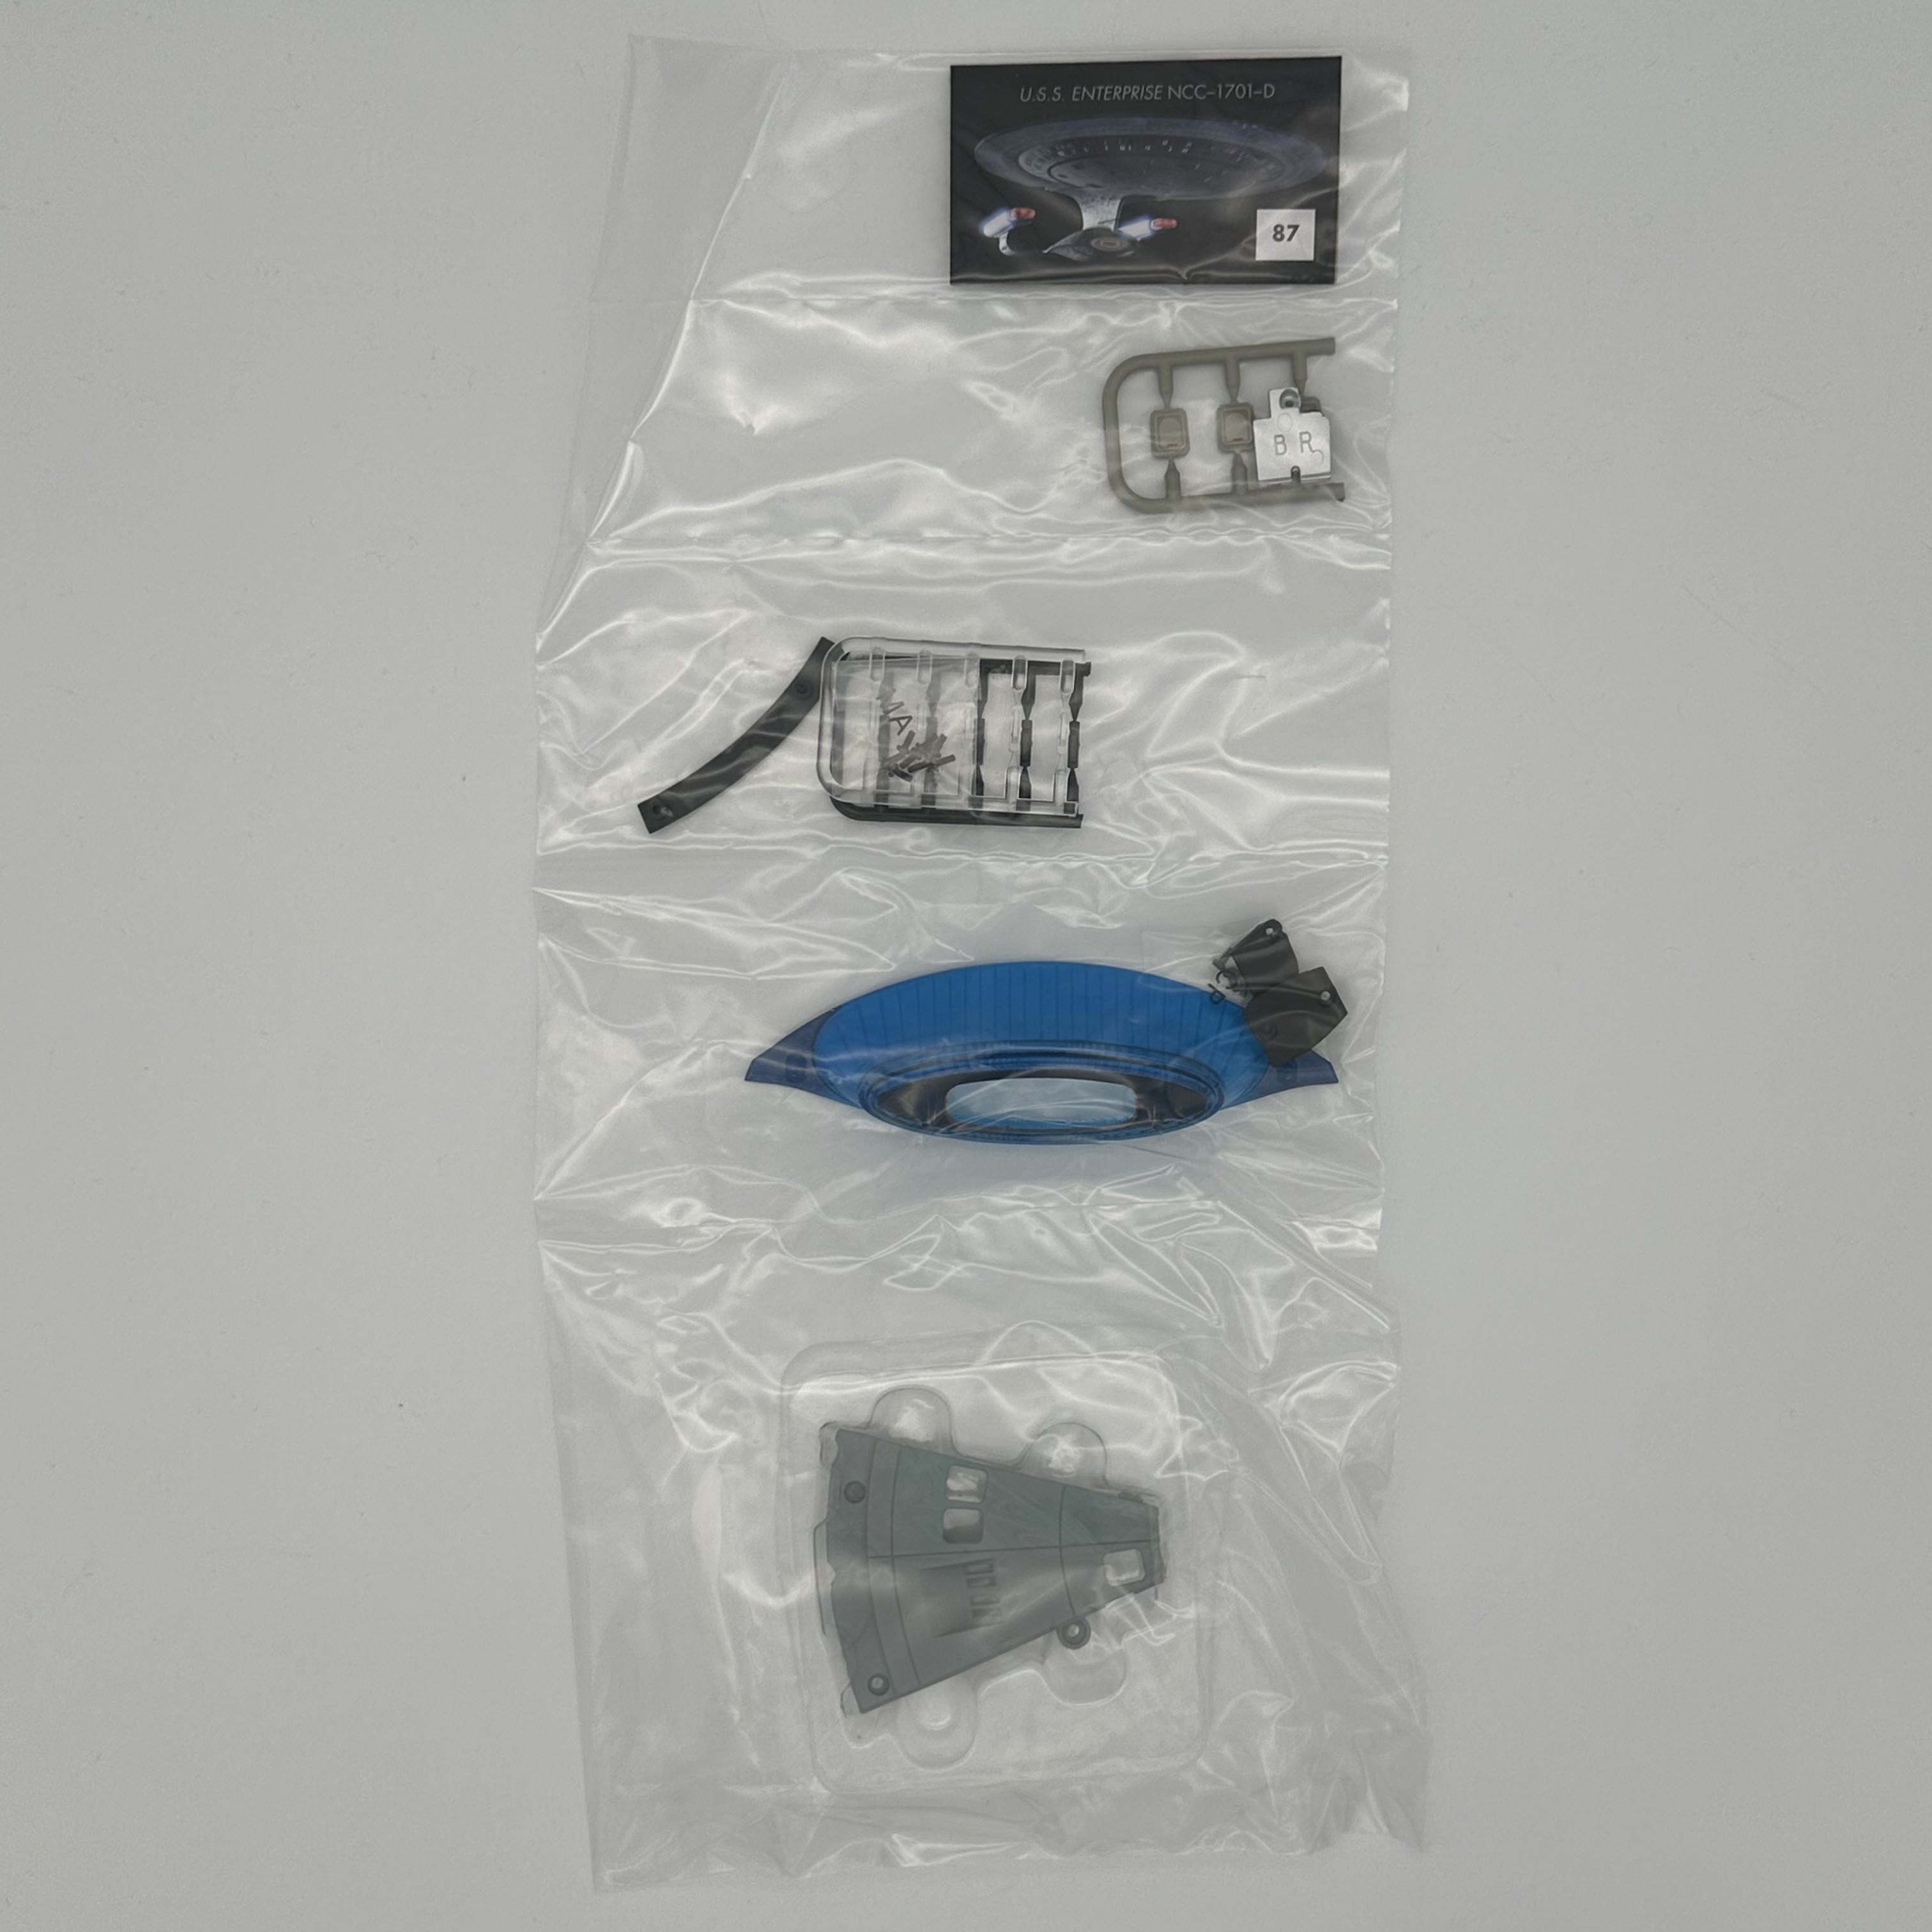

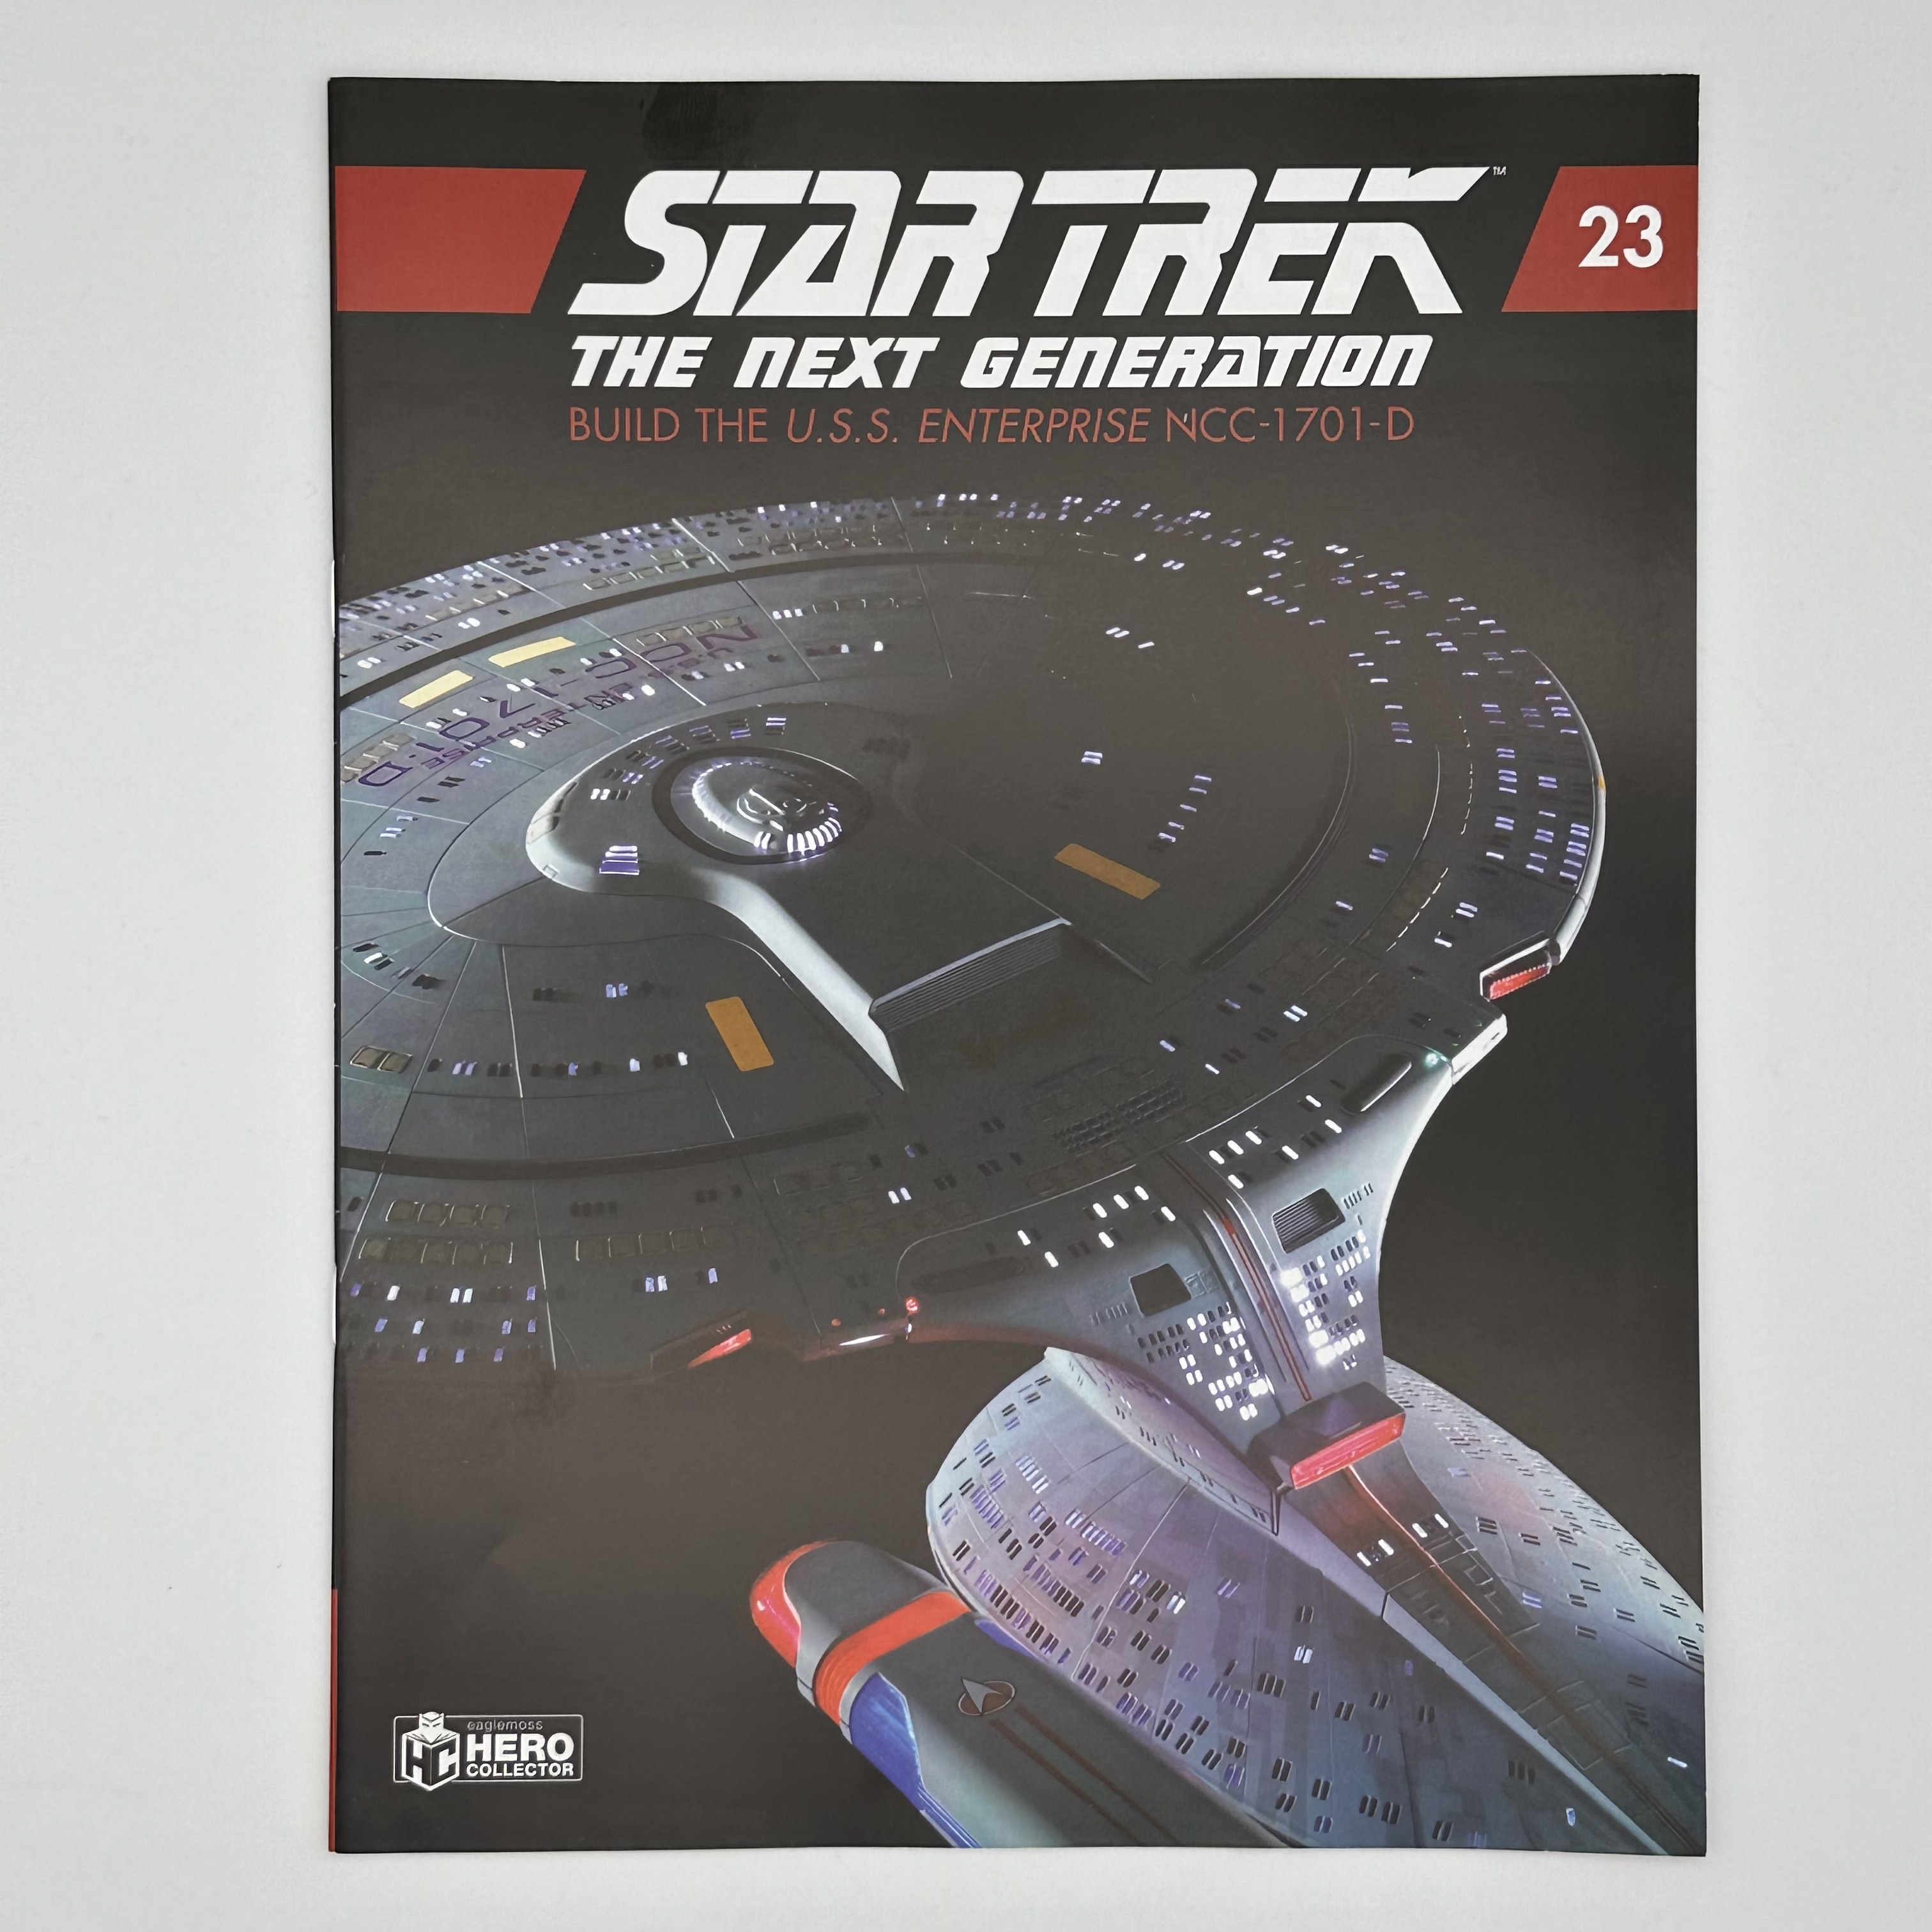
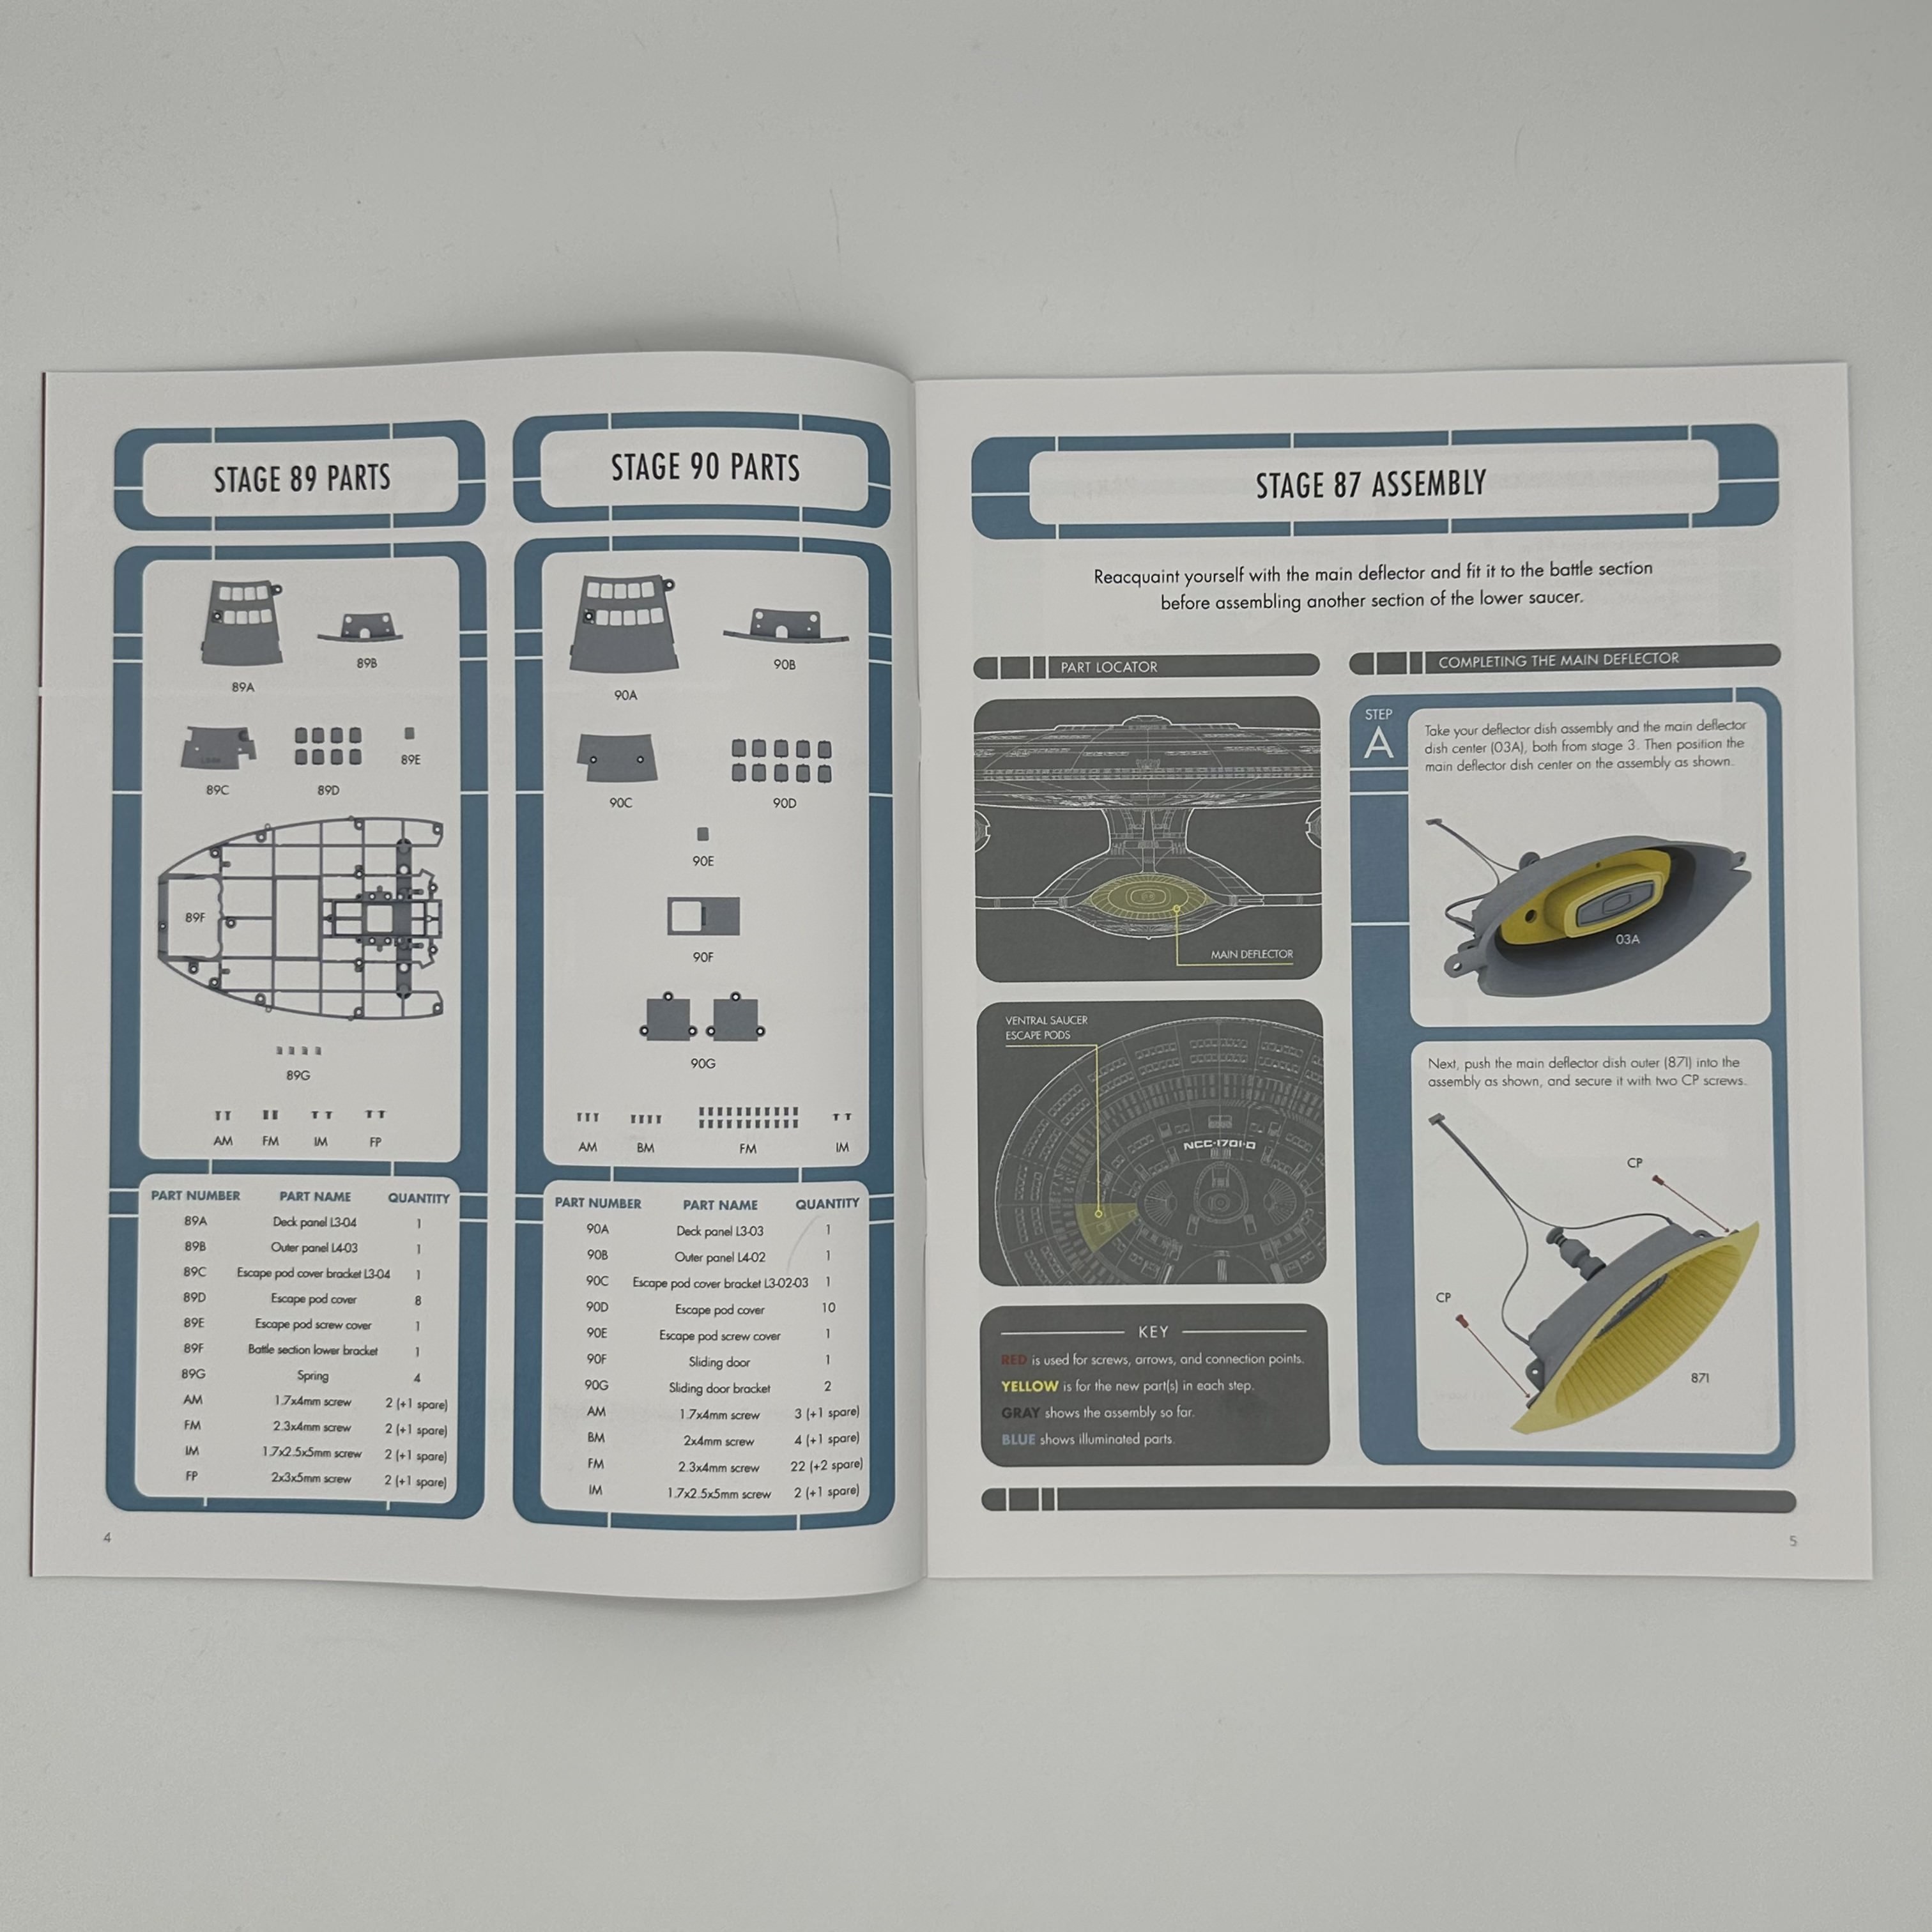
Issue 23 magazine has all the instructions to build kits 87 to 90. The episode guide continues in this issue with the following:
- New Ground
- Hero Worship
- Violations
- The Masterpiece Society
- Conundrum
- Power Play
- Ethics

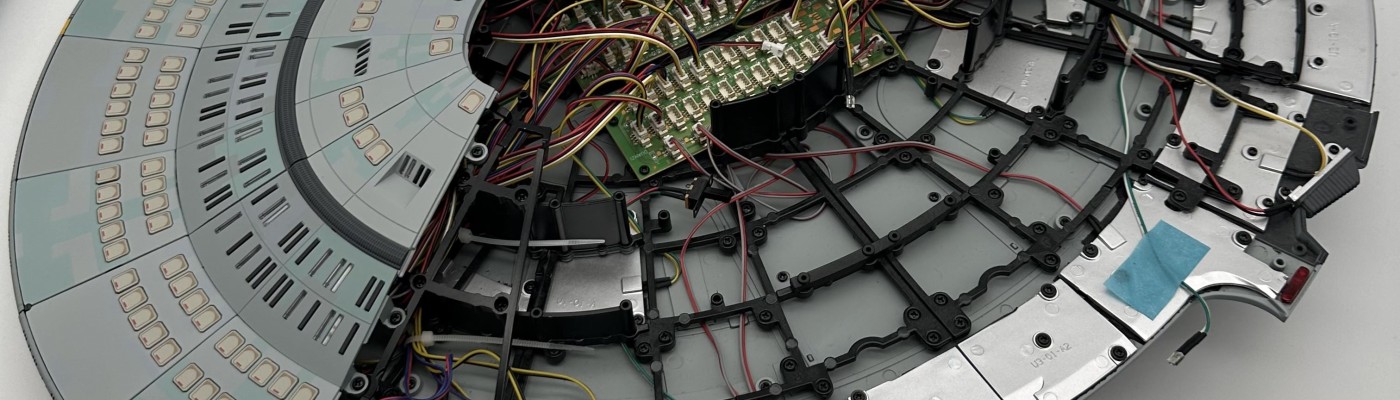
In the last post, I built kits 83-86, adding more deck panels to the lower saucer and assembling the main battle section.
Kit no.87 completes the main deflector and adds more deck panels to the lower saucer.
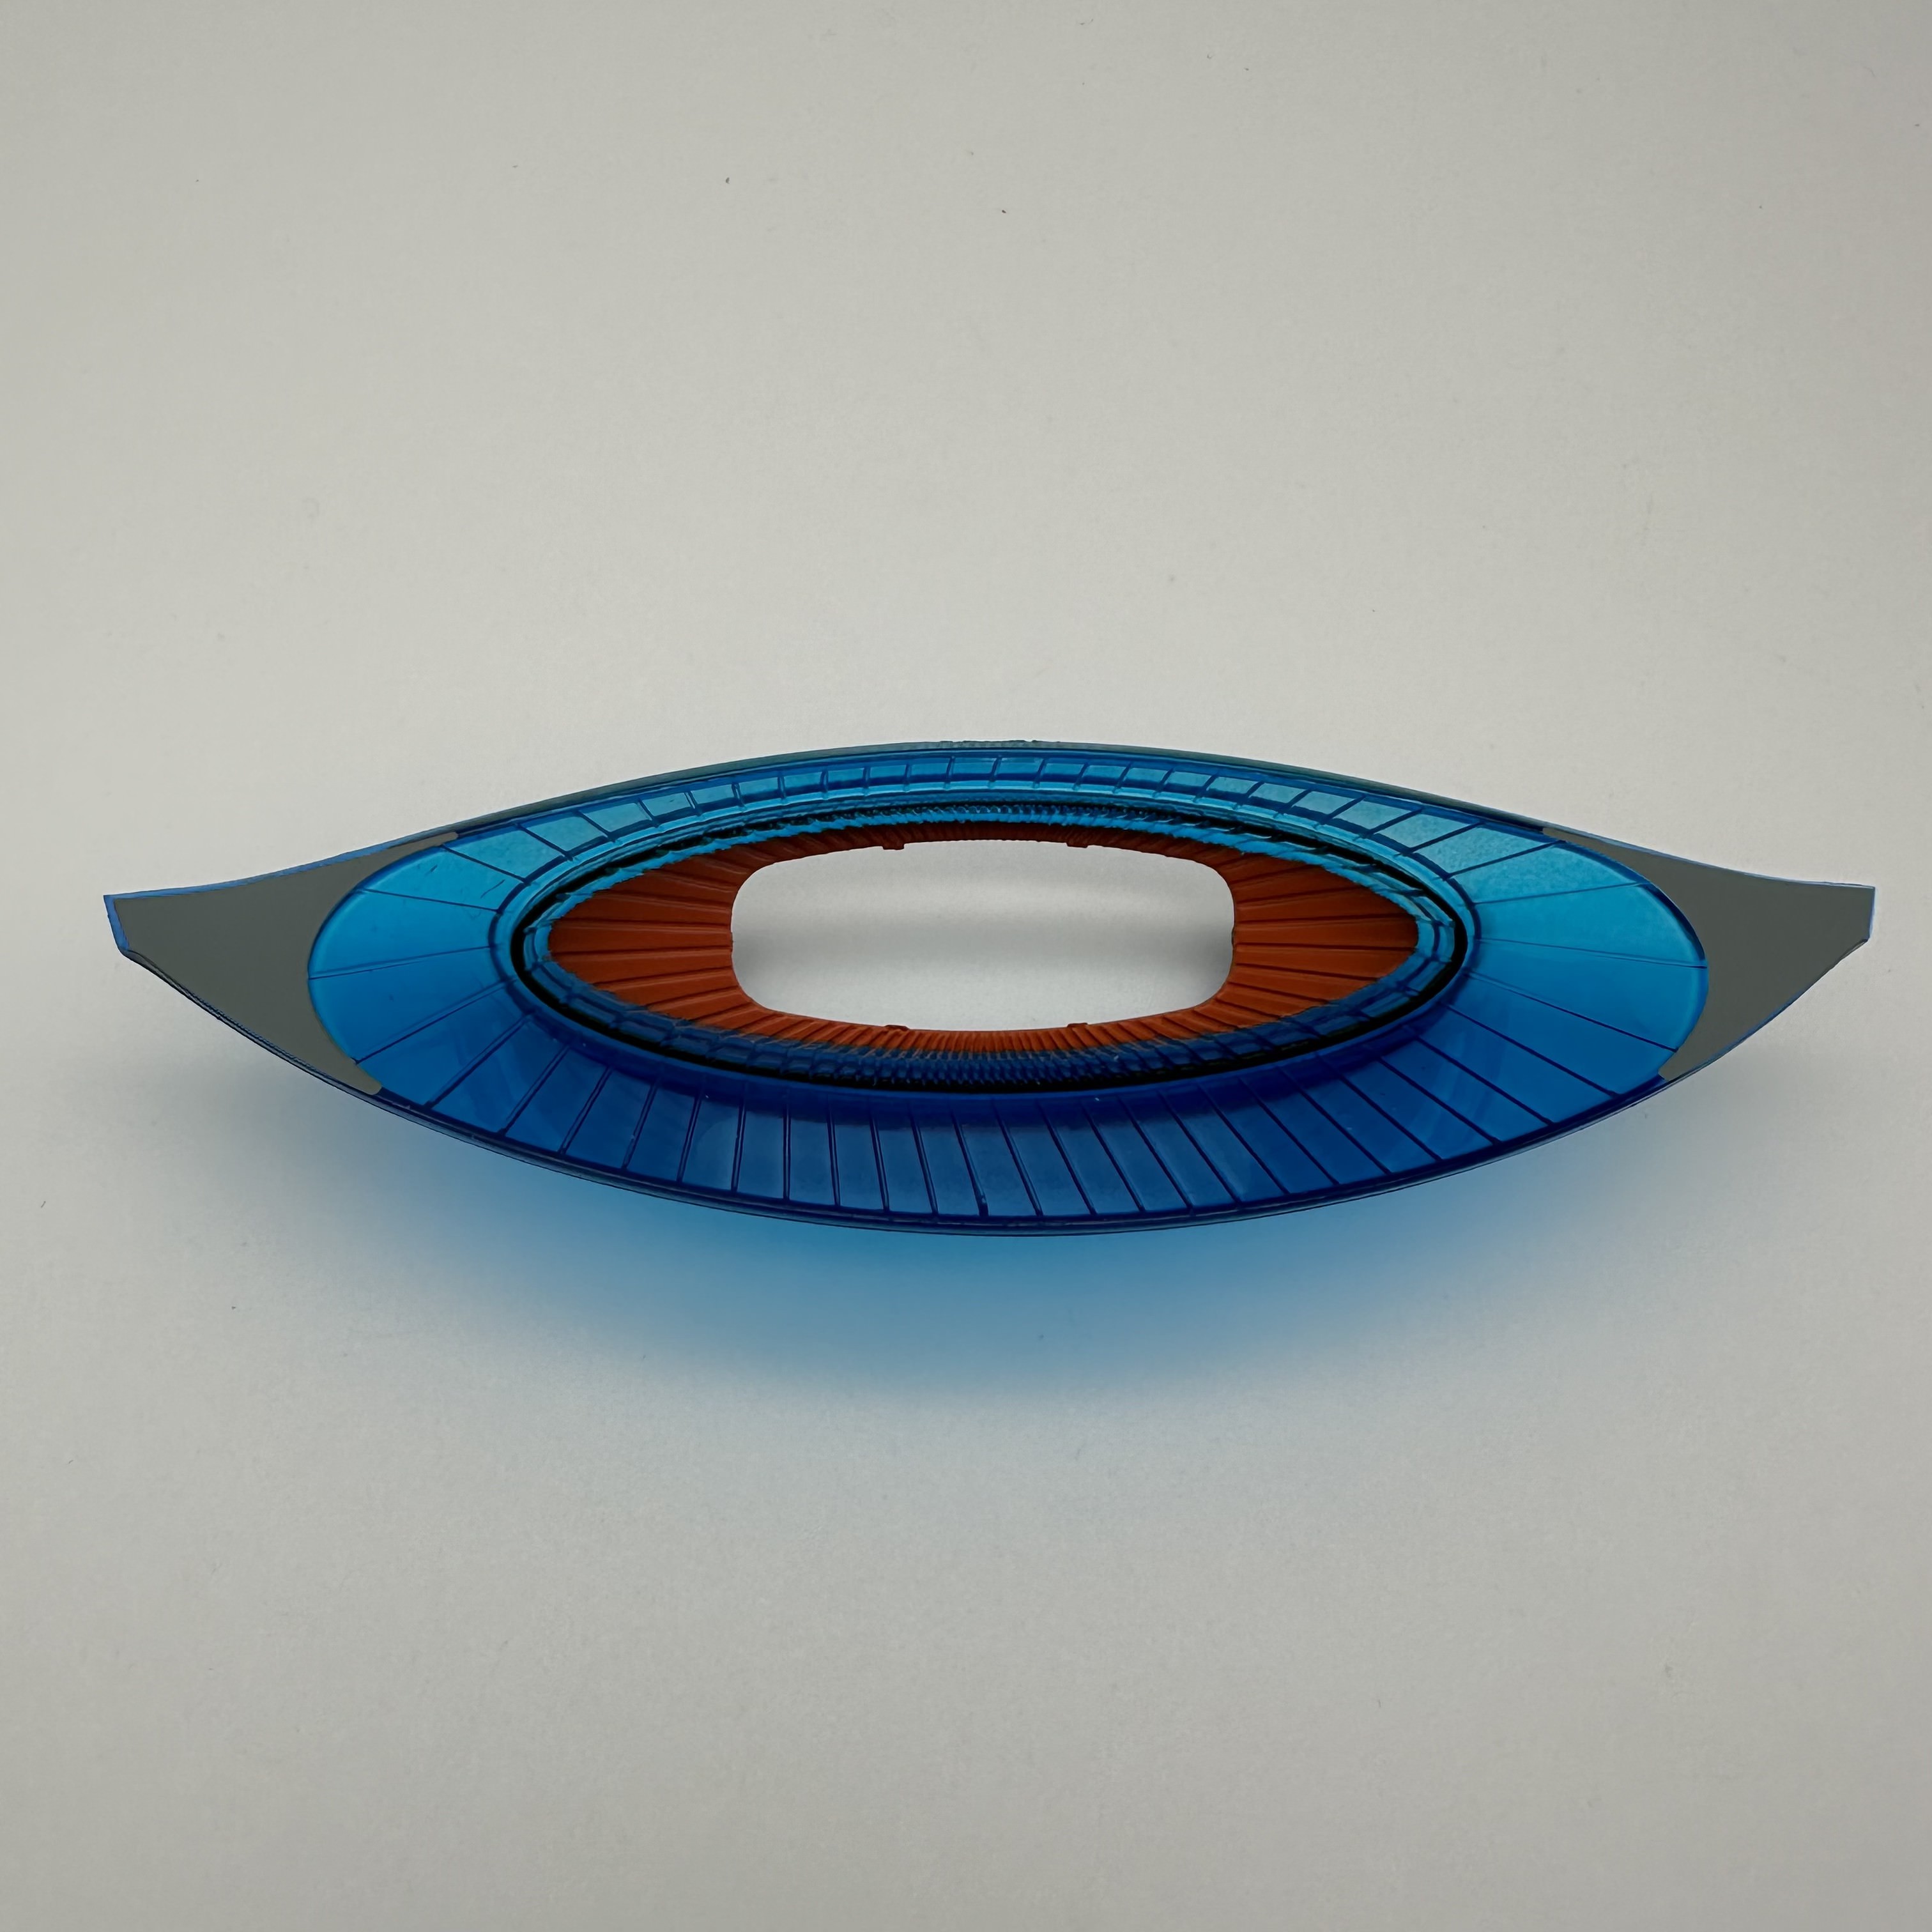
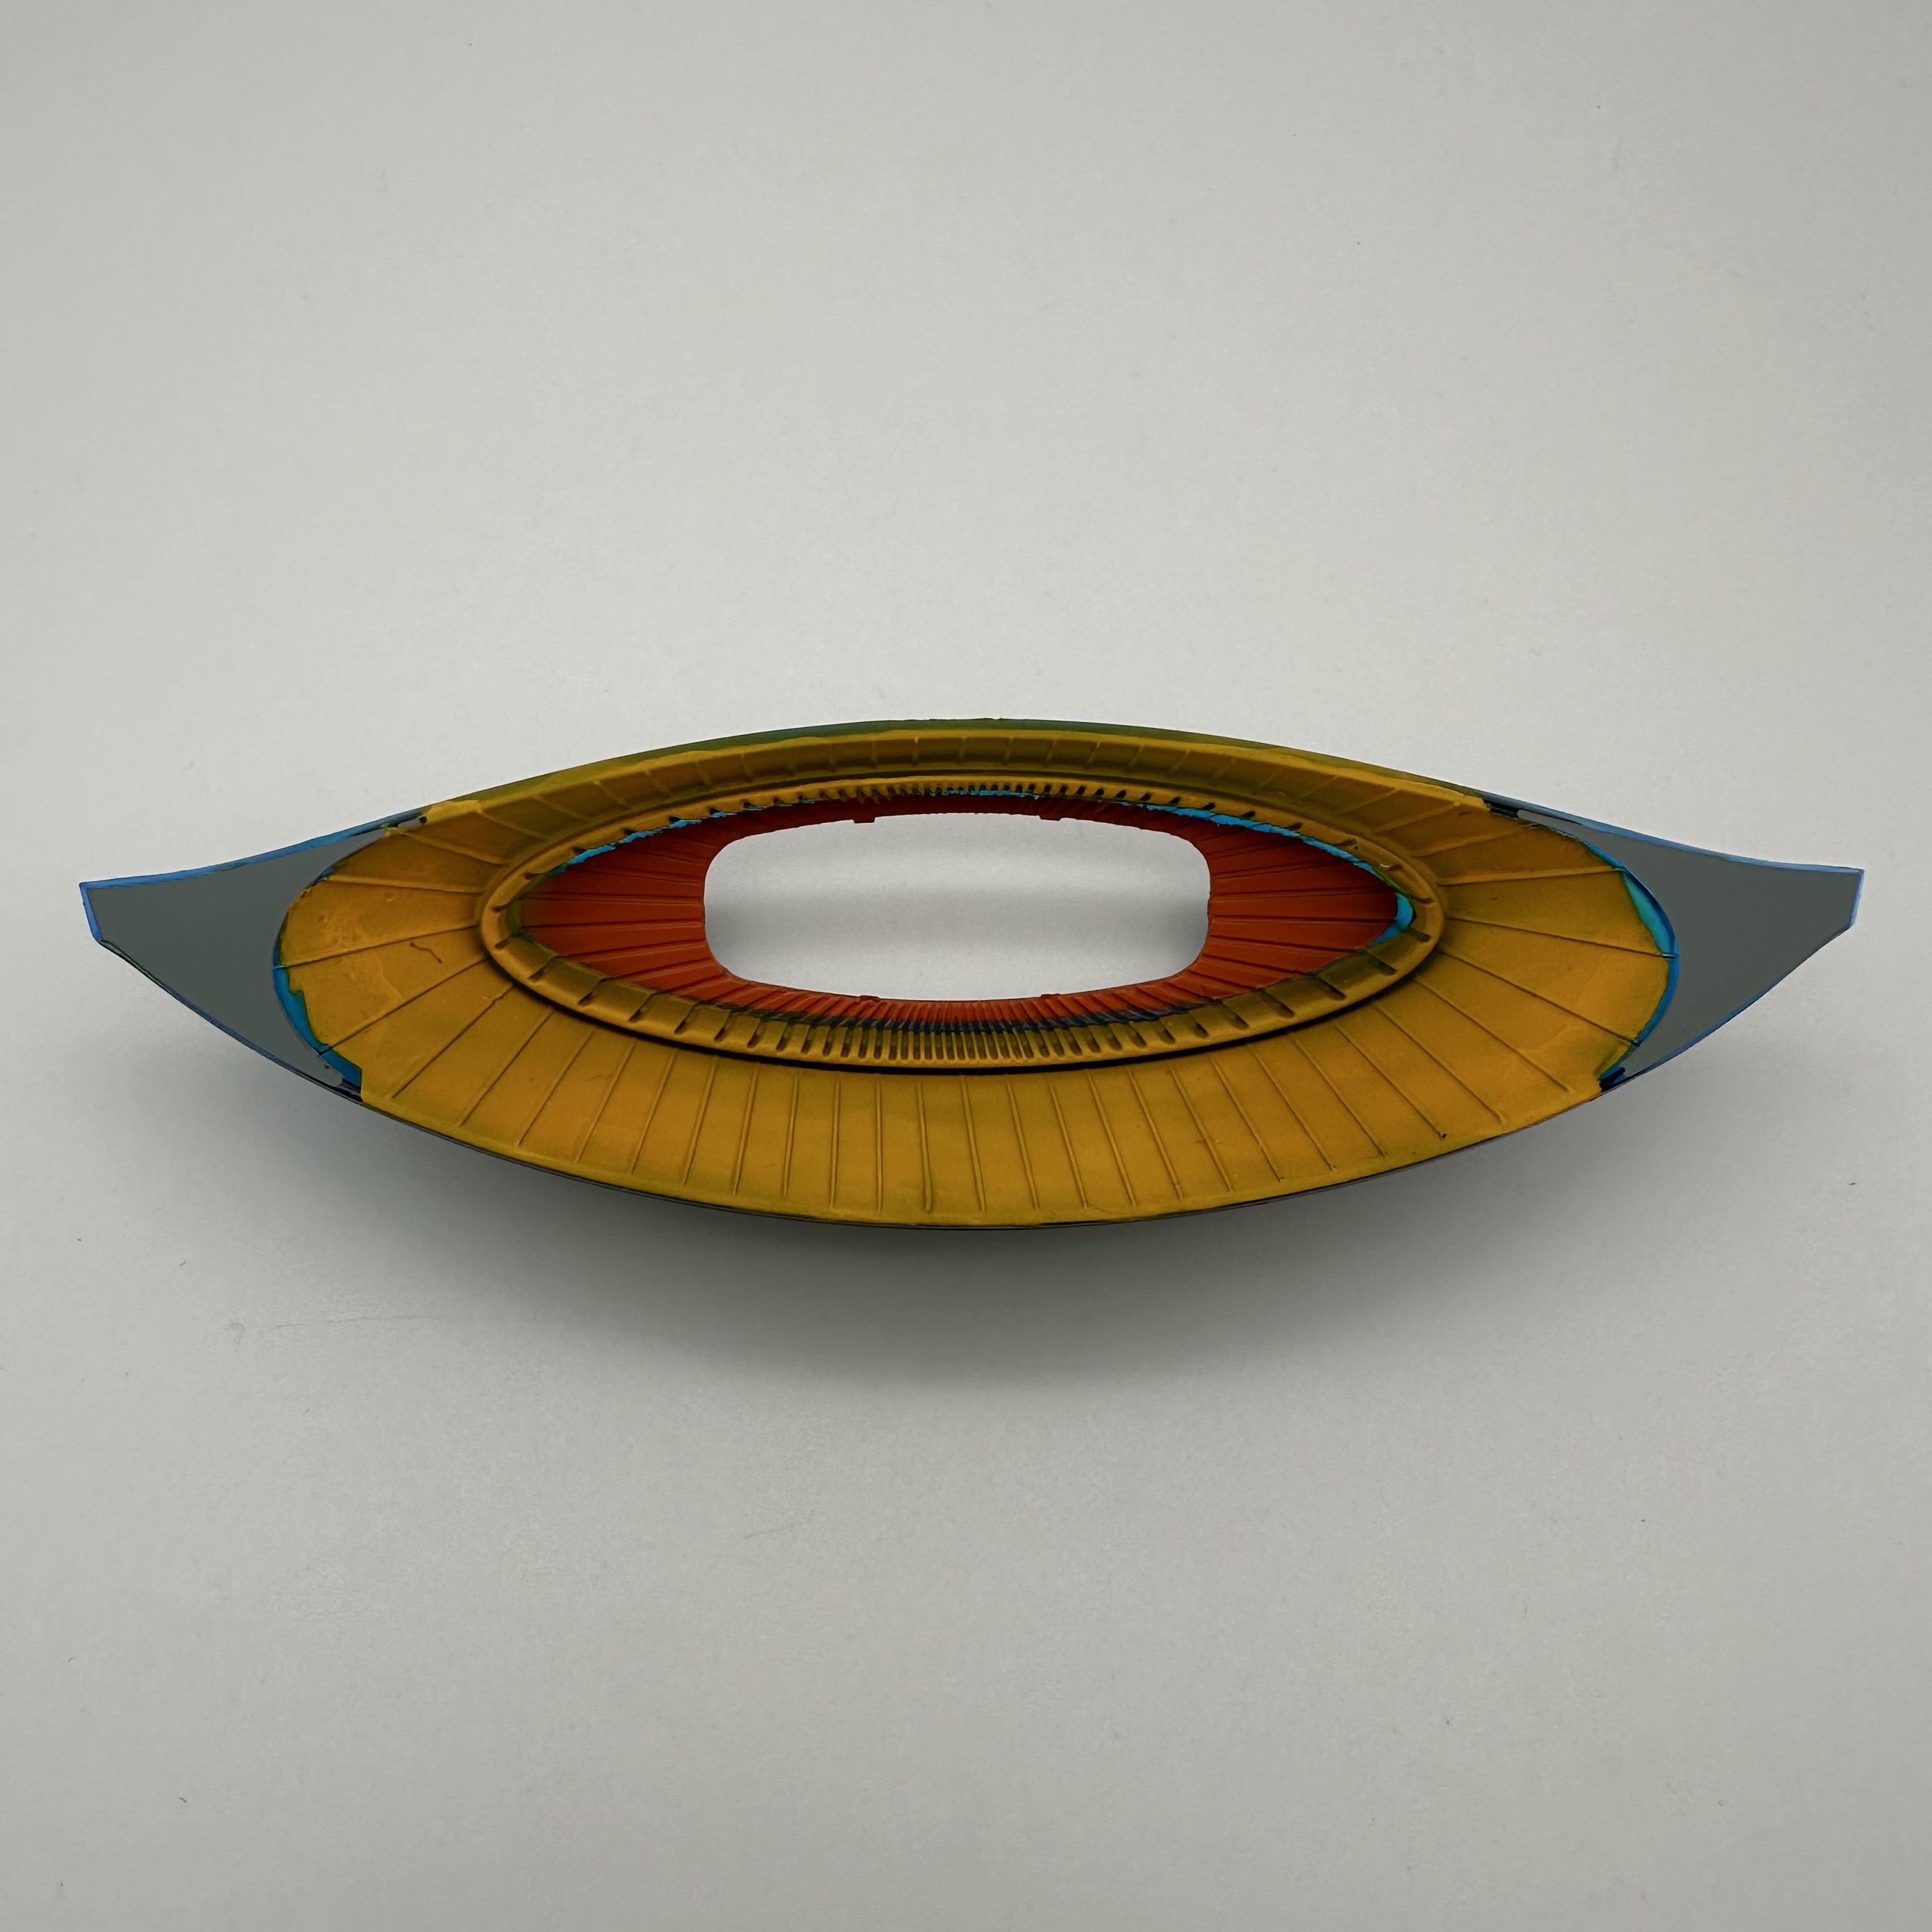
Before I got started with Kit no.87 I decided to paint the main deflector dish outer yellow to match how it would have looked with the power turned off.
(Edit: I decided to modify the deflector more after I had finished this issue.)
I masked off the areas I didn’t want to be painted.
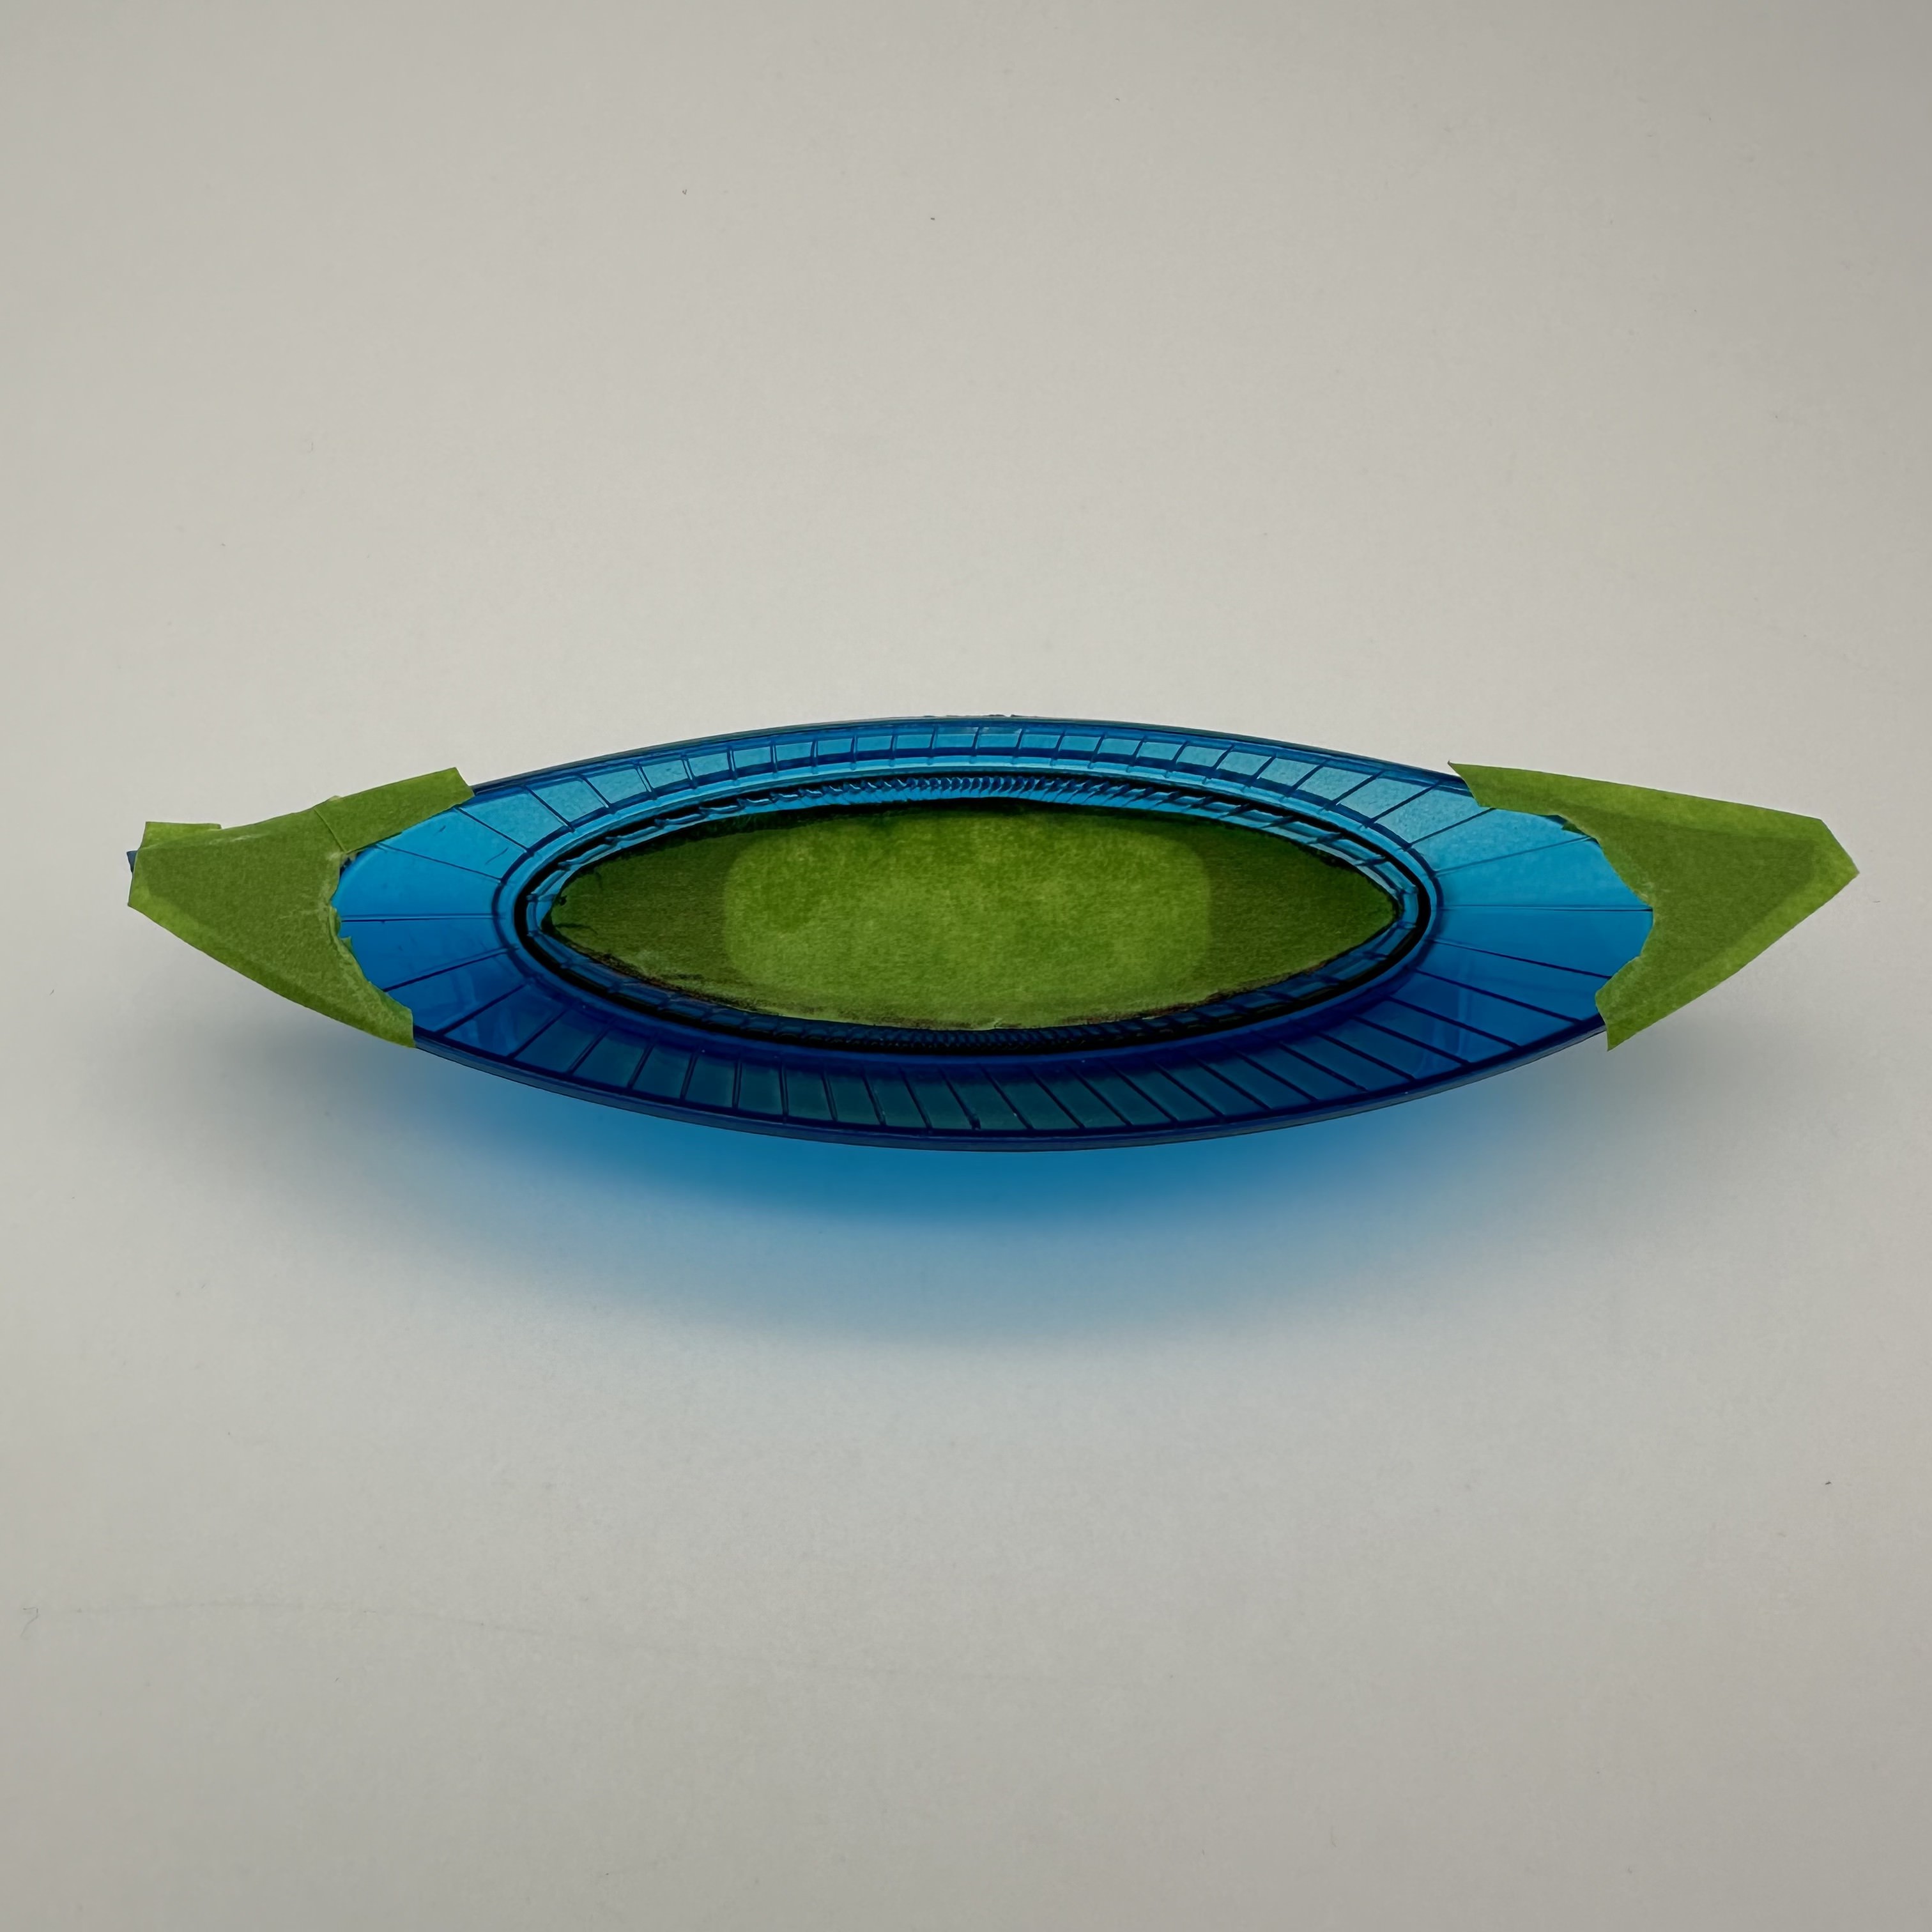
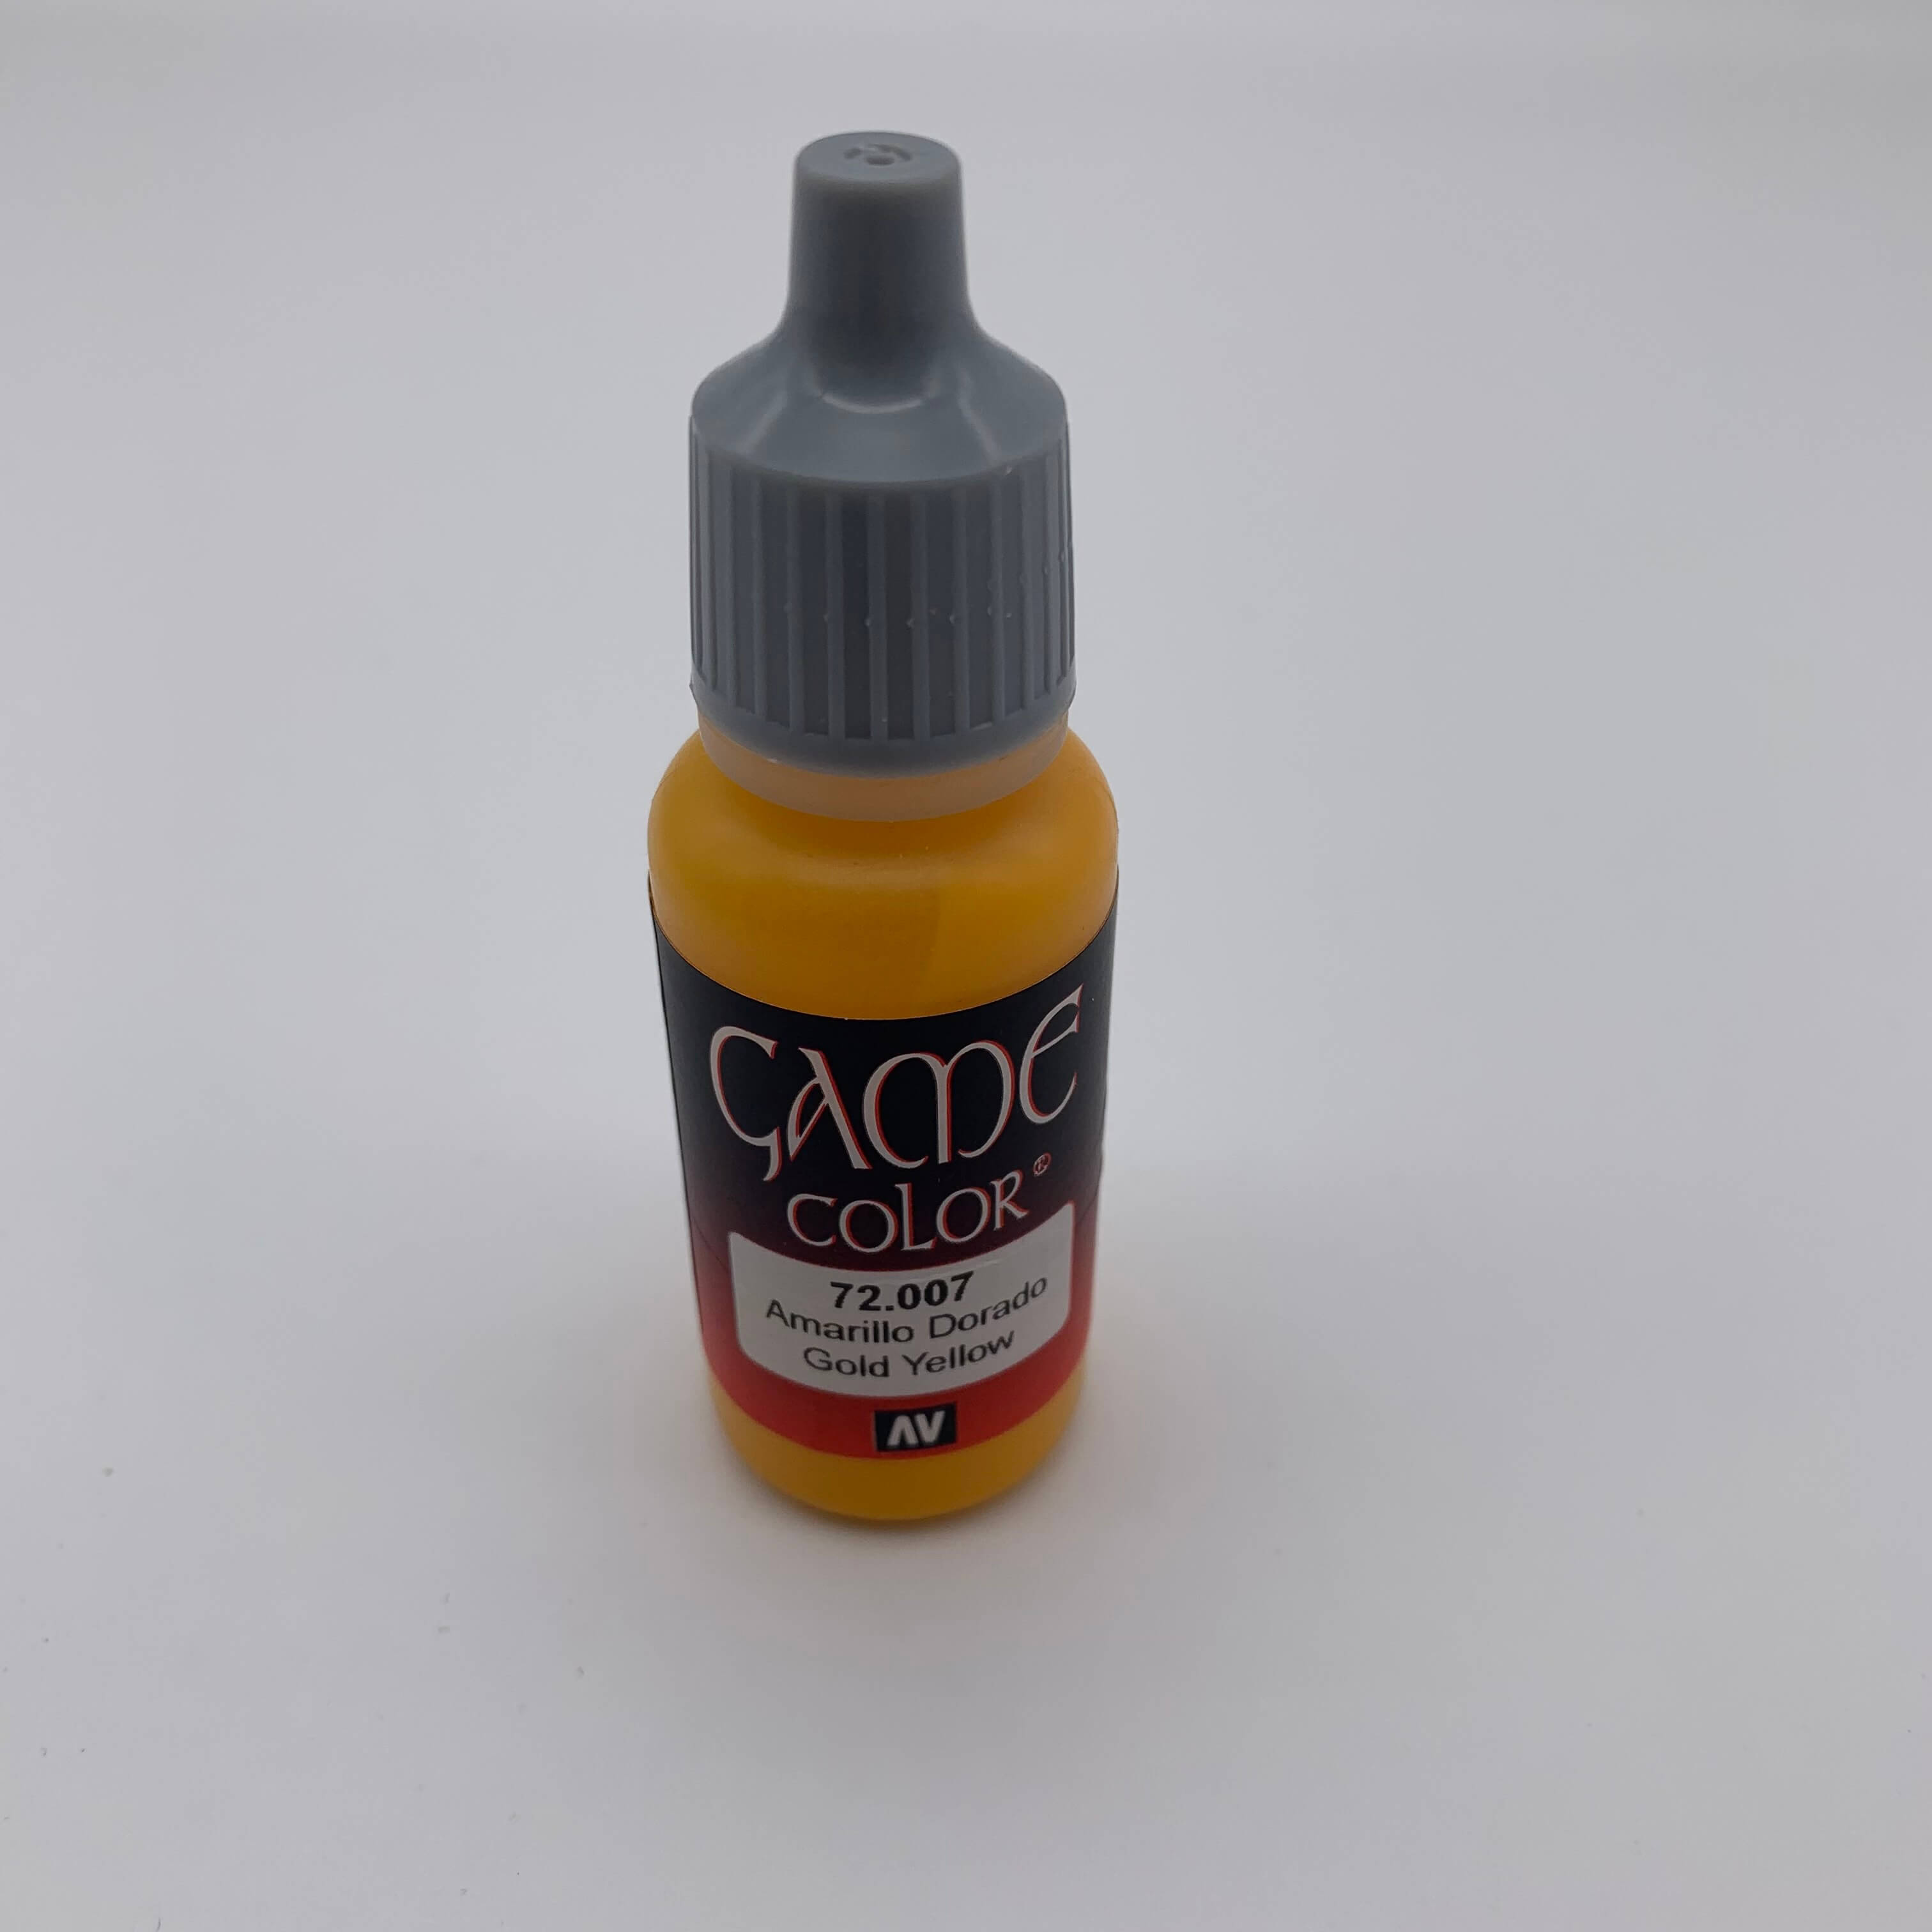
I airbrush the deflector with Vallejo Game Color 72.007 Amarillo Dorado Gold Yellow.
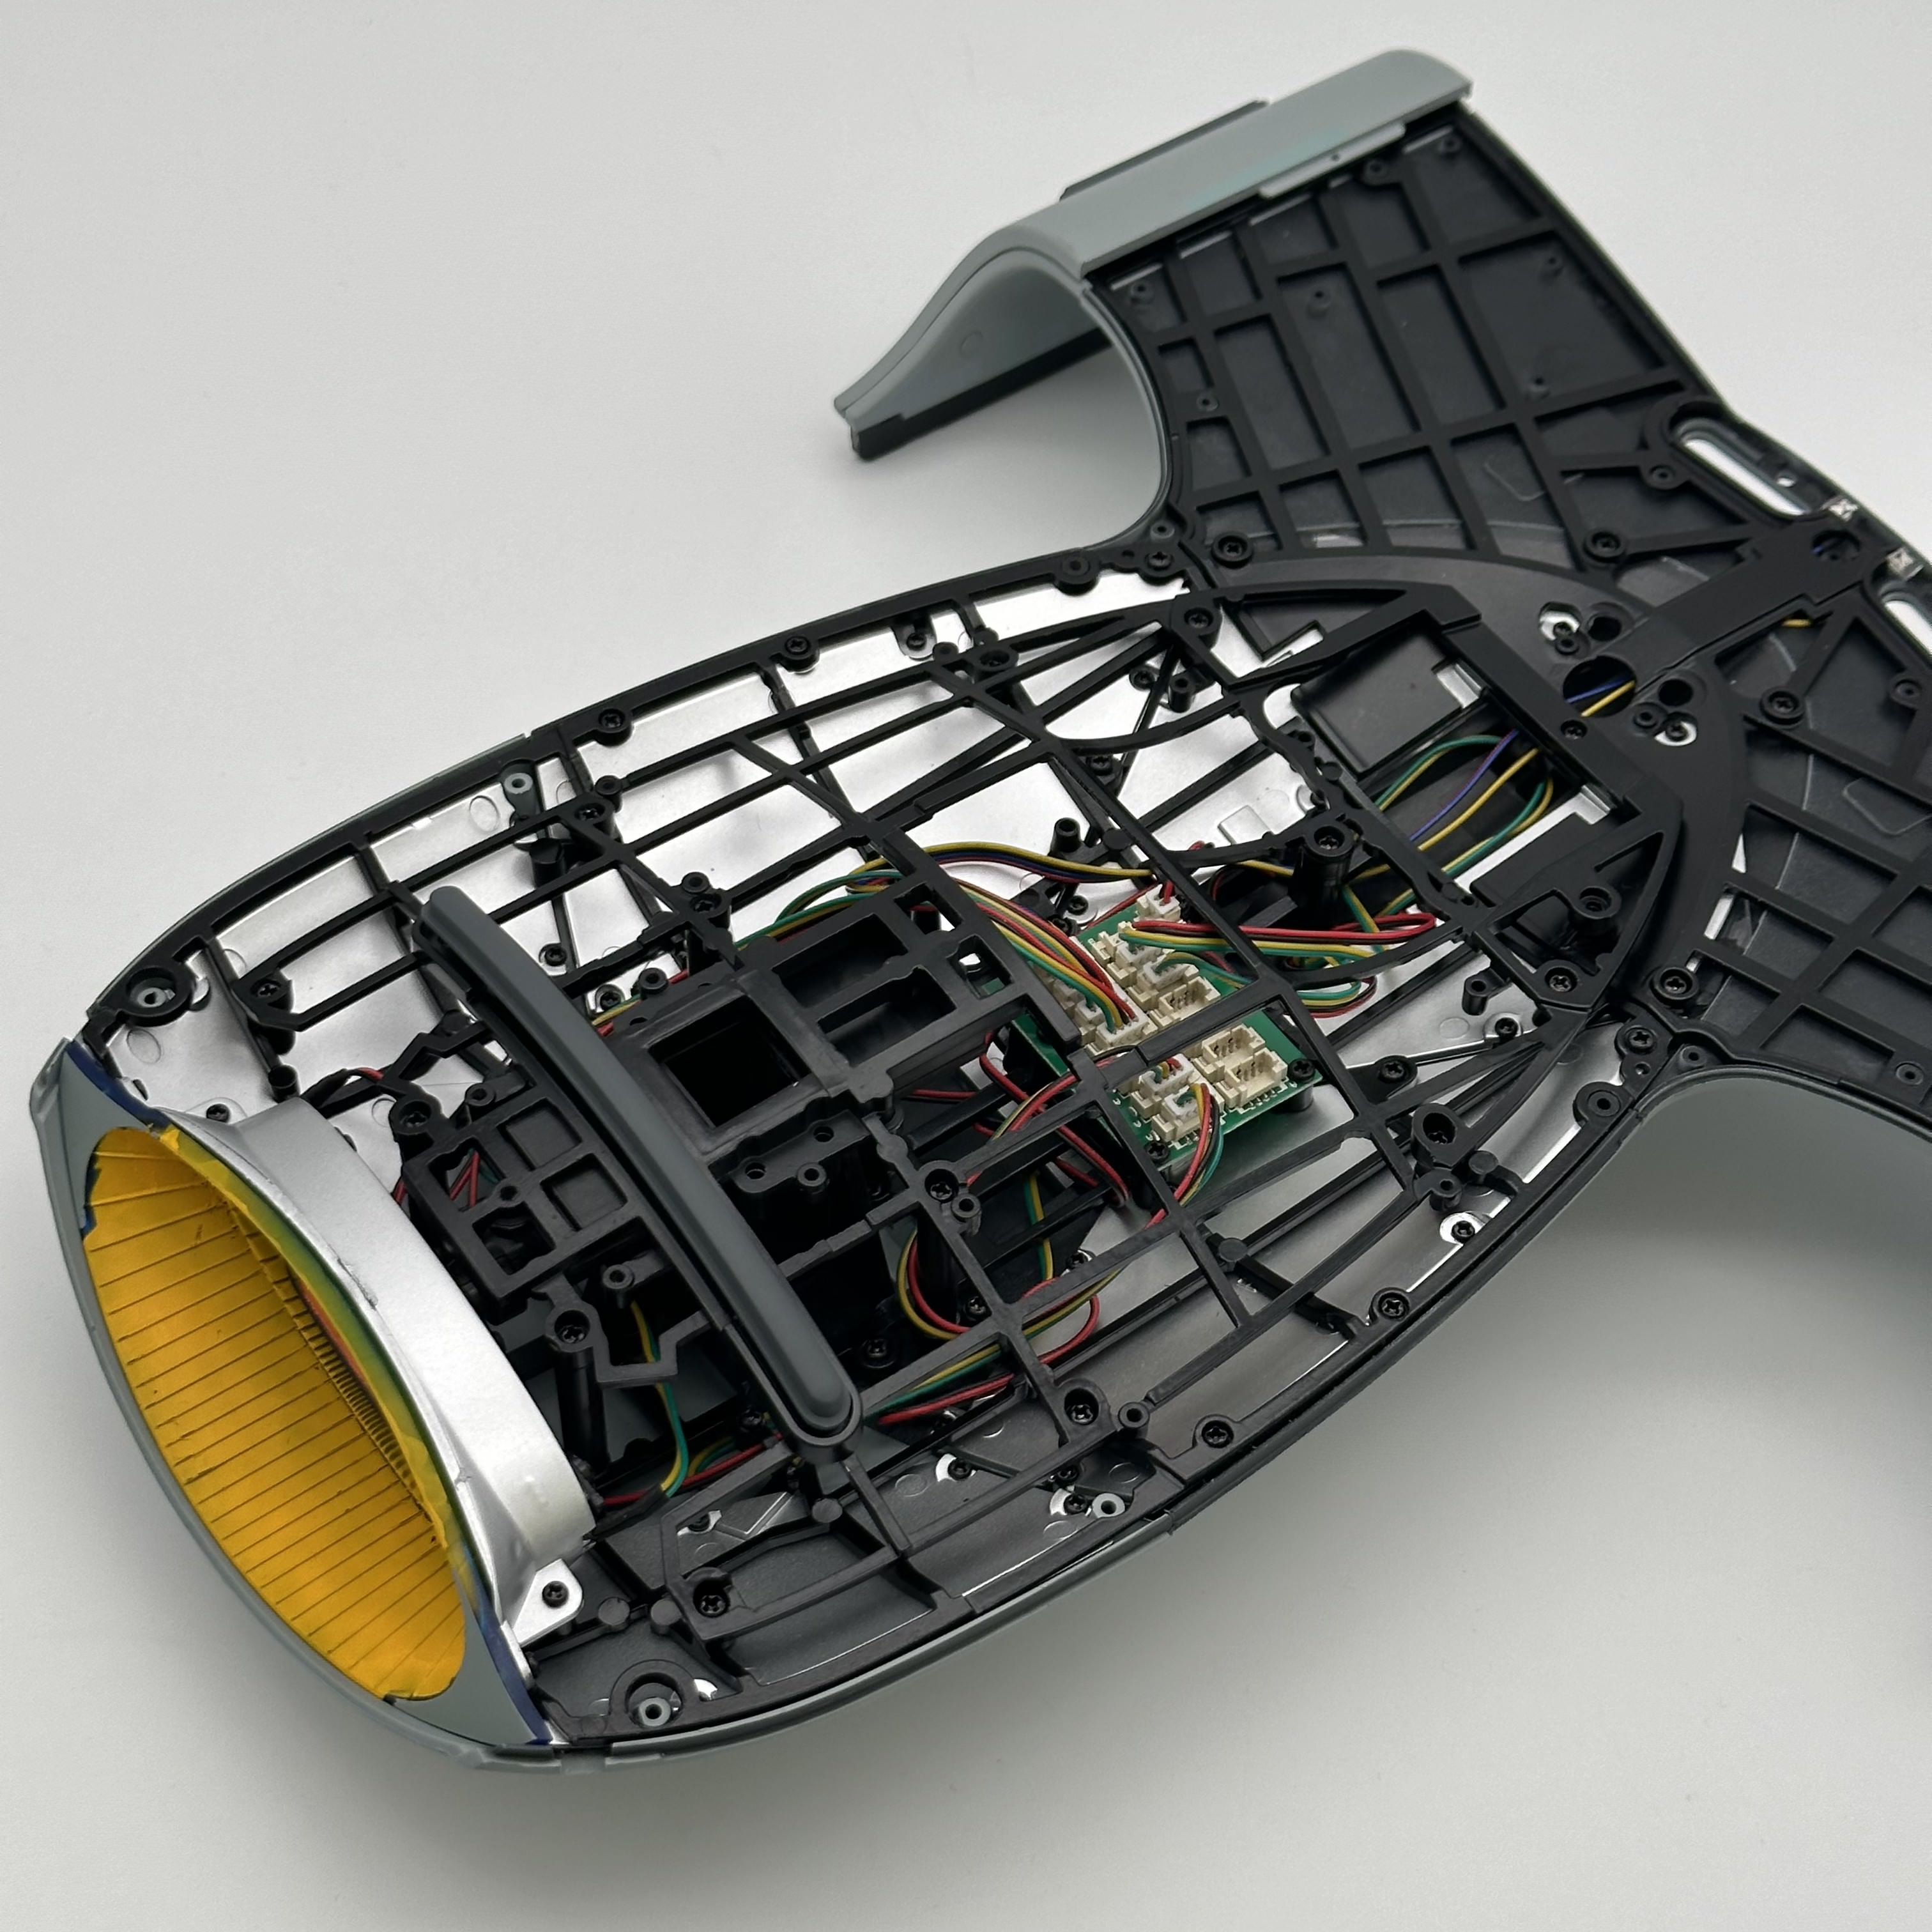
The deflector dish assembly and the main deflector dish center are finally brought back from stage 3. The two are now positioned together as shown.

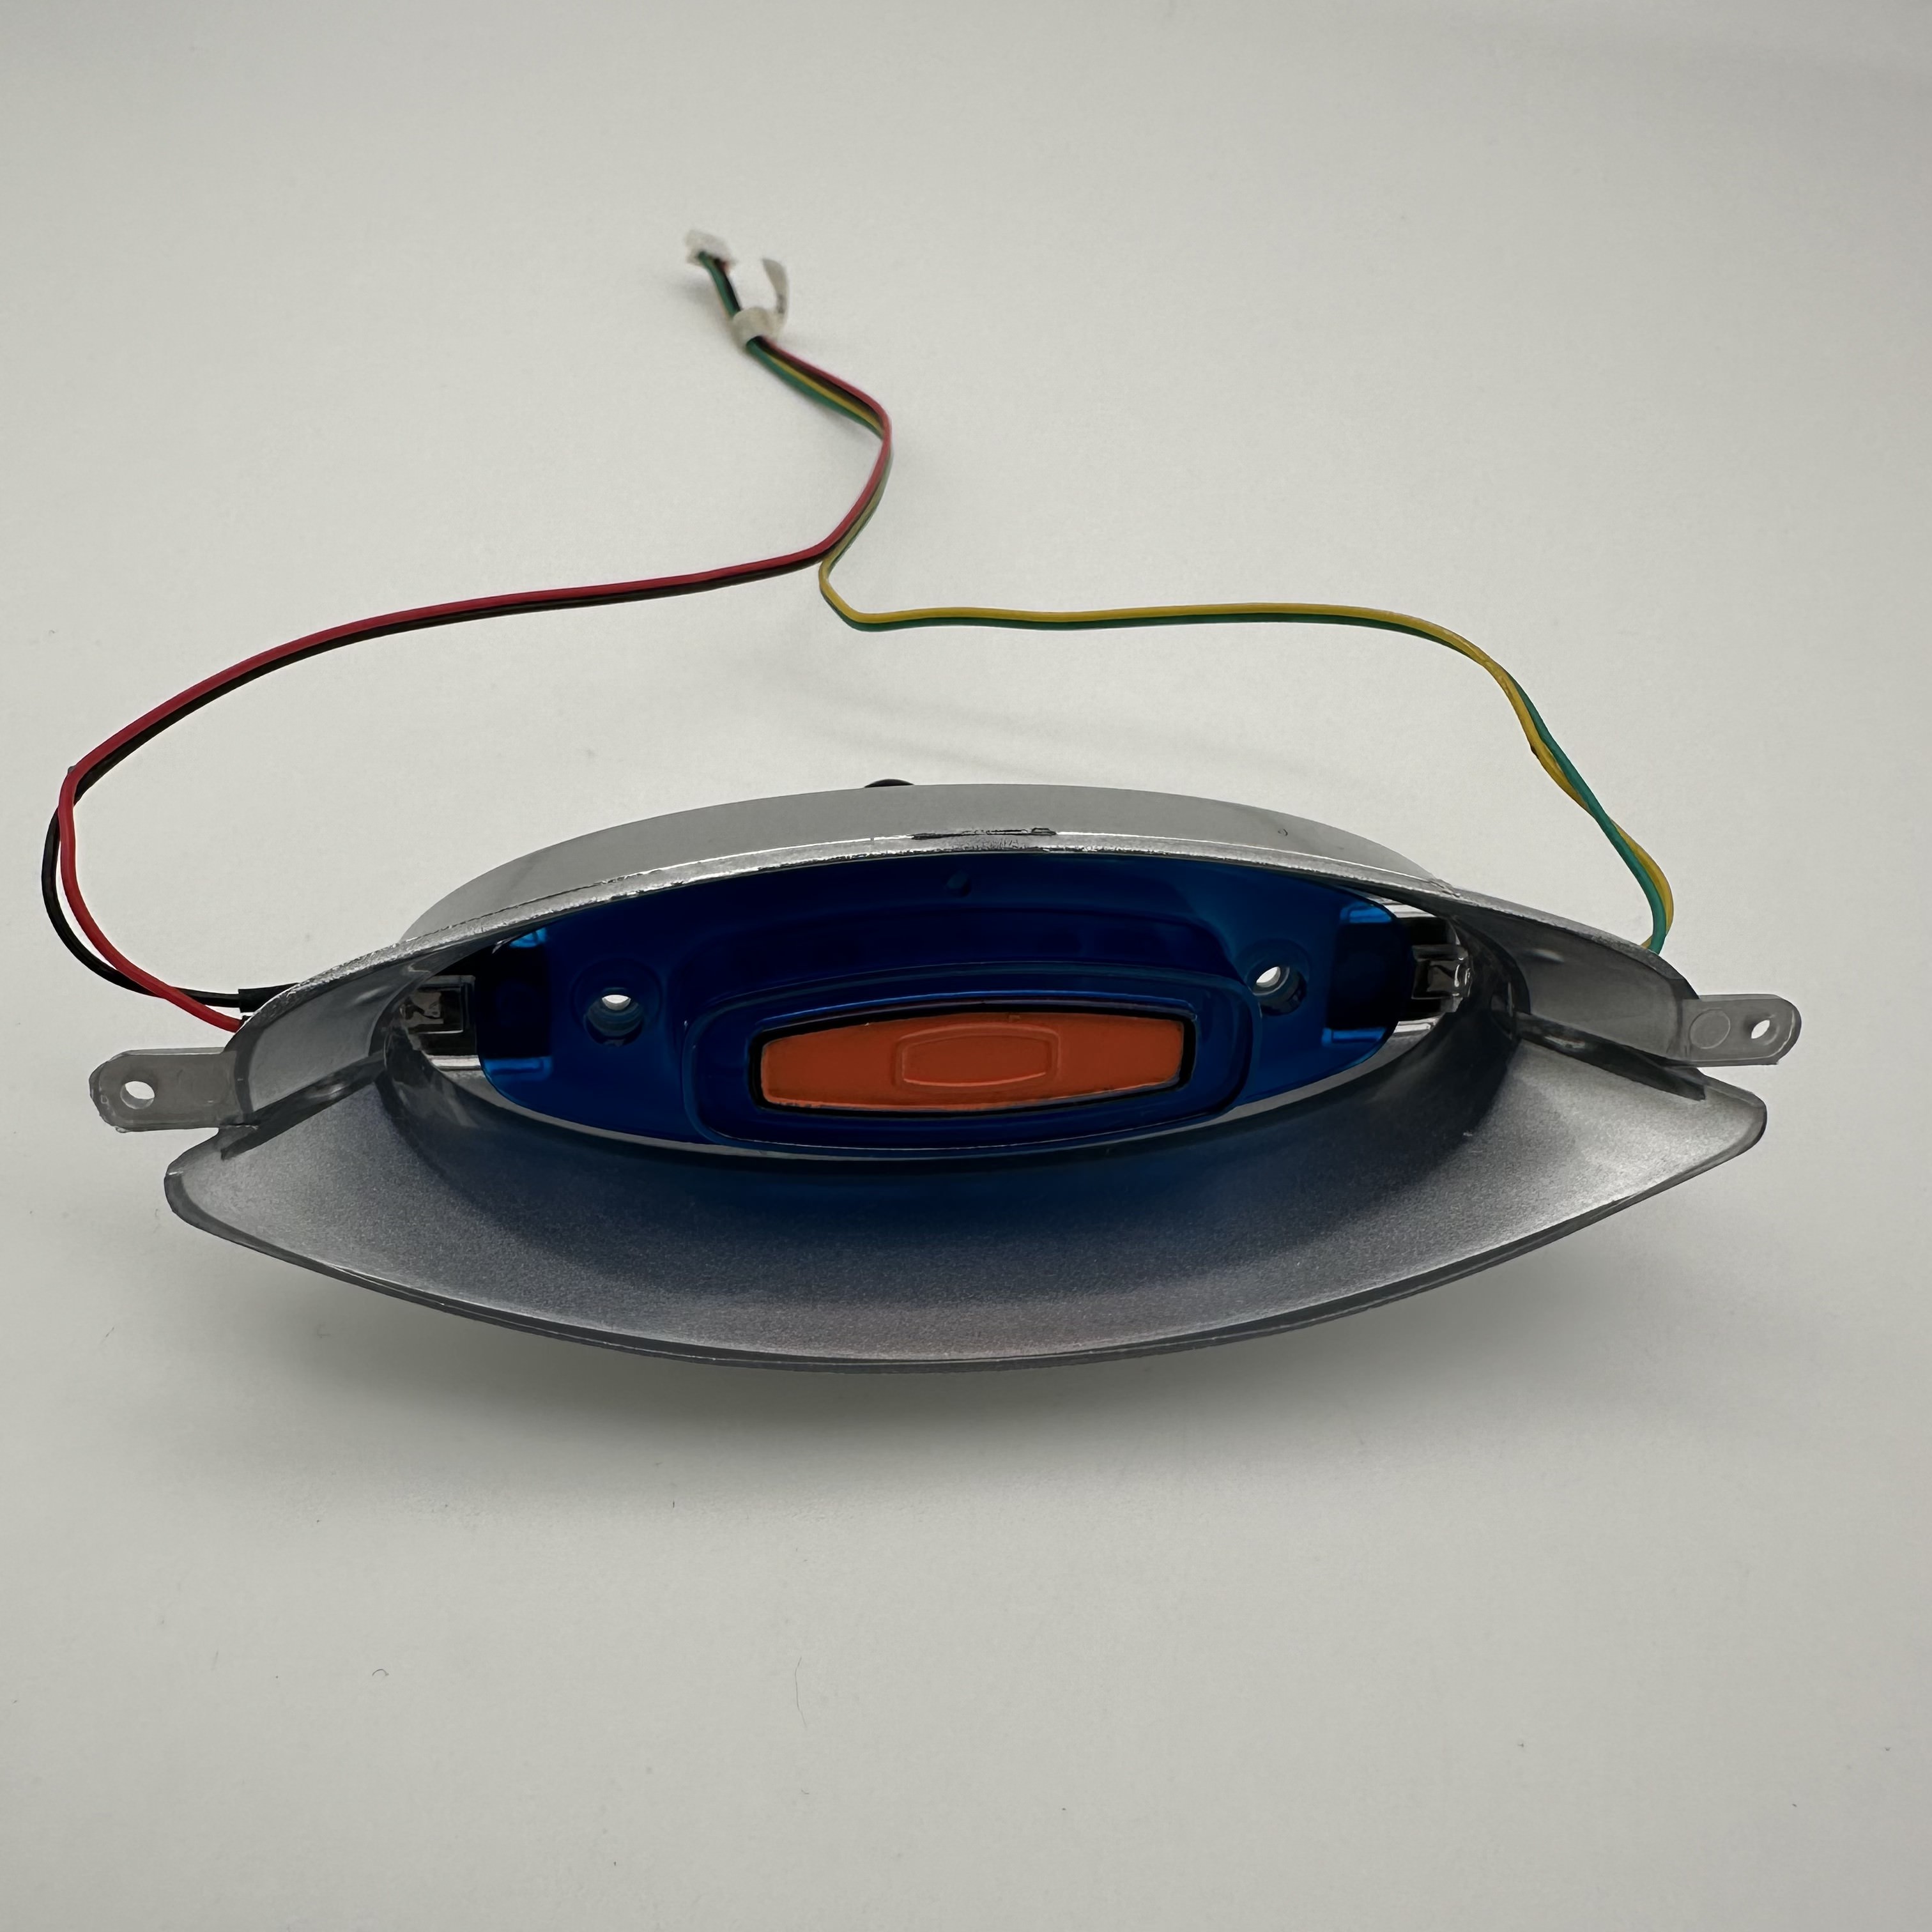
The main deflector dish outer is now pushed into the main assembly and secured using 2 CP screws.


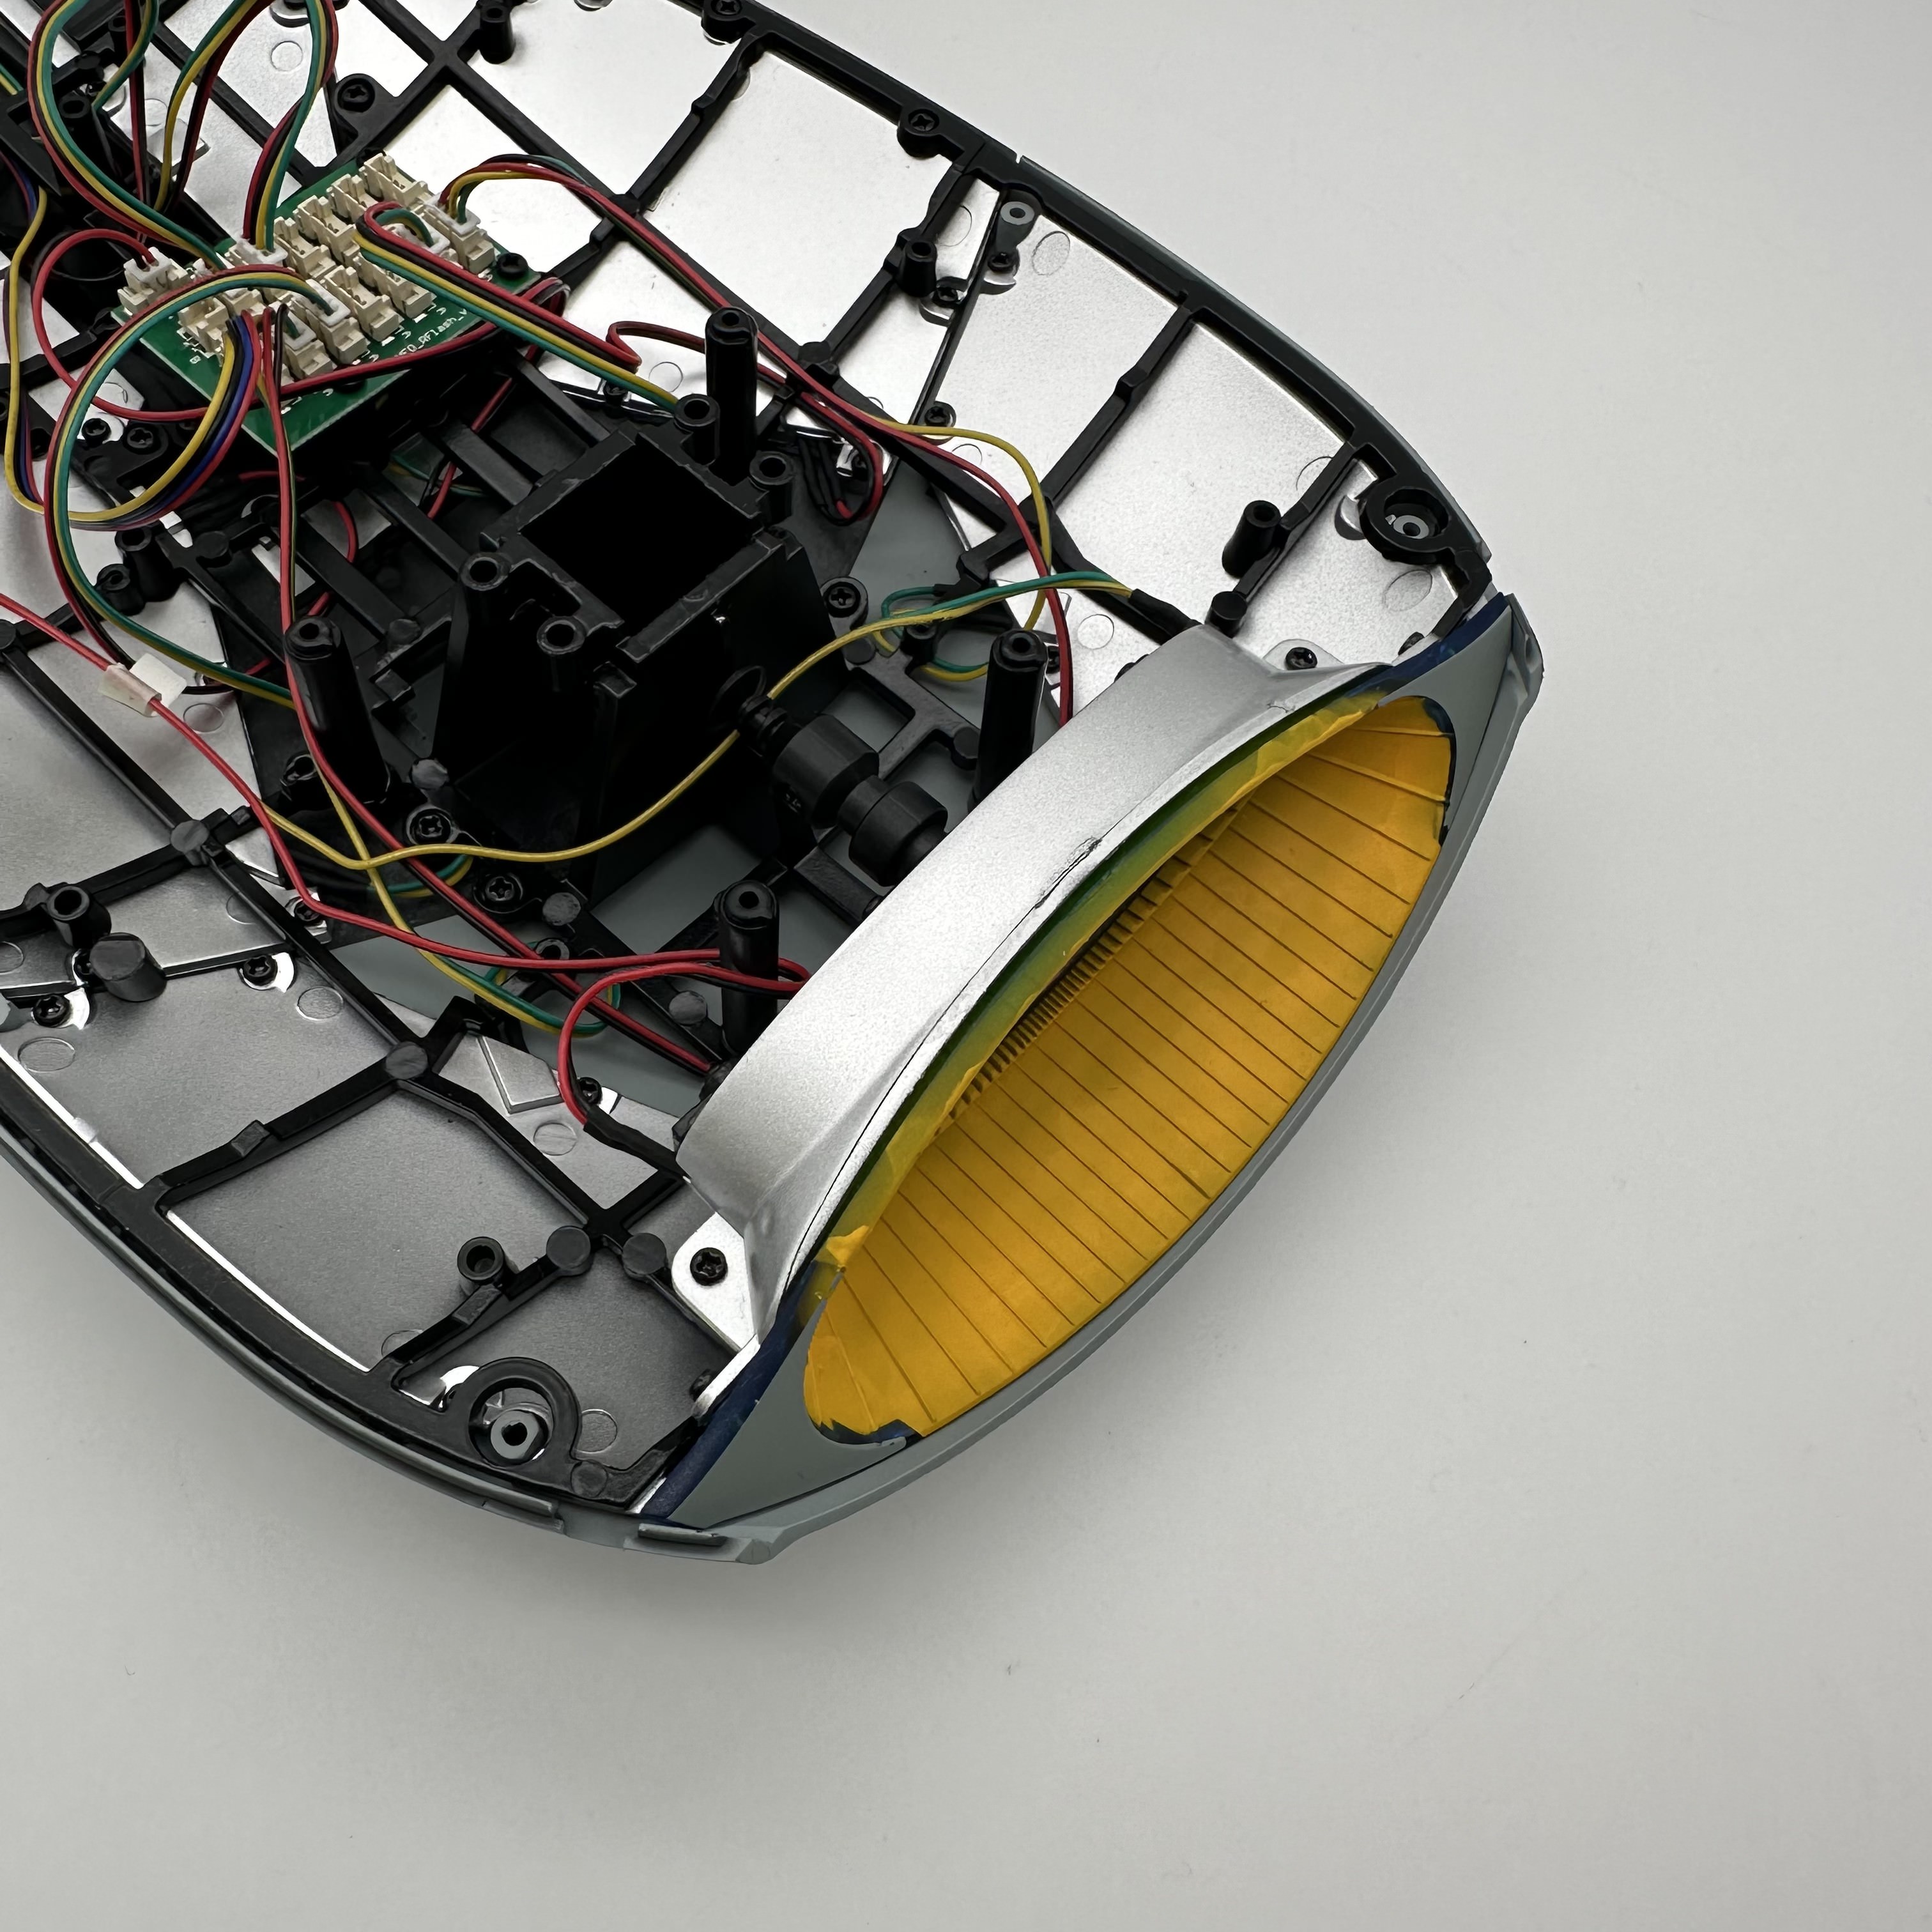
The deflector dish assembly is positioned on the front of the main battle section build as shown below. The panel light wires are routed around before securing the deflector dish using 2 AM screws.
The deflector main lights are plugged into the battle section PCB as shown.


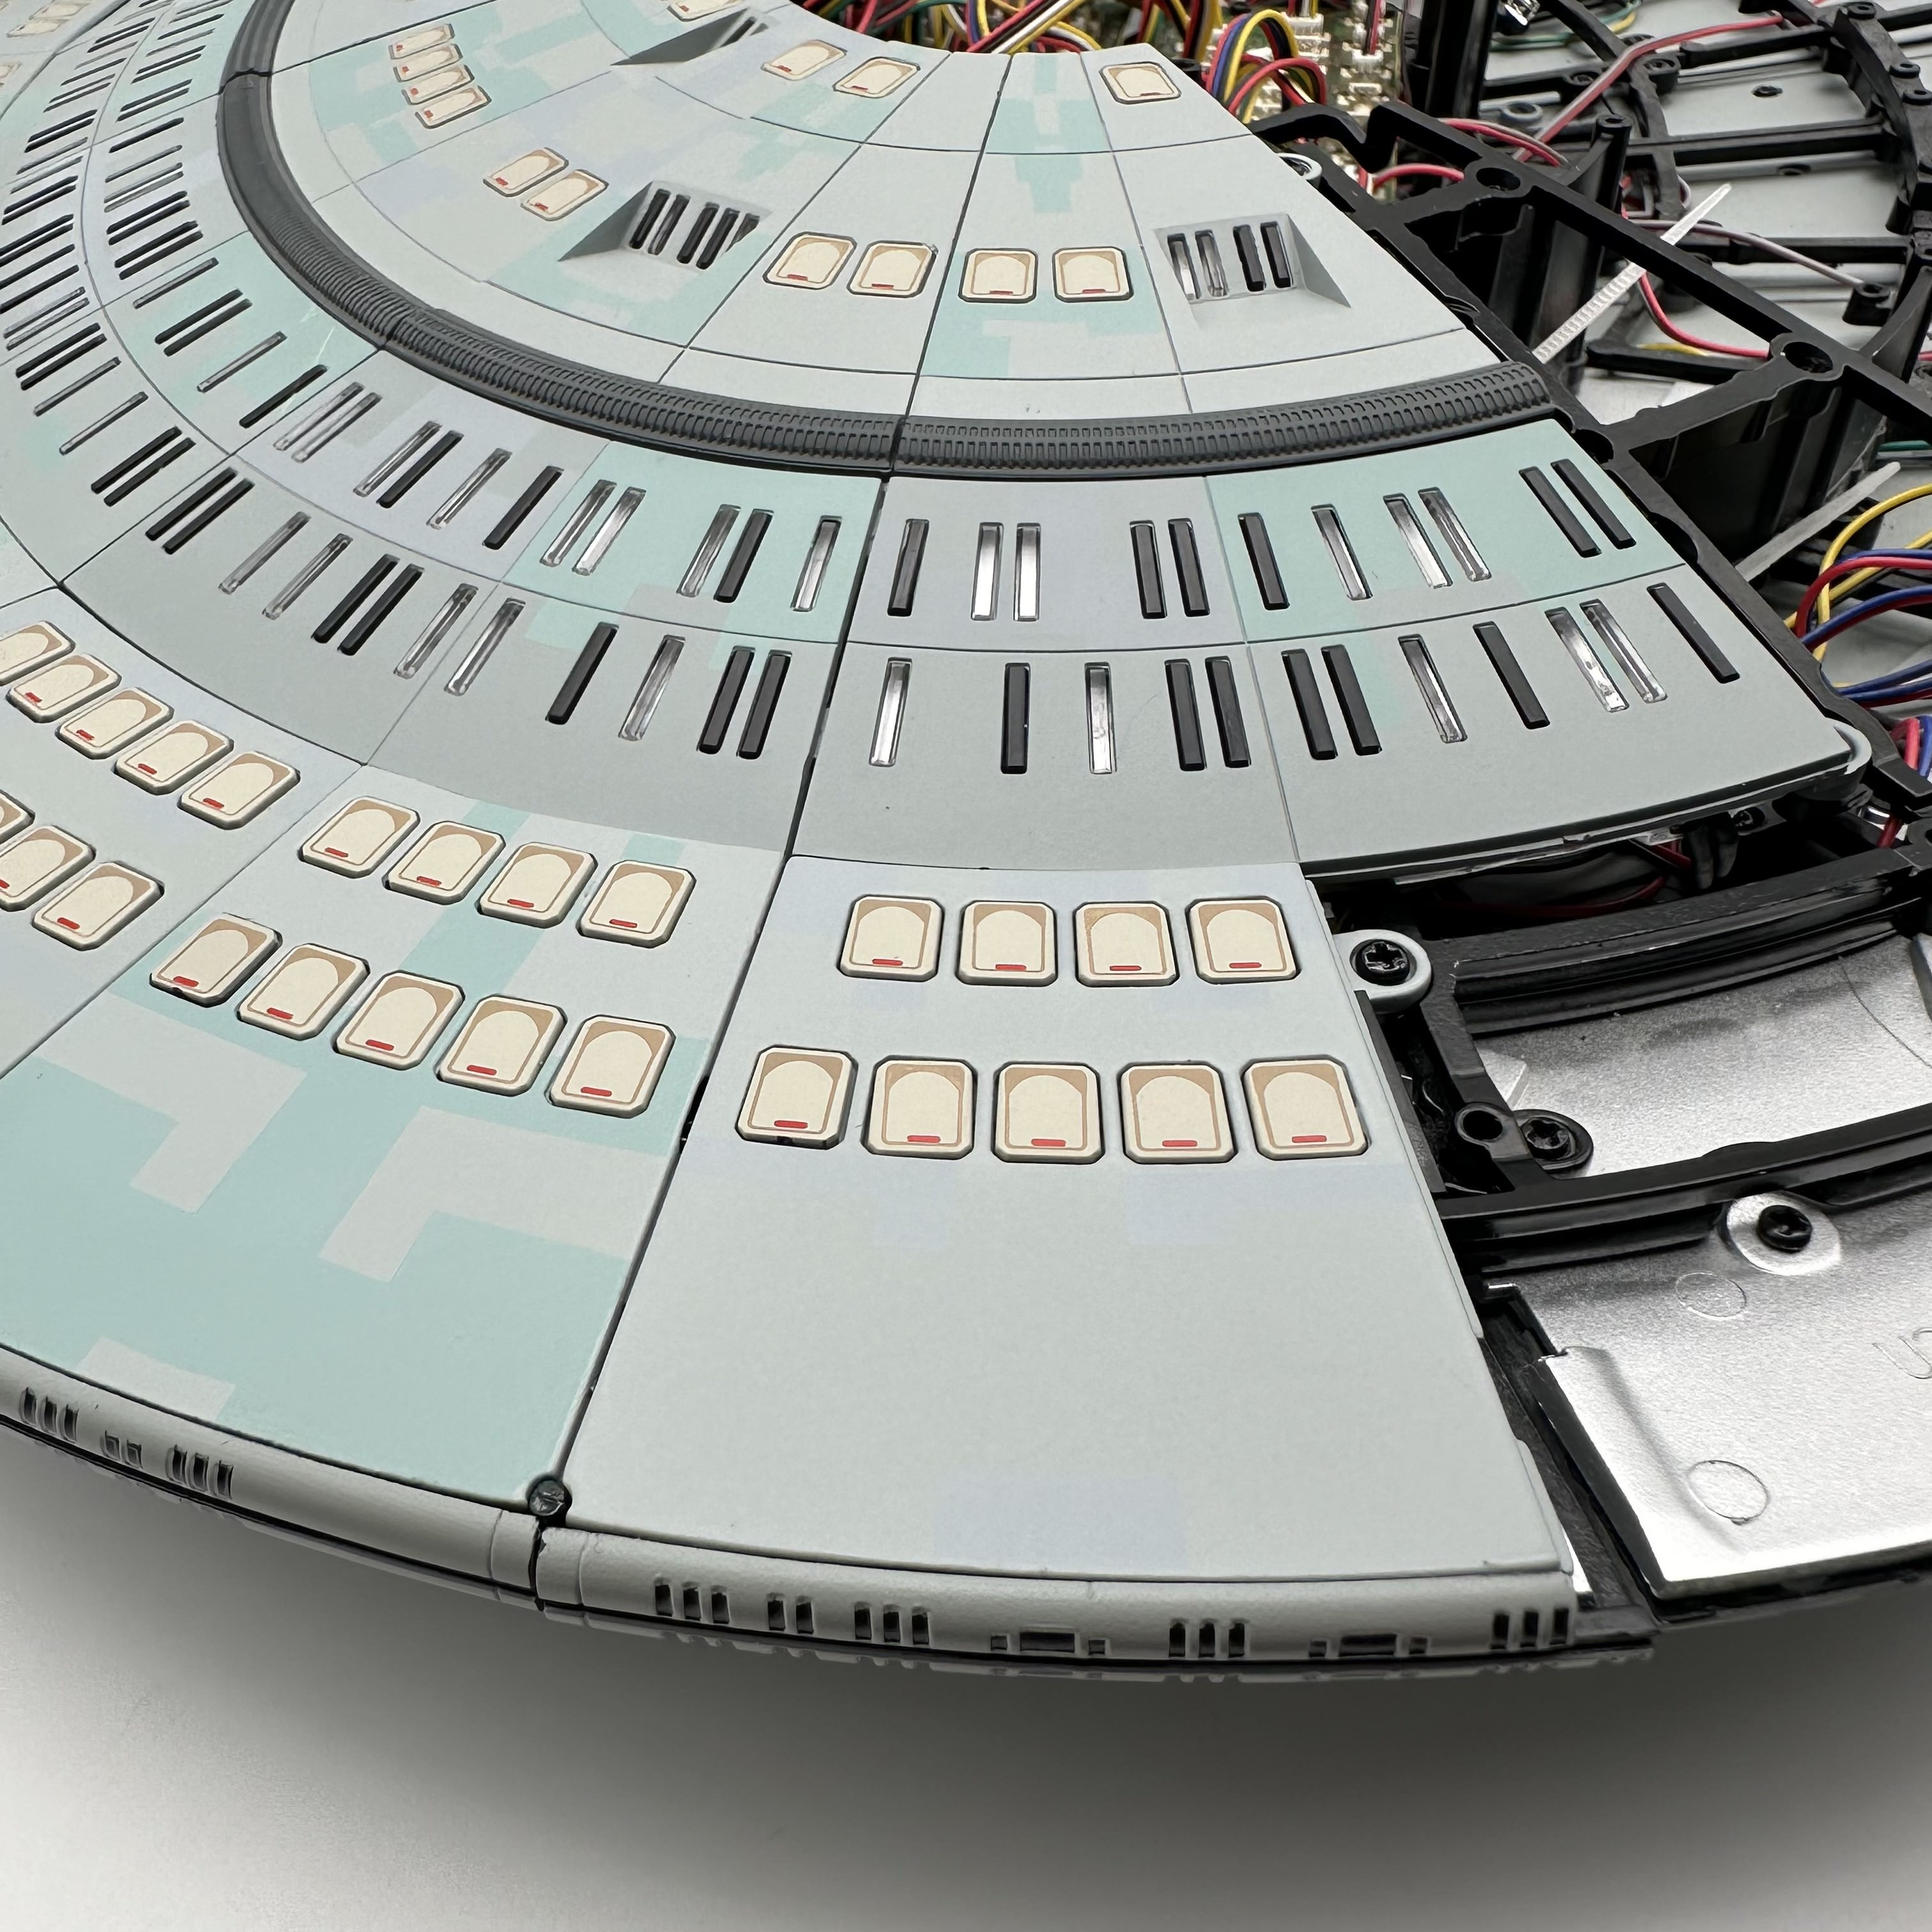
We start by inserting 3 escape pods into deck panel L1-02. I use black tape to block out any light shining through. These are covered with escape pod cover brackets A and B. 3 AM screws

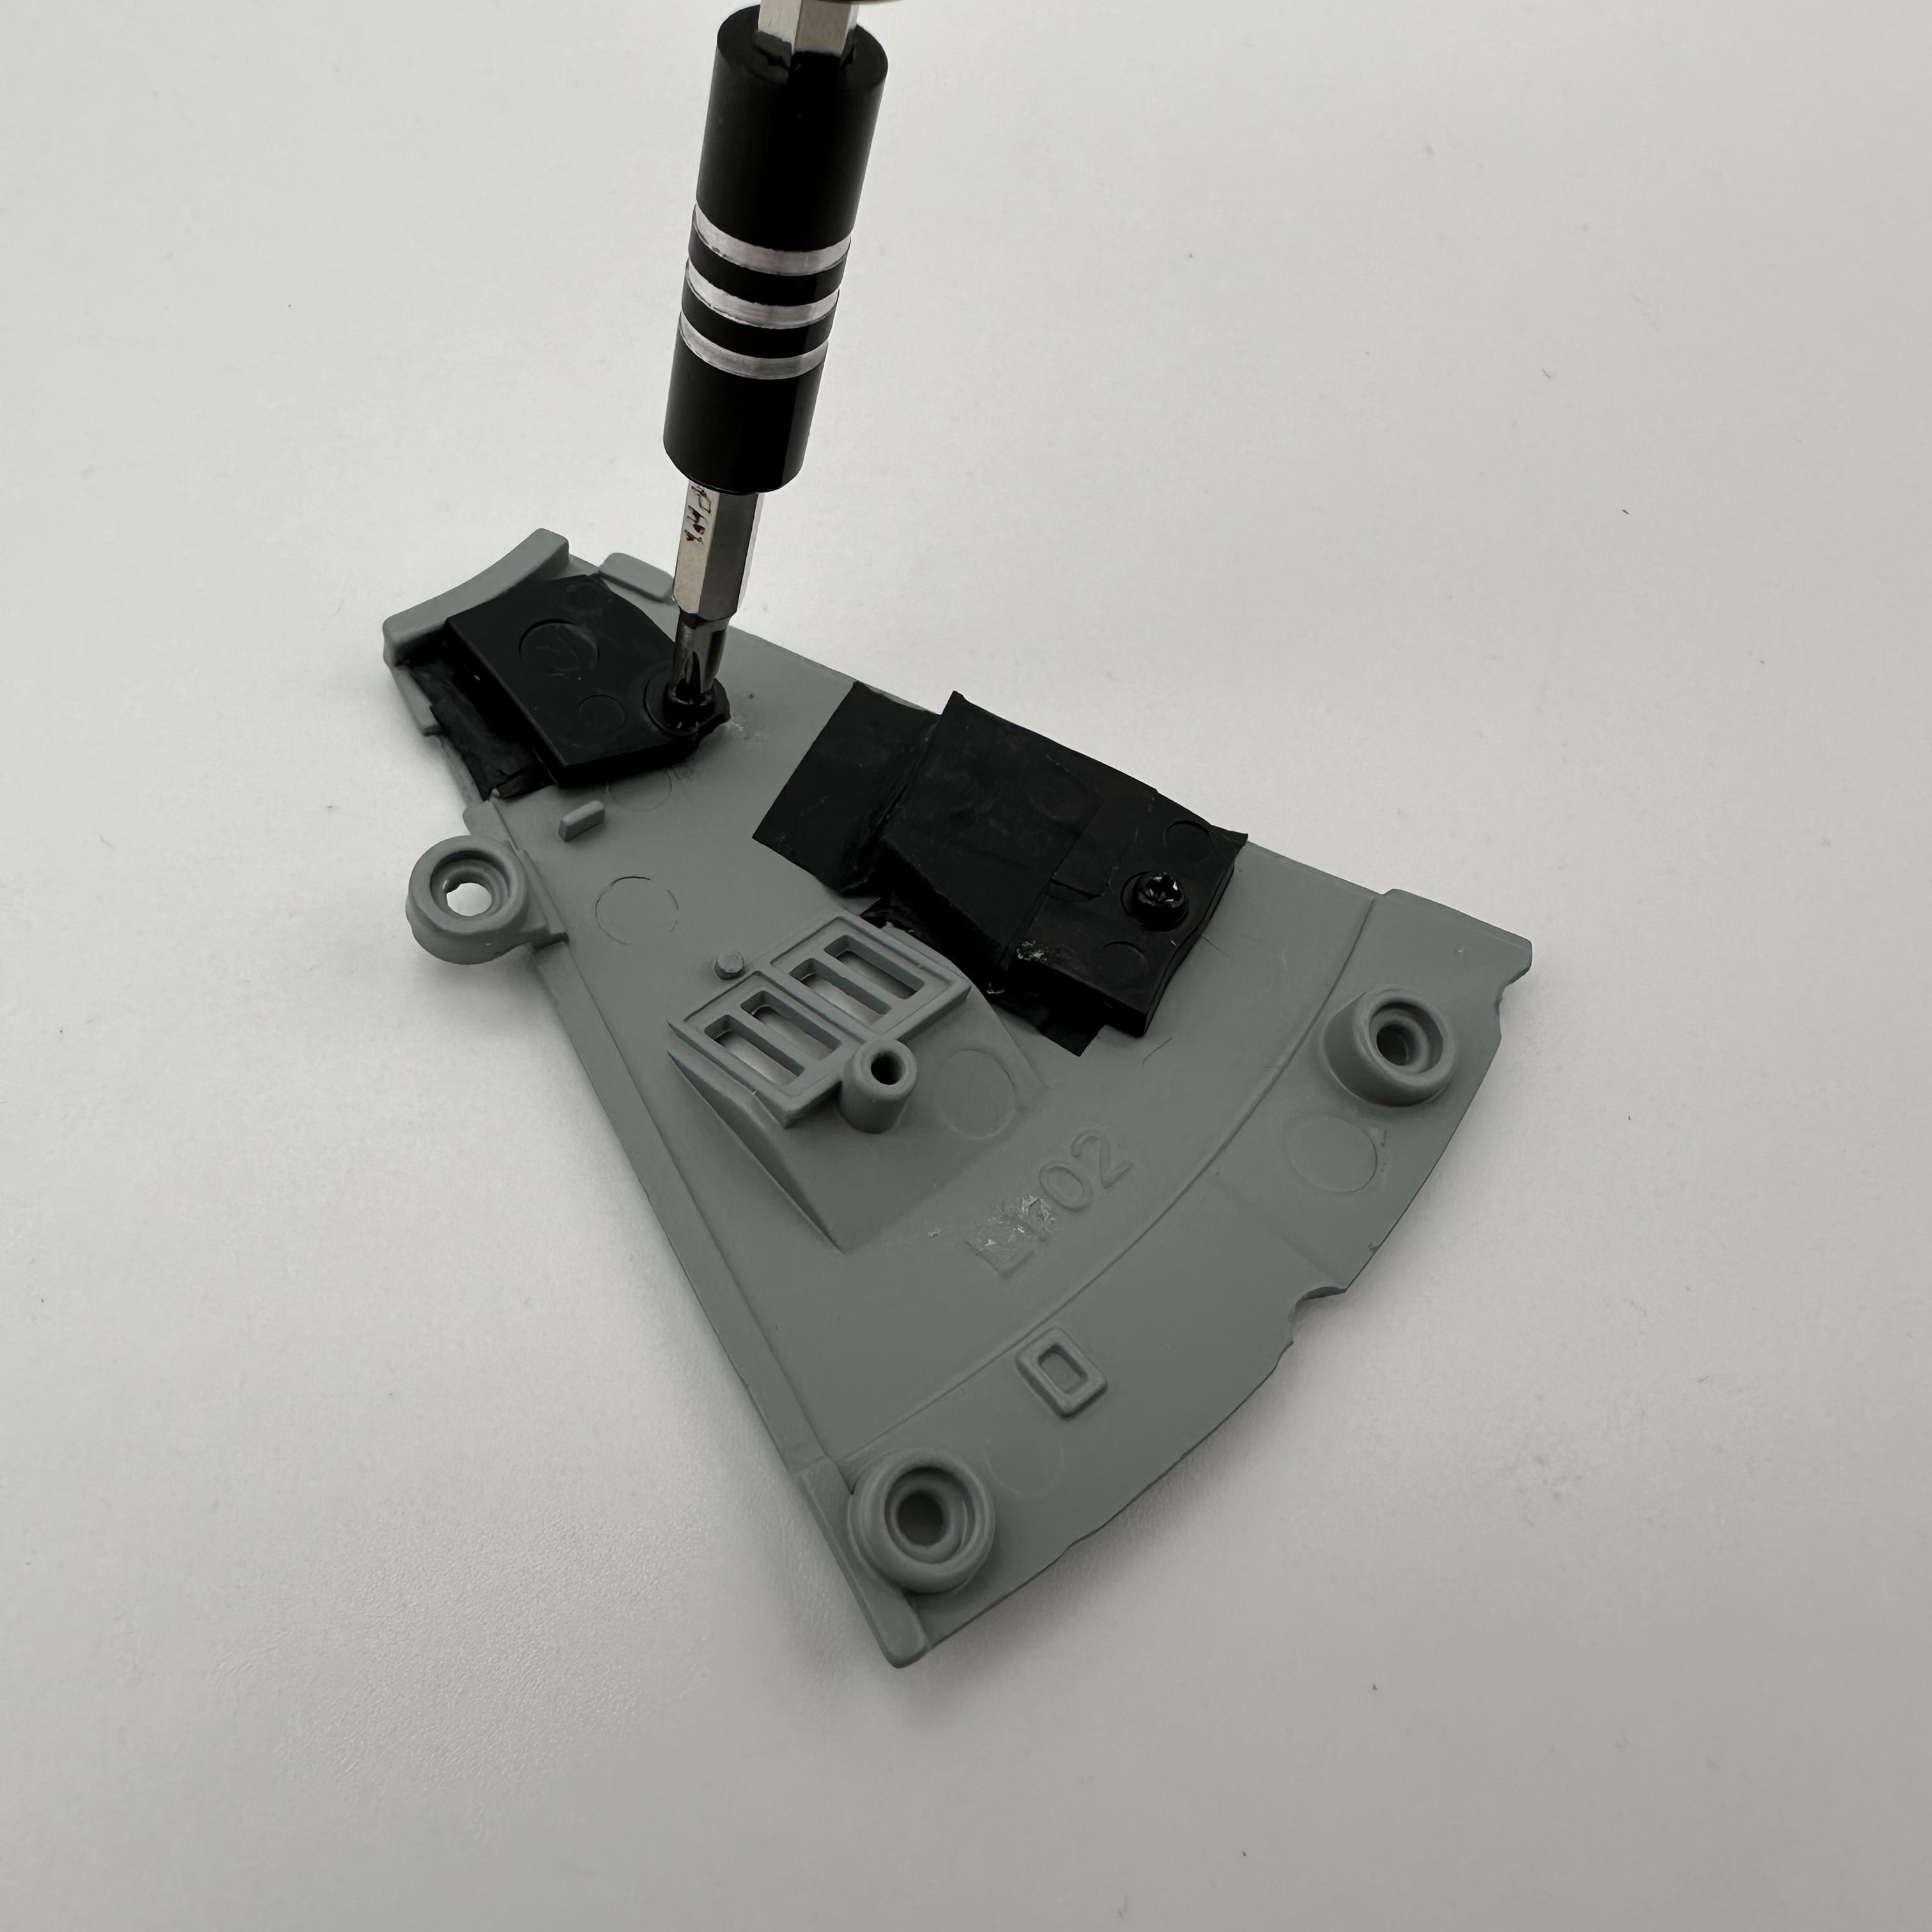

2 dark and 2 light windows are inserted into the deck panel. I use black tape to block out the light on the dark windows. The window reflector panel is now placed over the window panel and secured with 1 AM screw.

Lastly, deck panel L1-02 has the ventral phaser array inserted into the recess edge. This is secured using 2 CP screws.
This now completes stage 87.
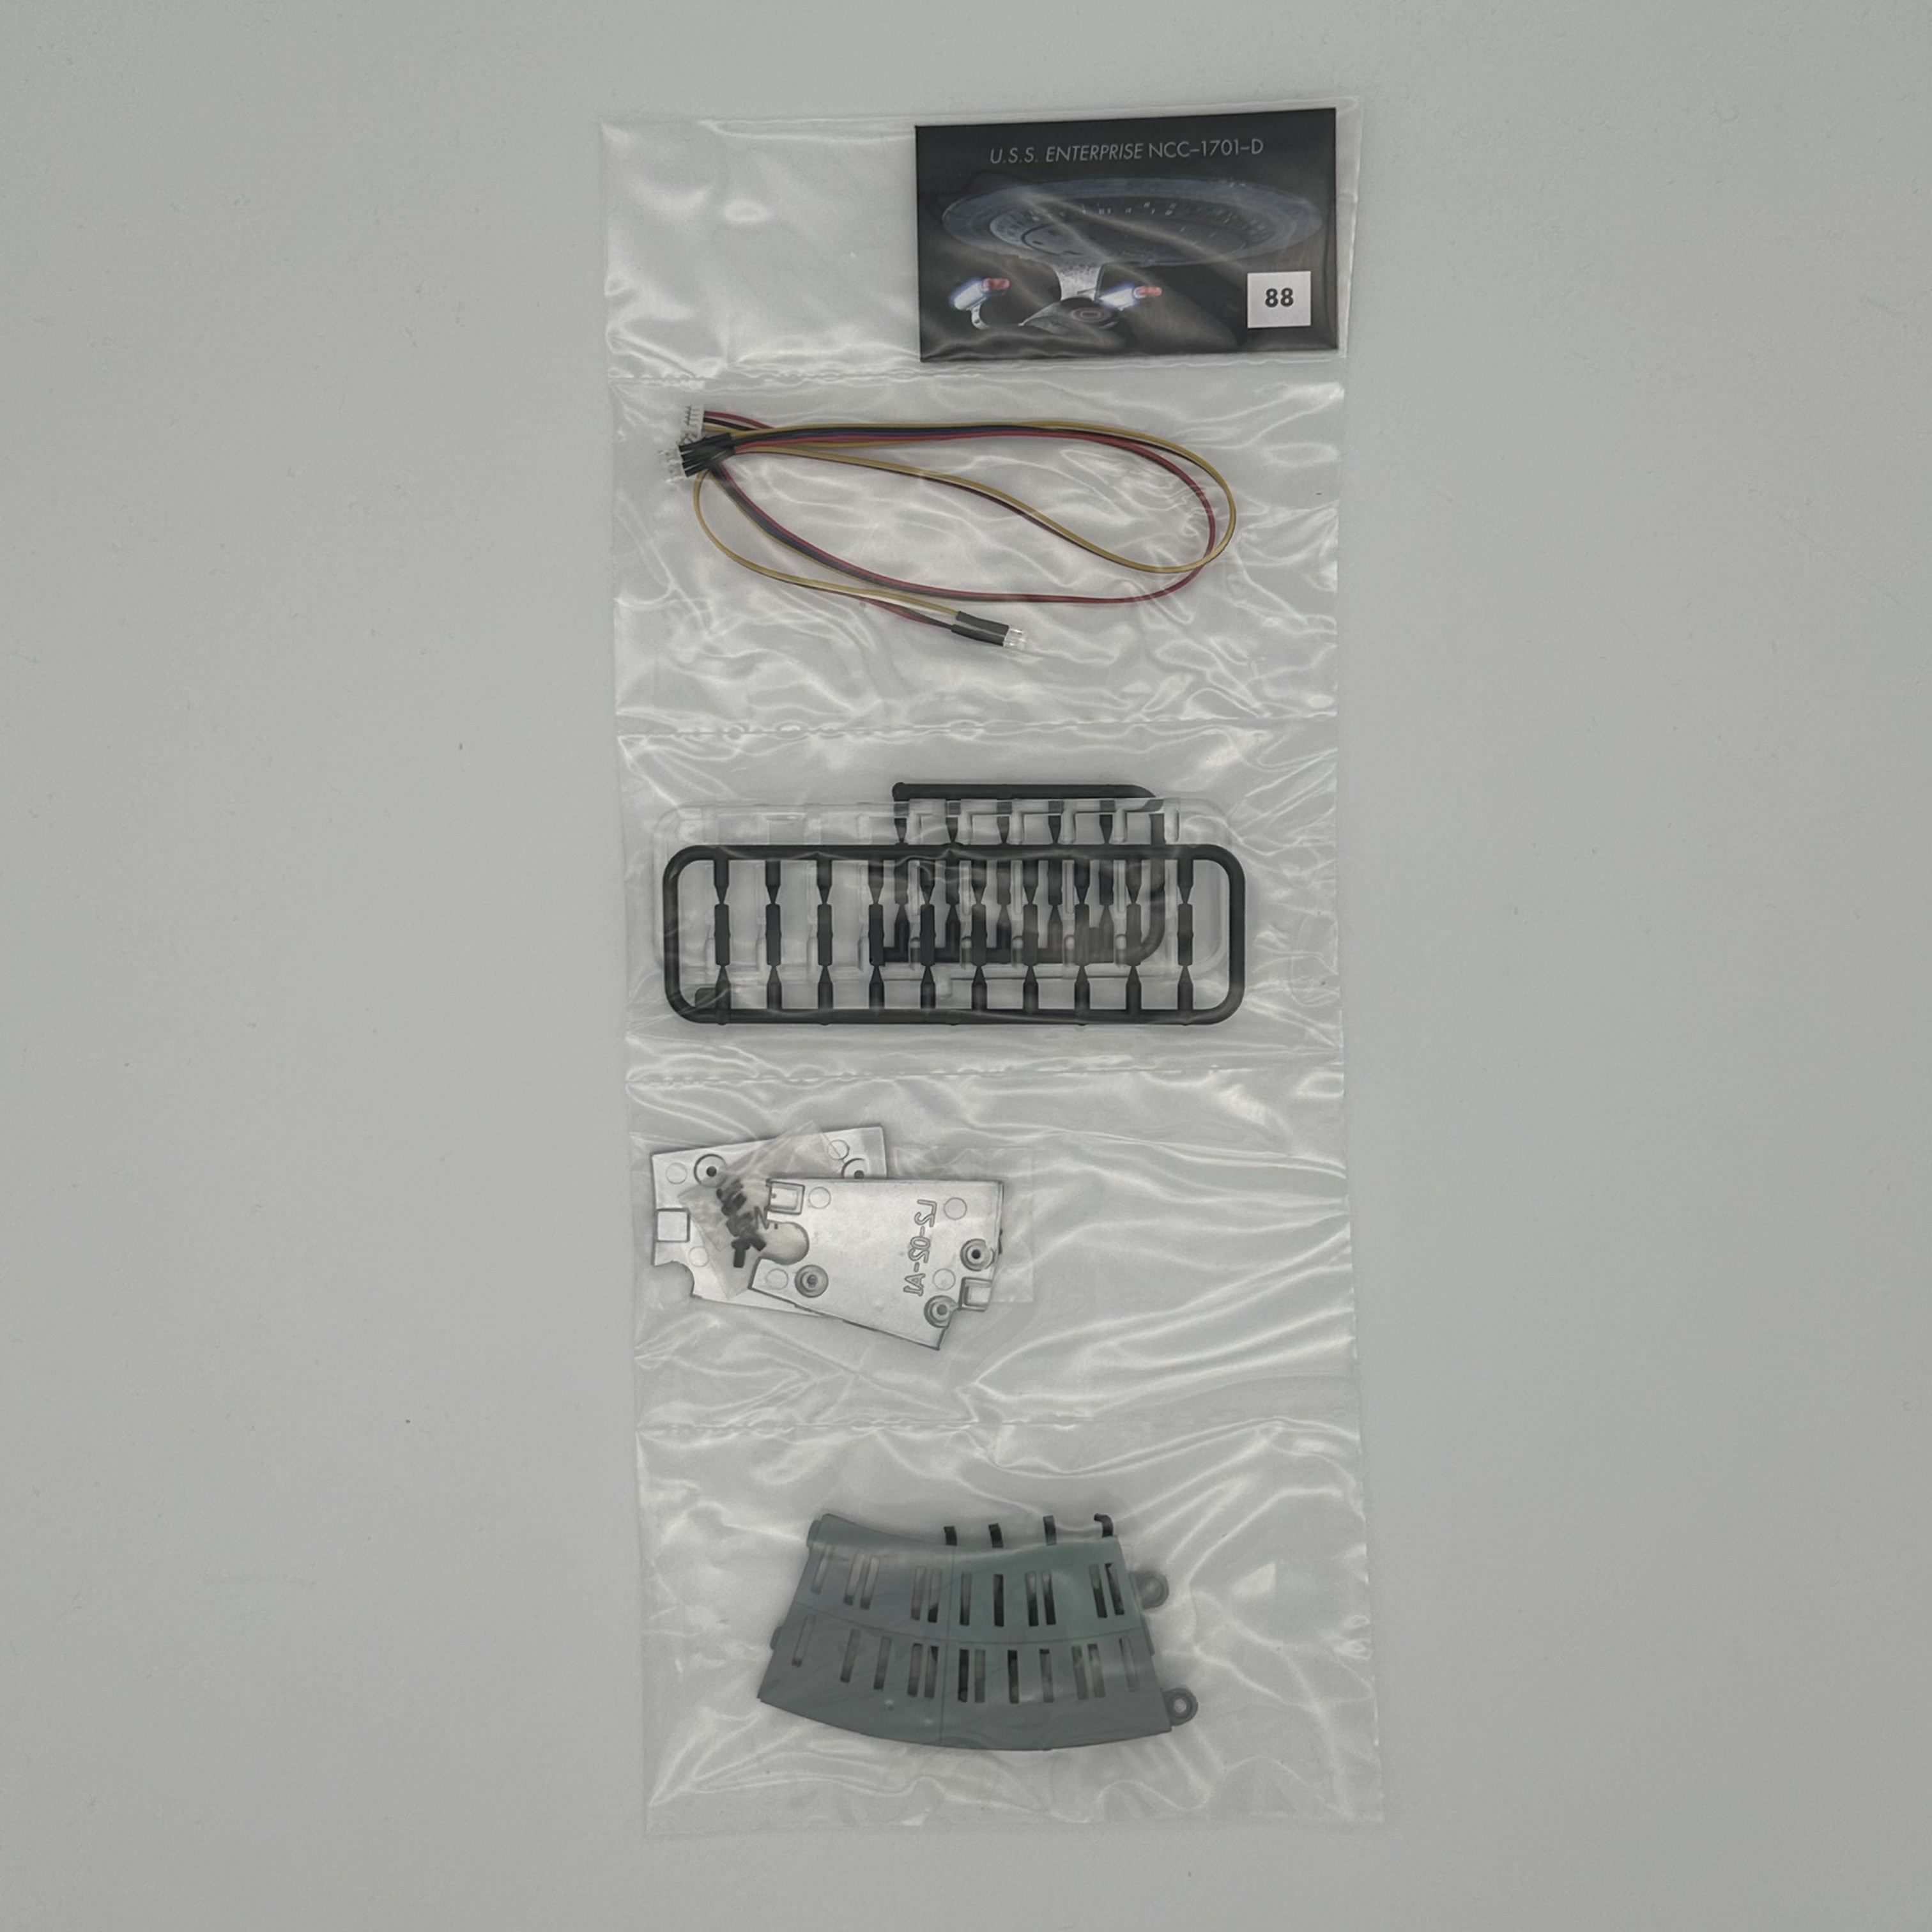
Kit no.88 adds two more deck panels to the lower saucer.
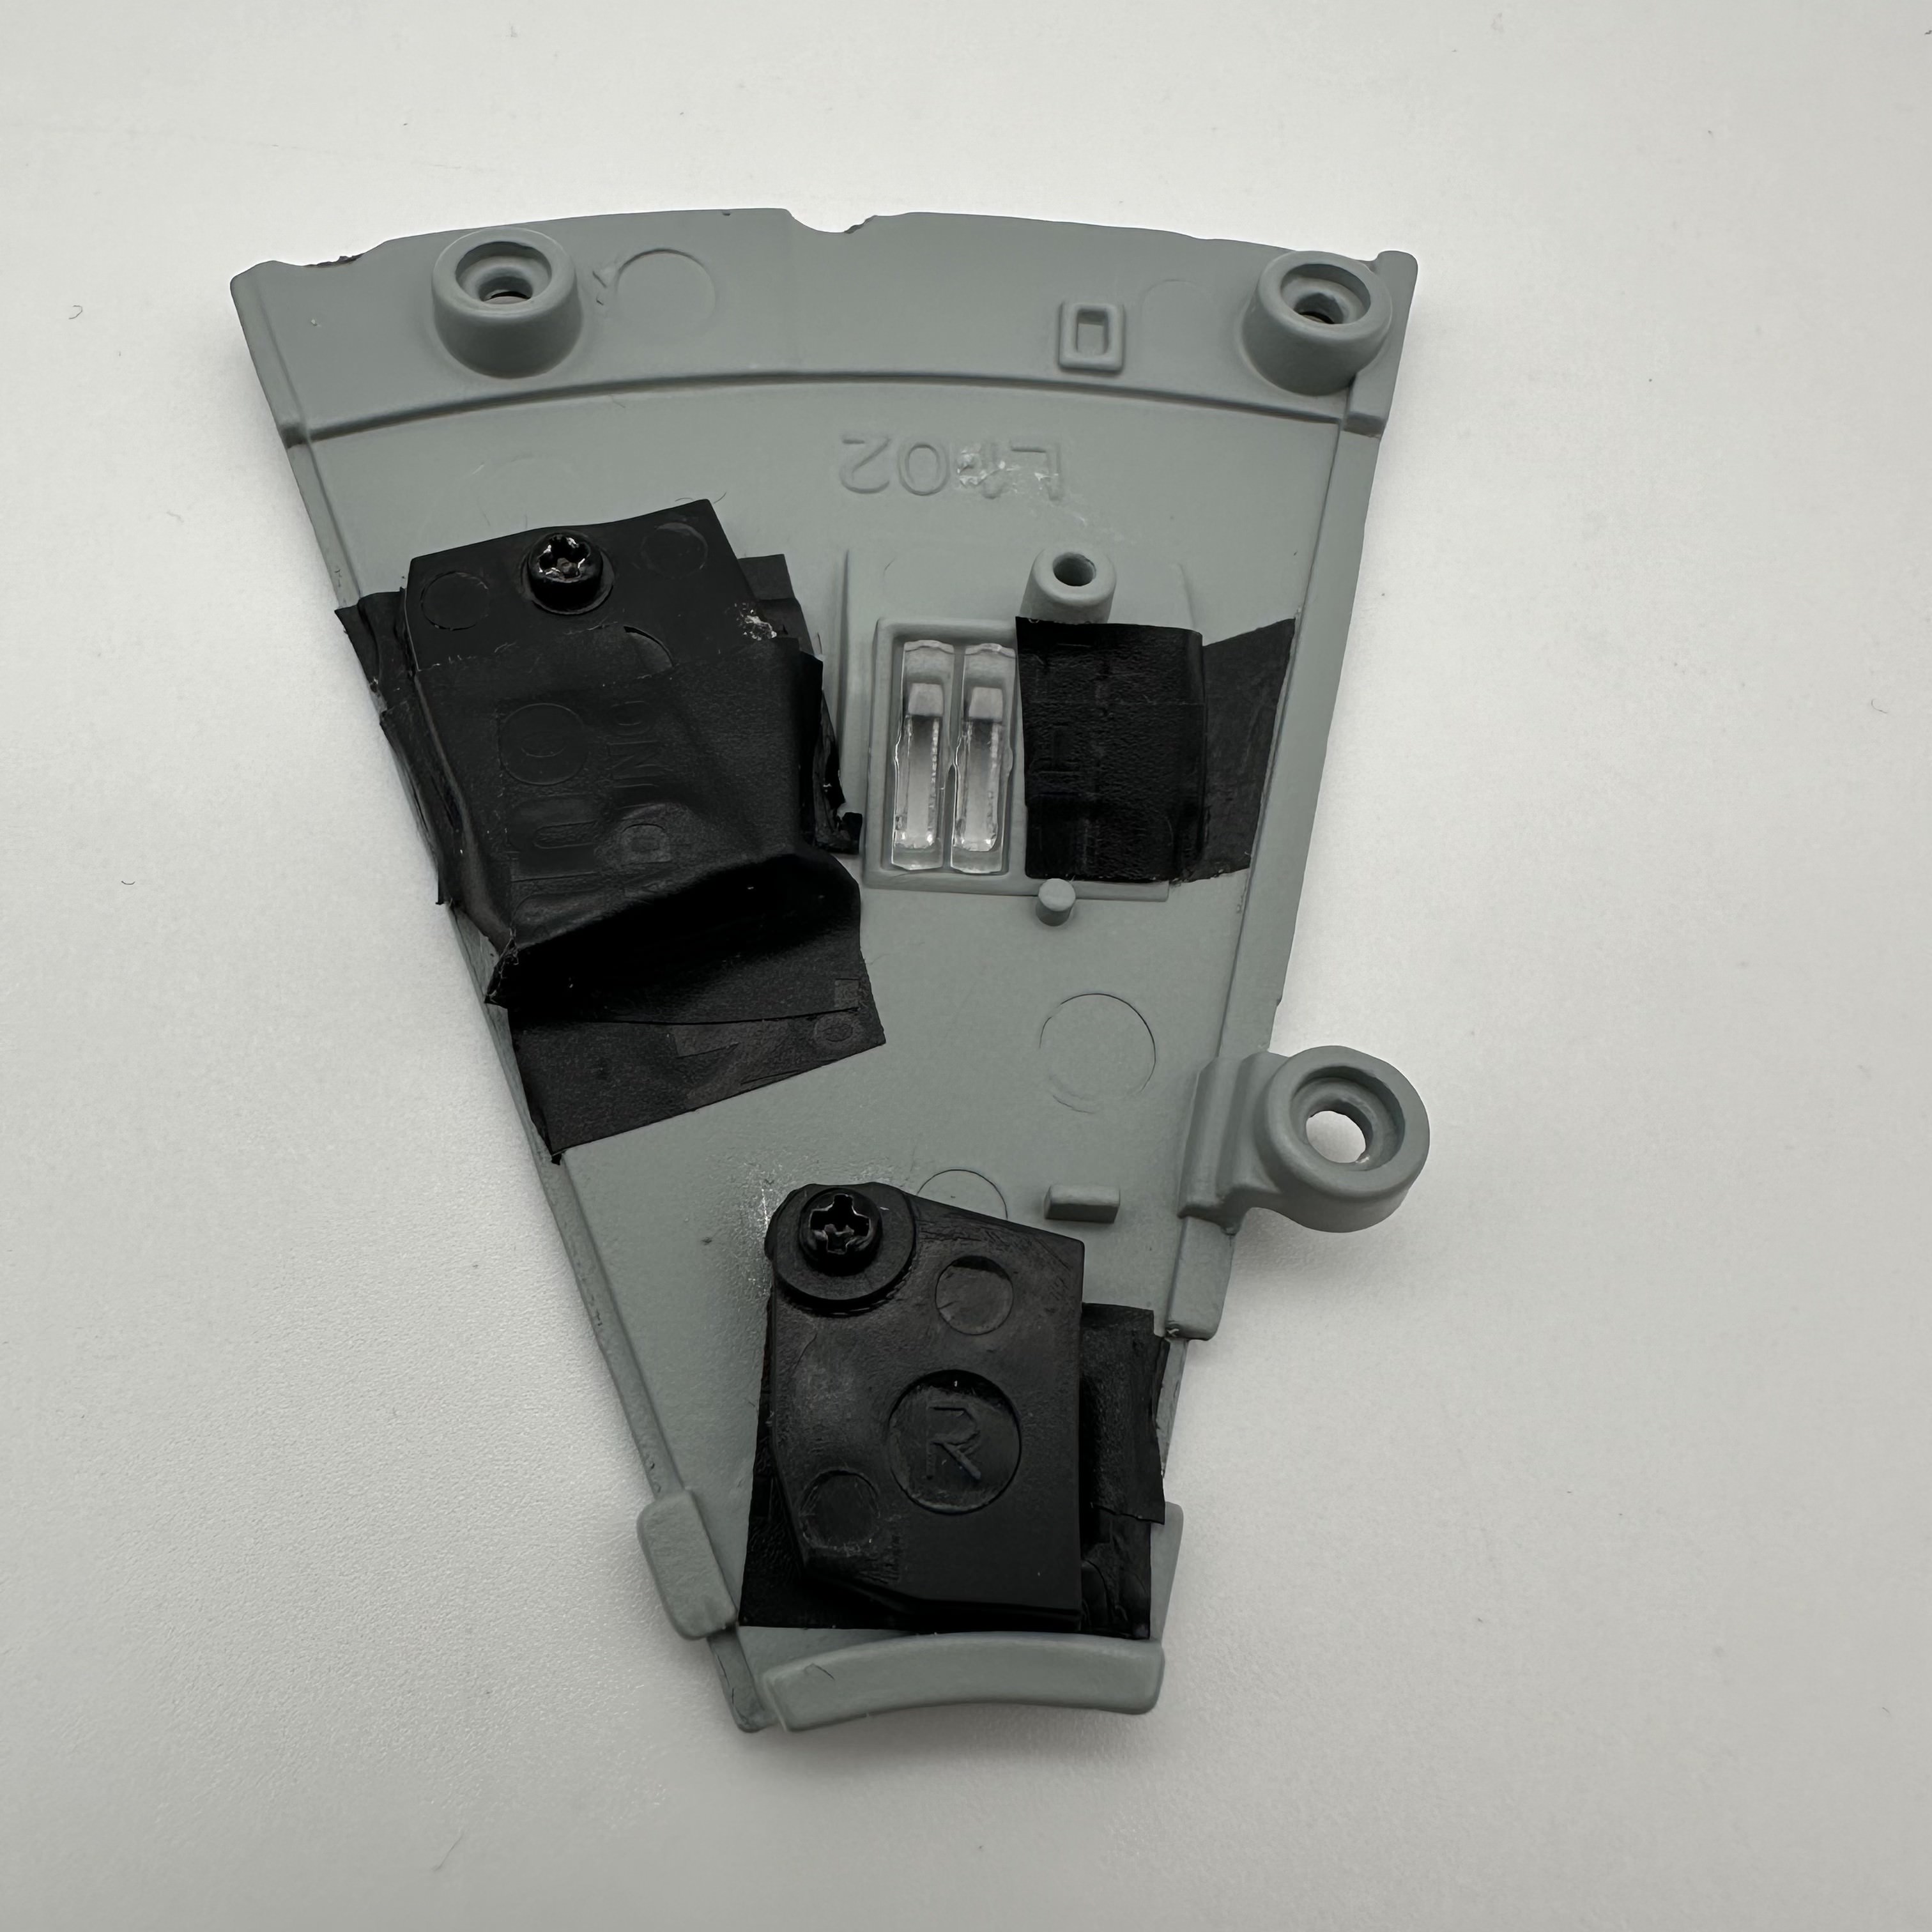
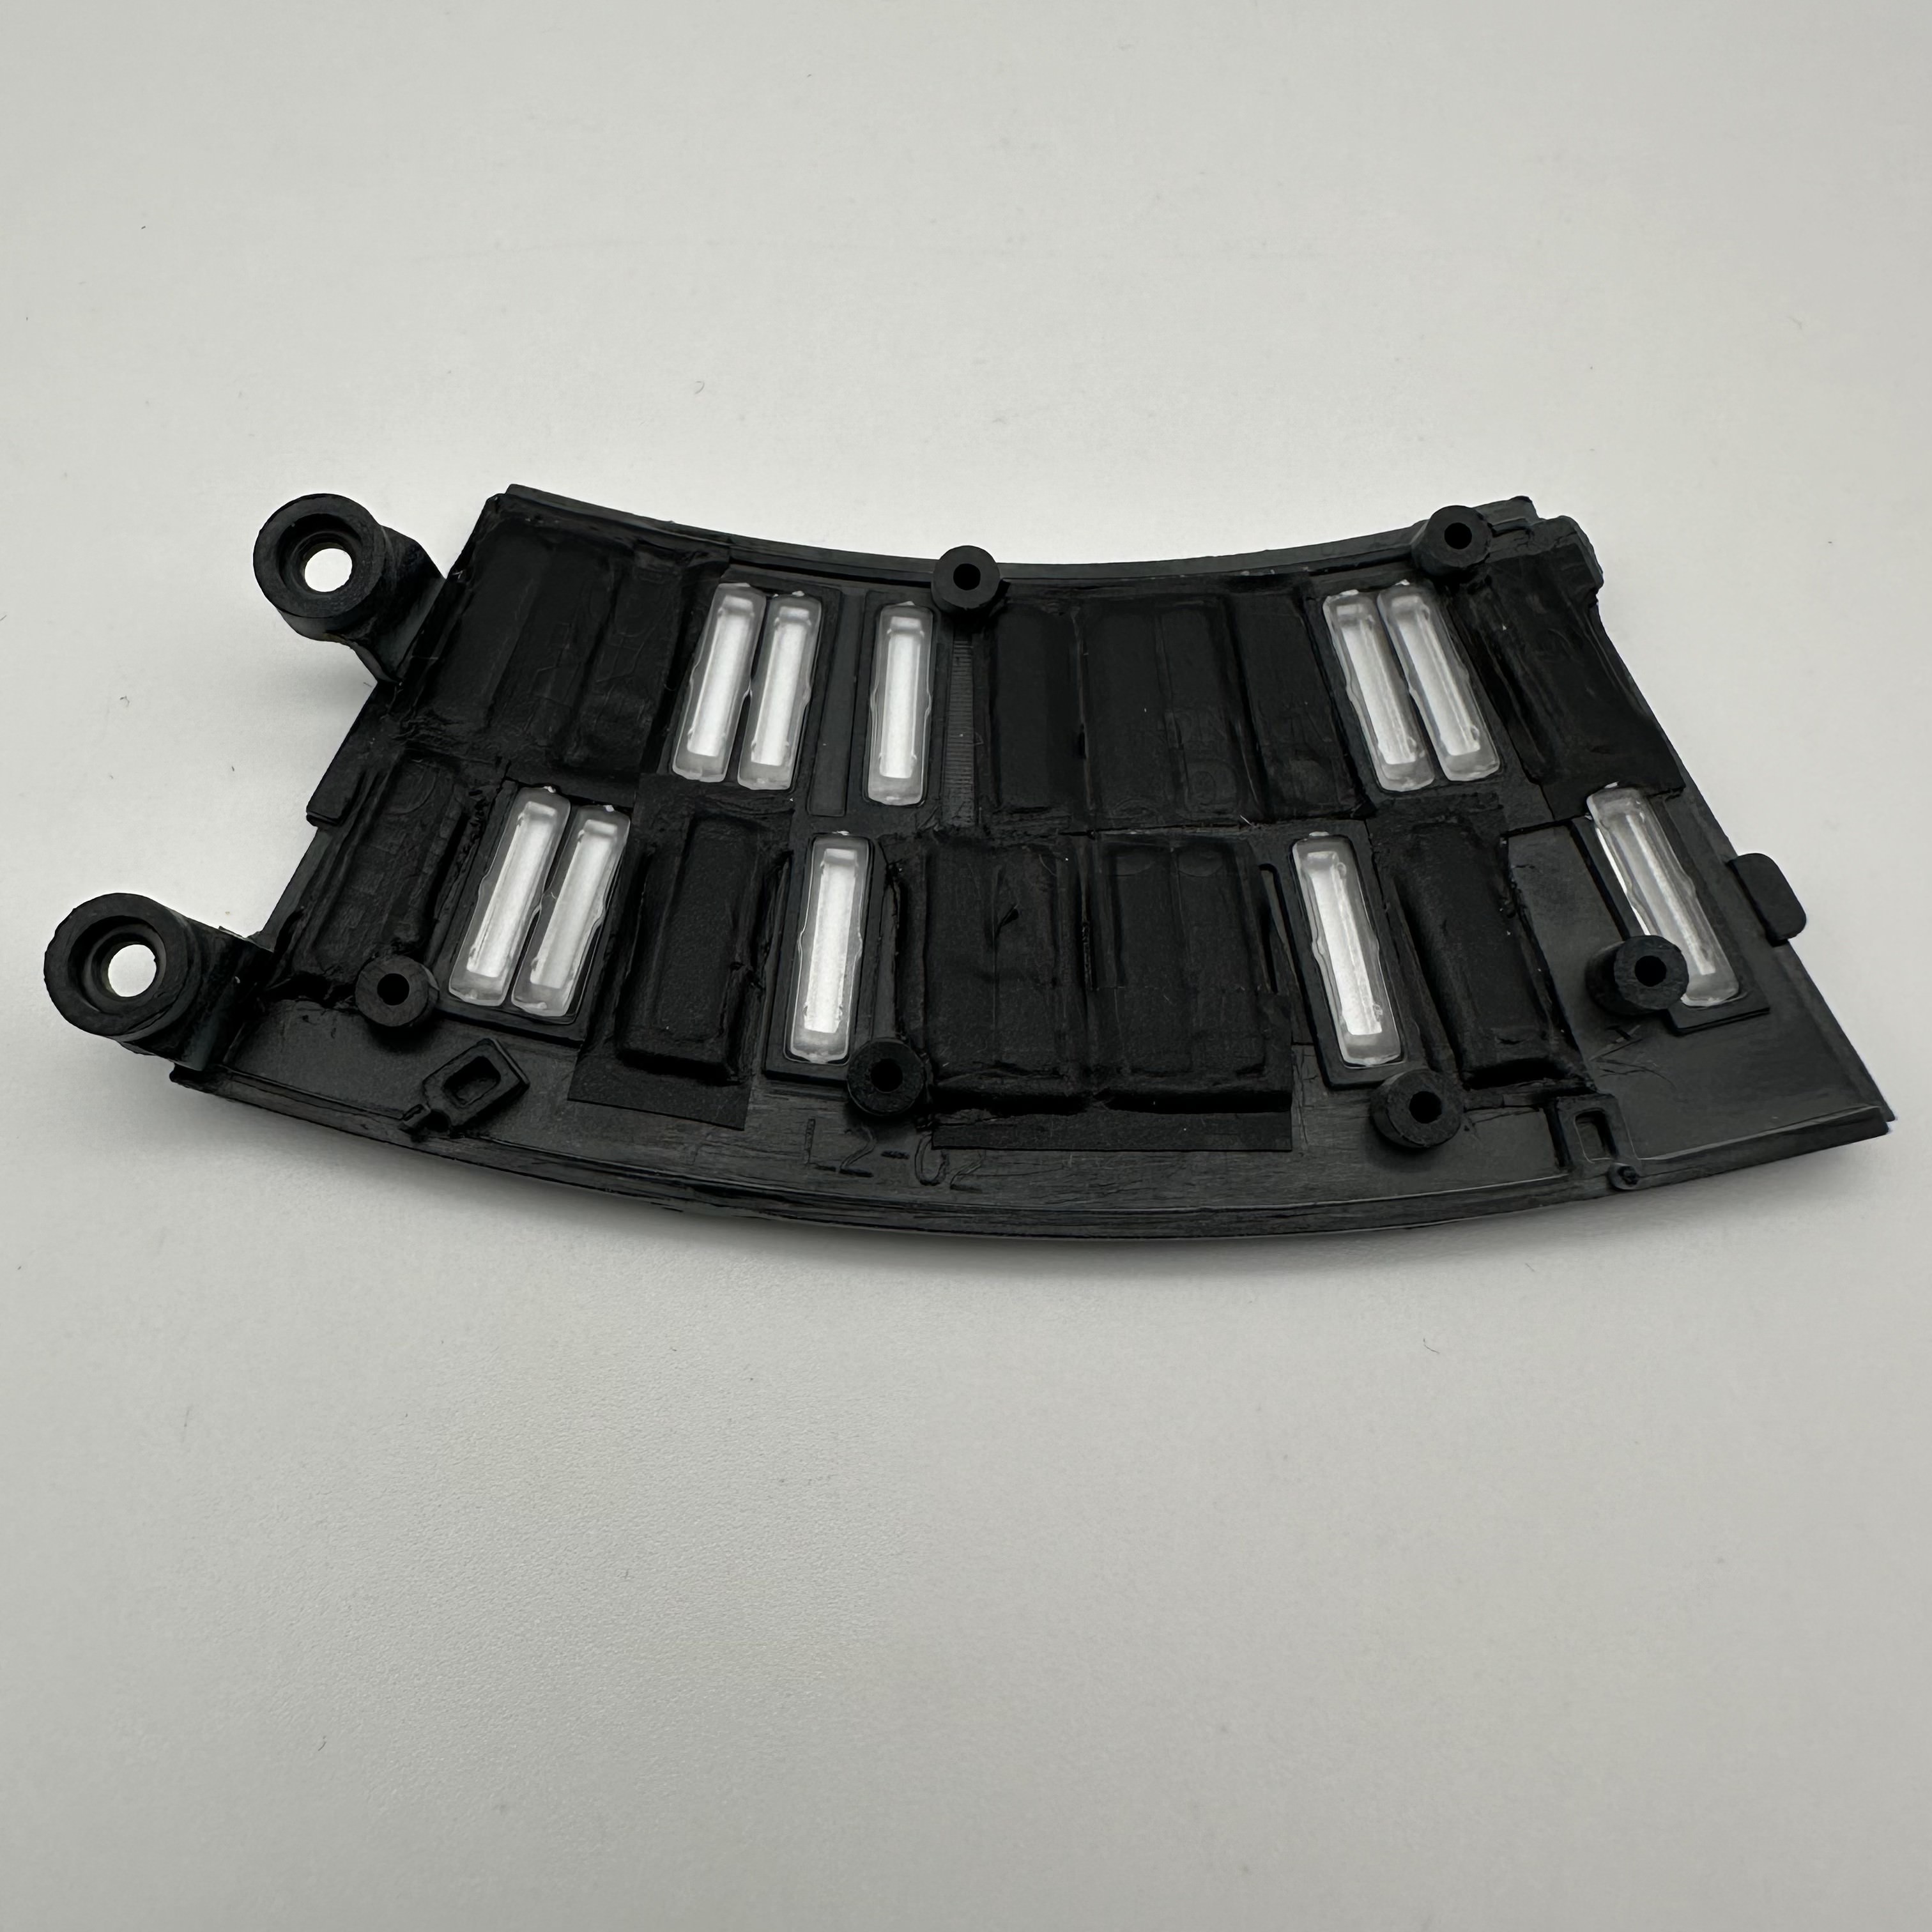
13 dark and 10 light windows are inserted into deck panel L2-02. I use black tape to block out the light on the dark windows.
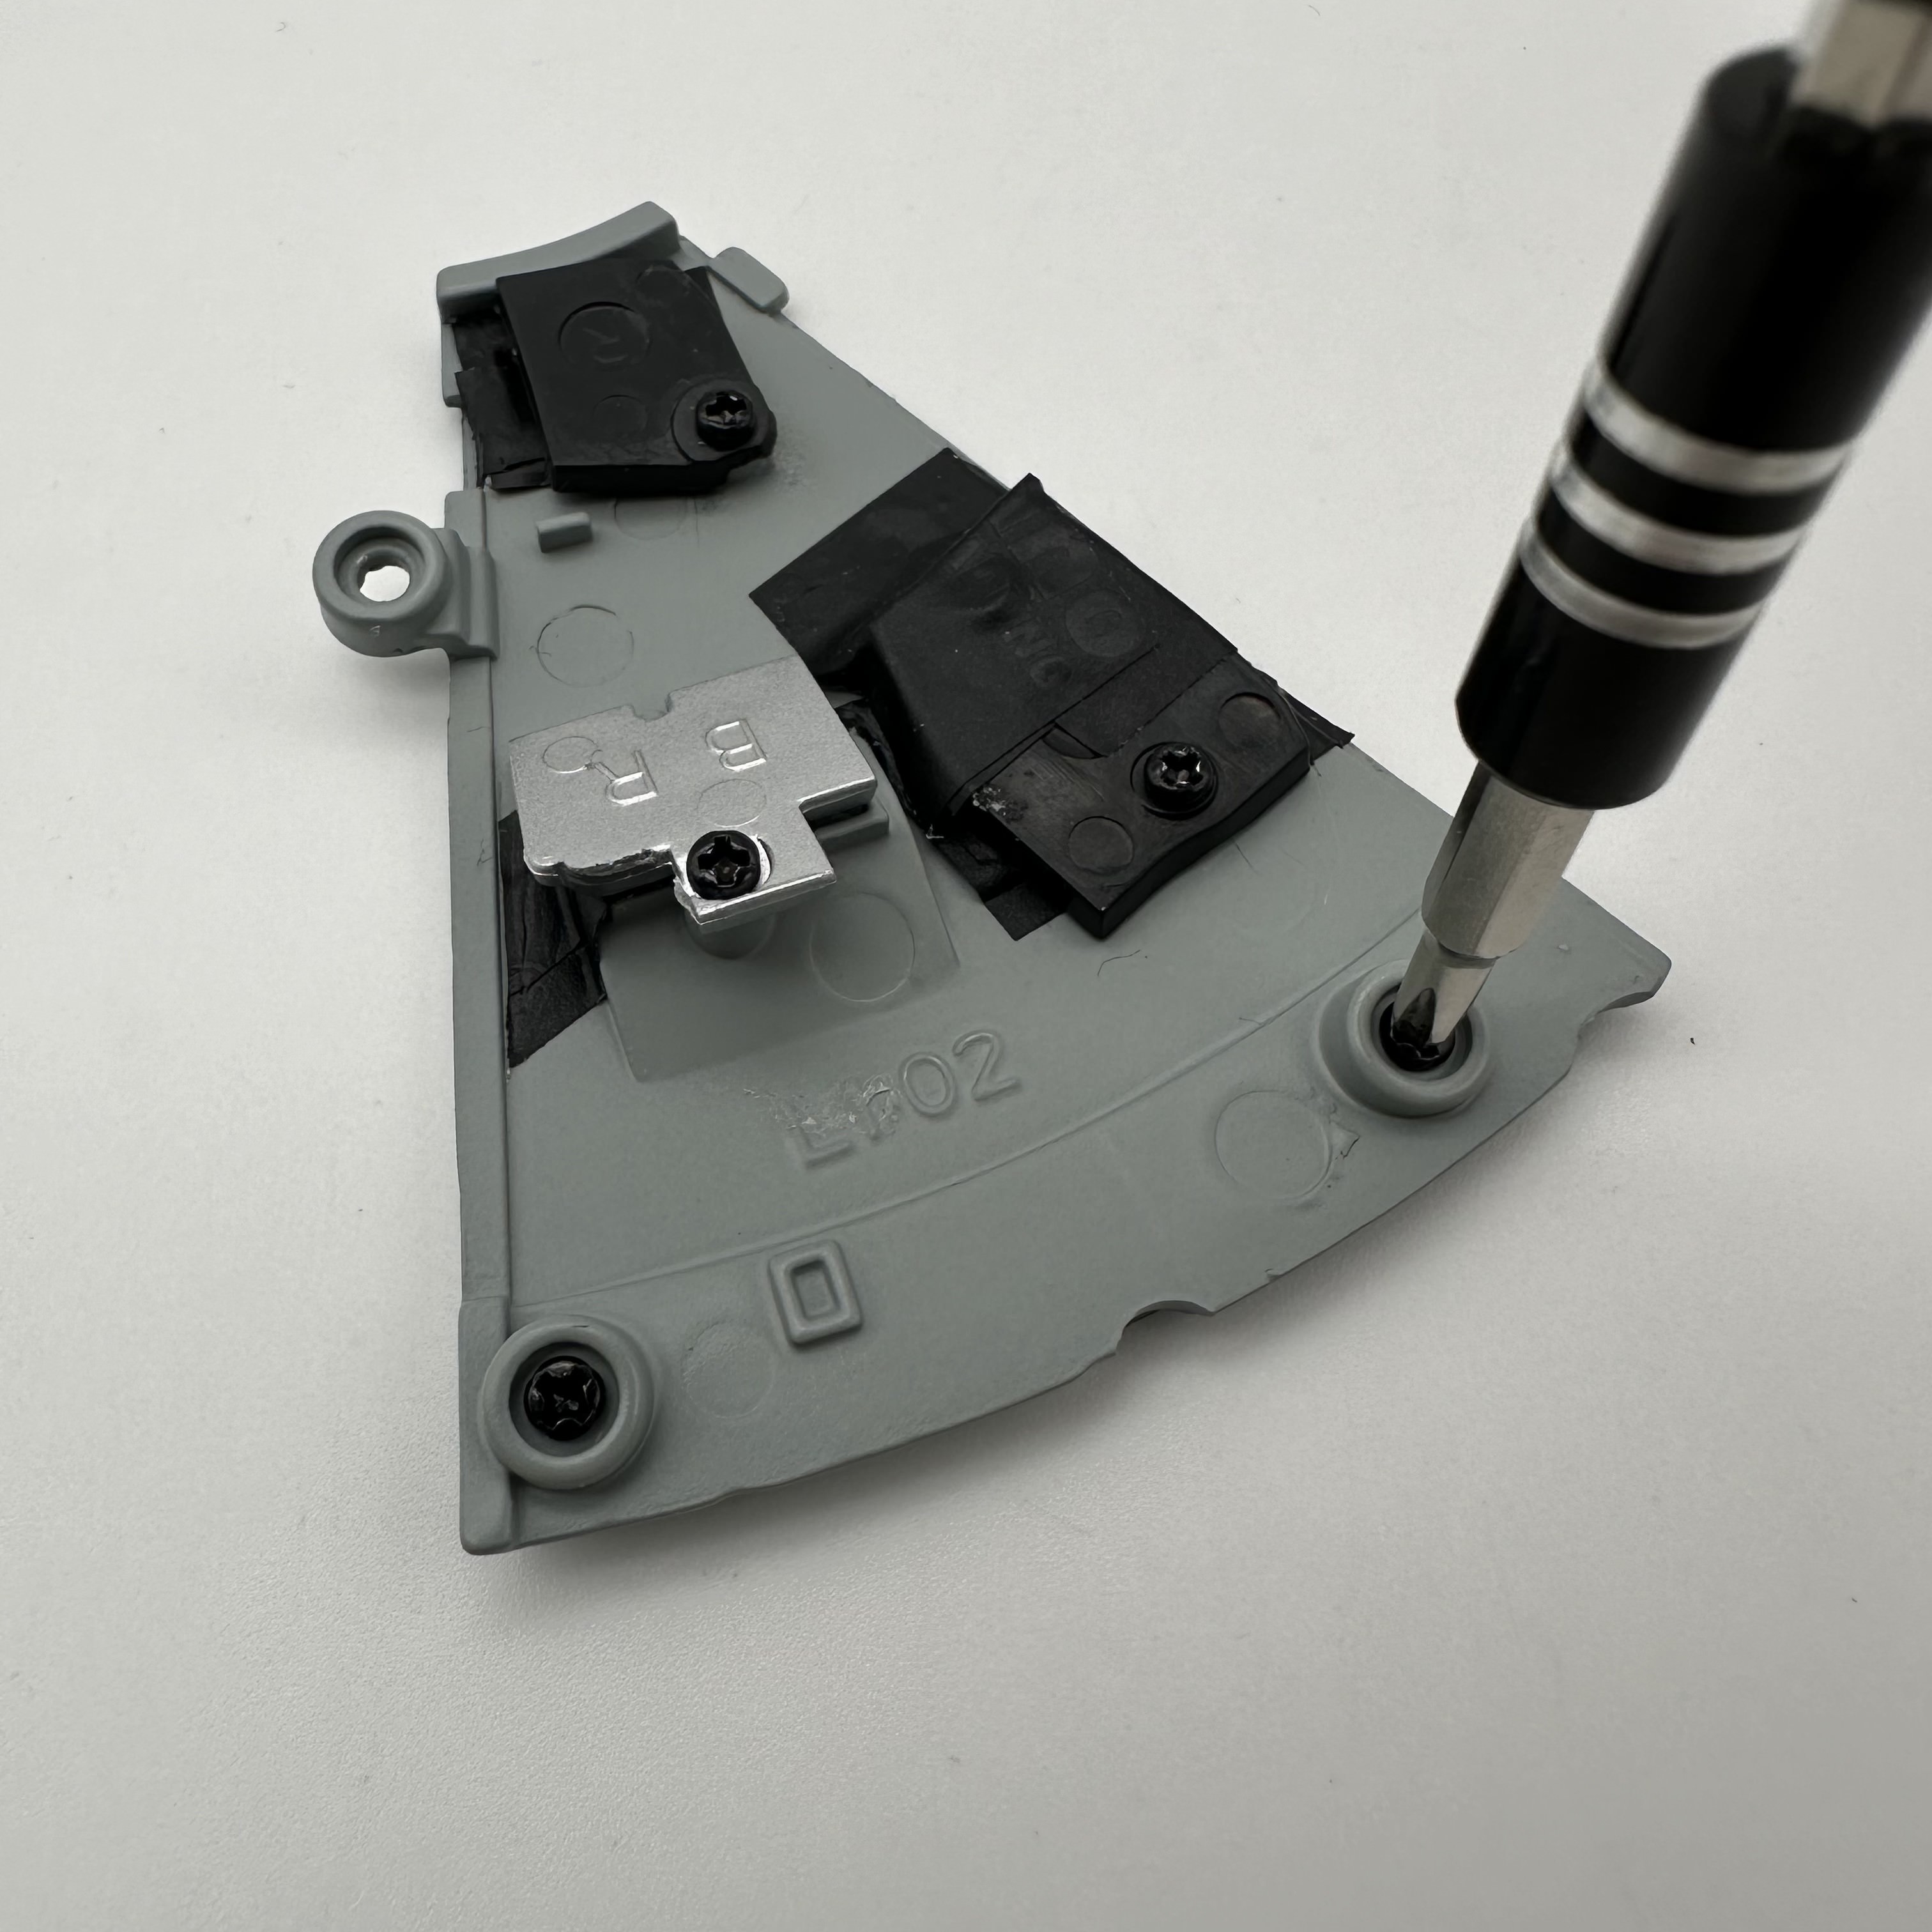
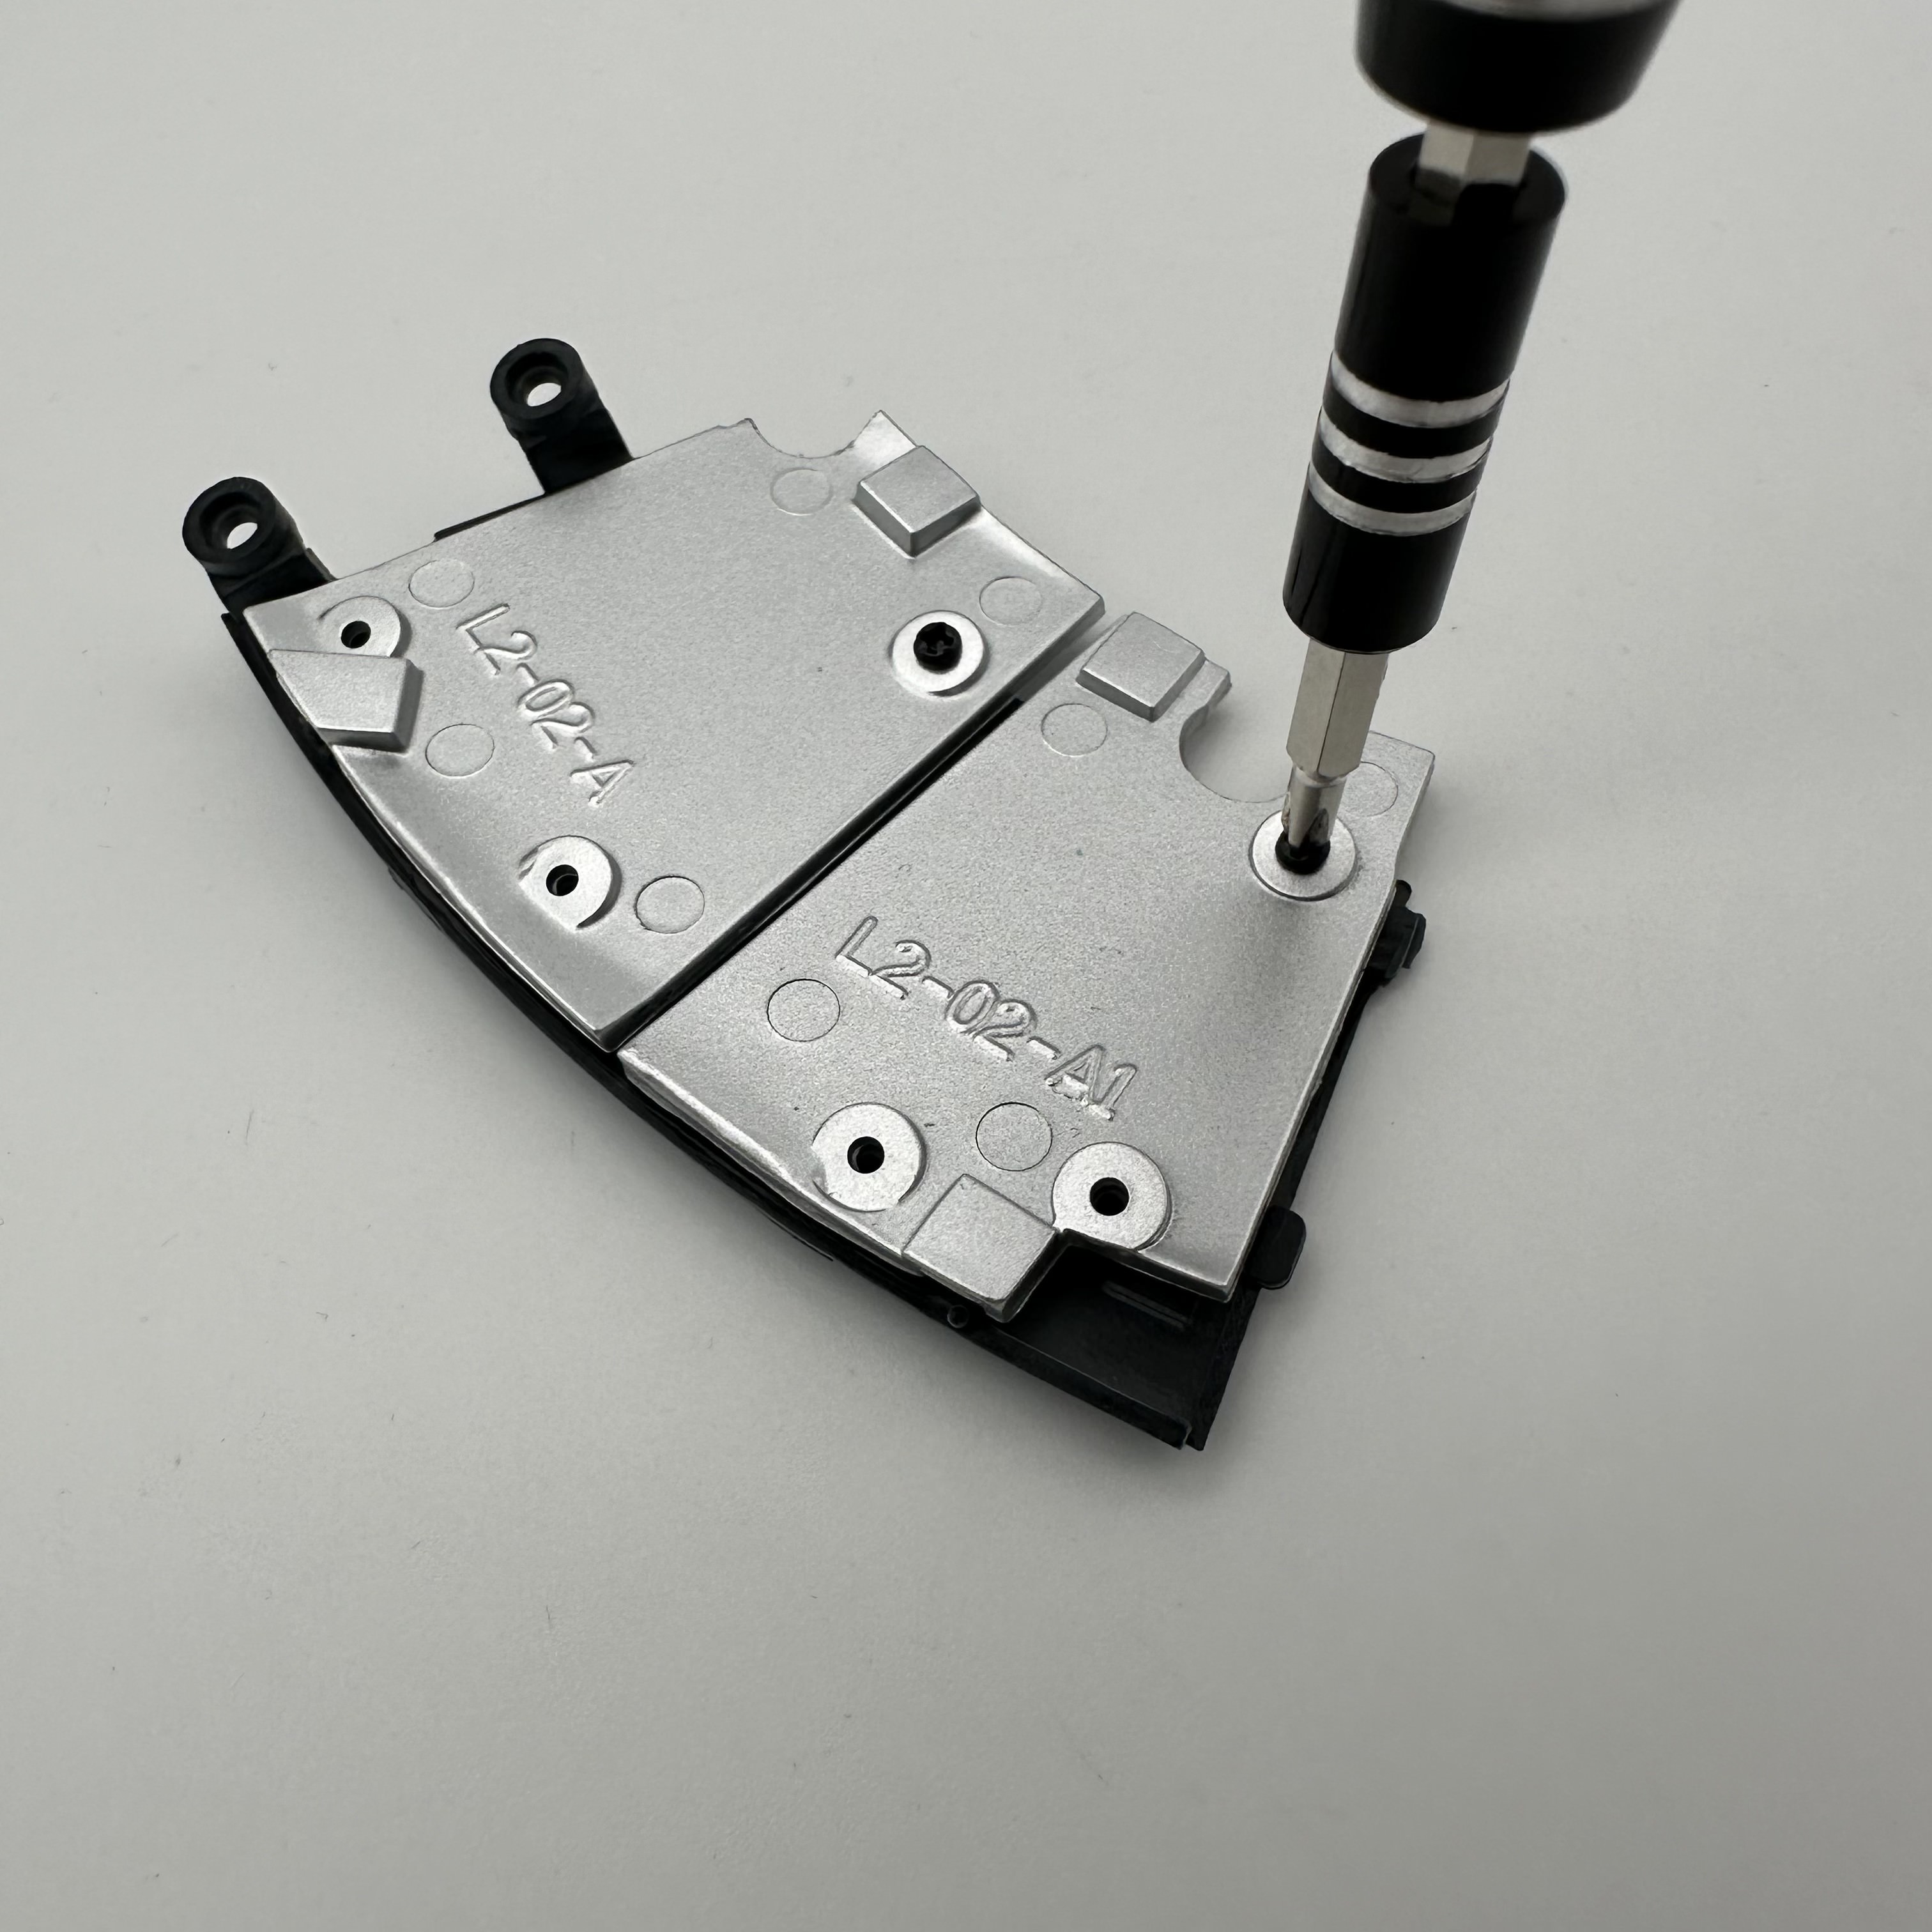
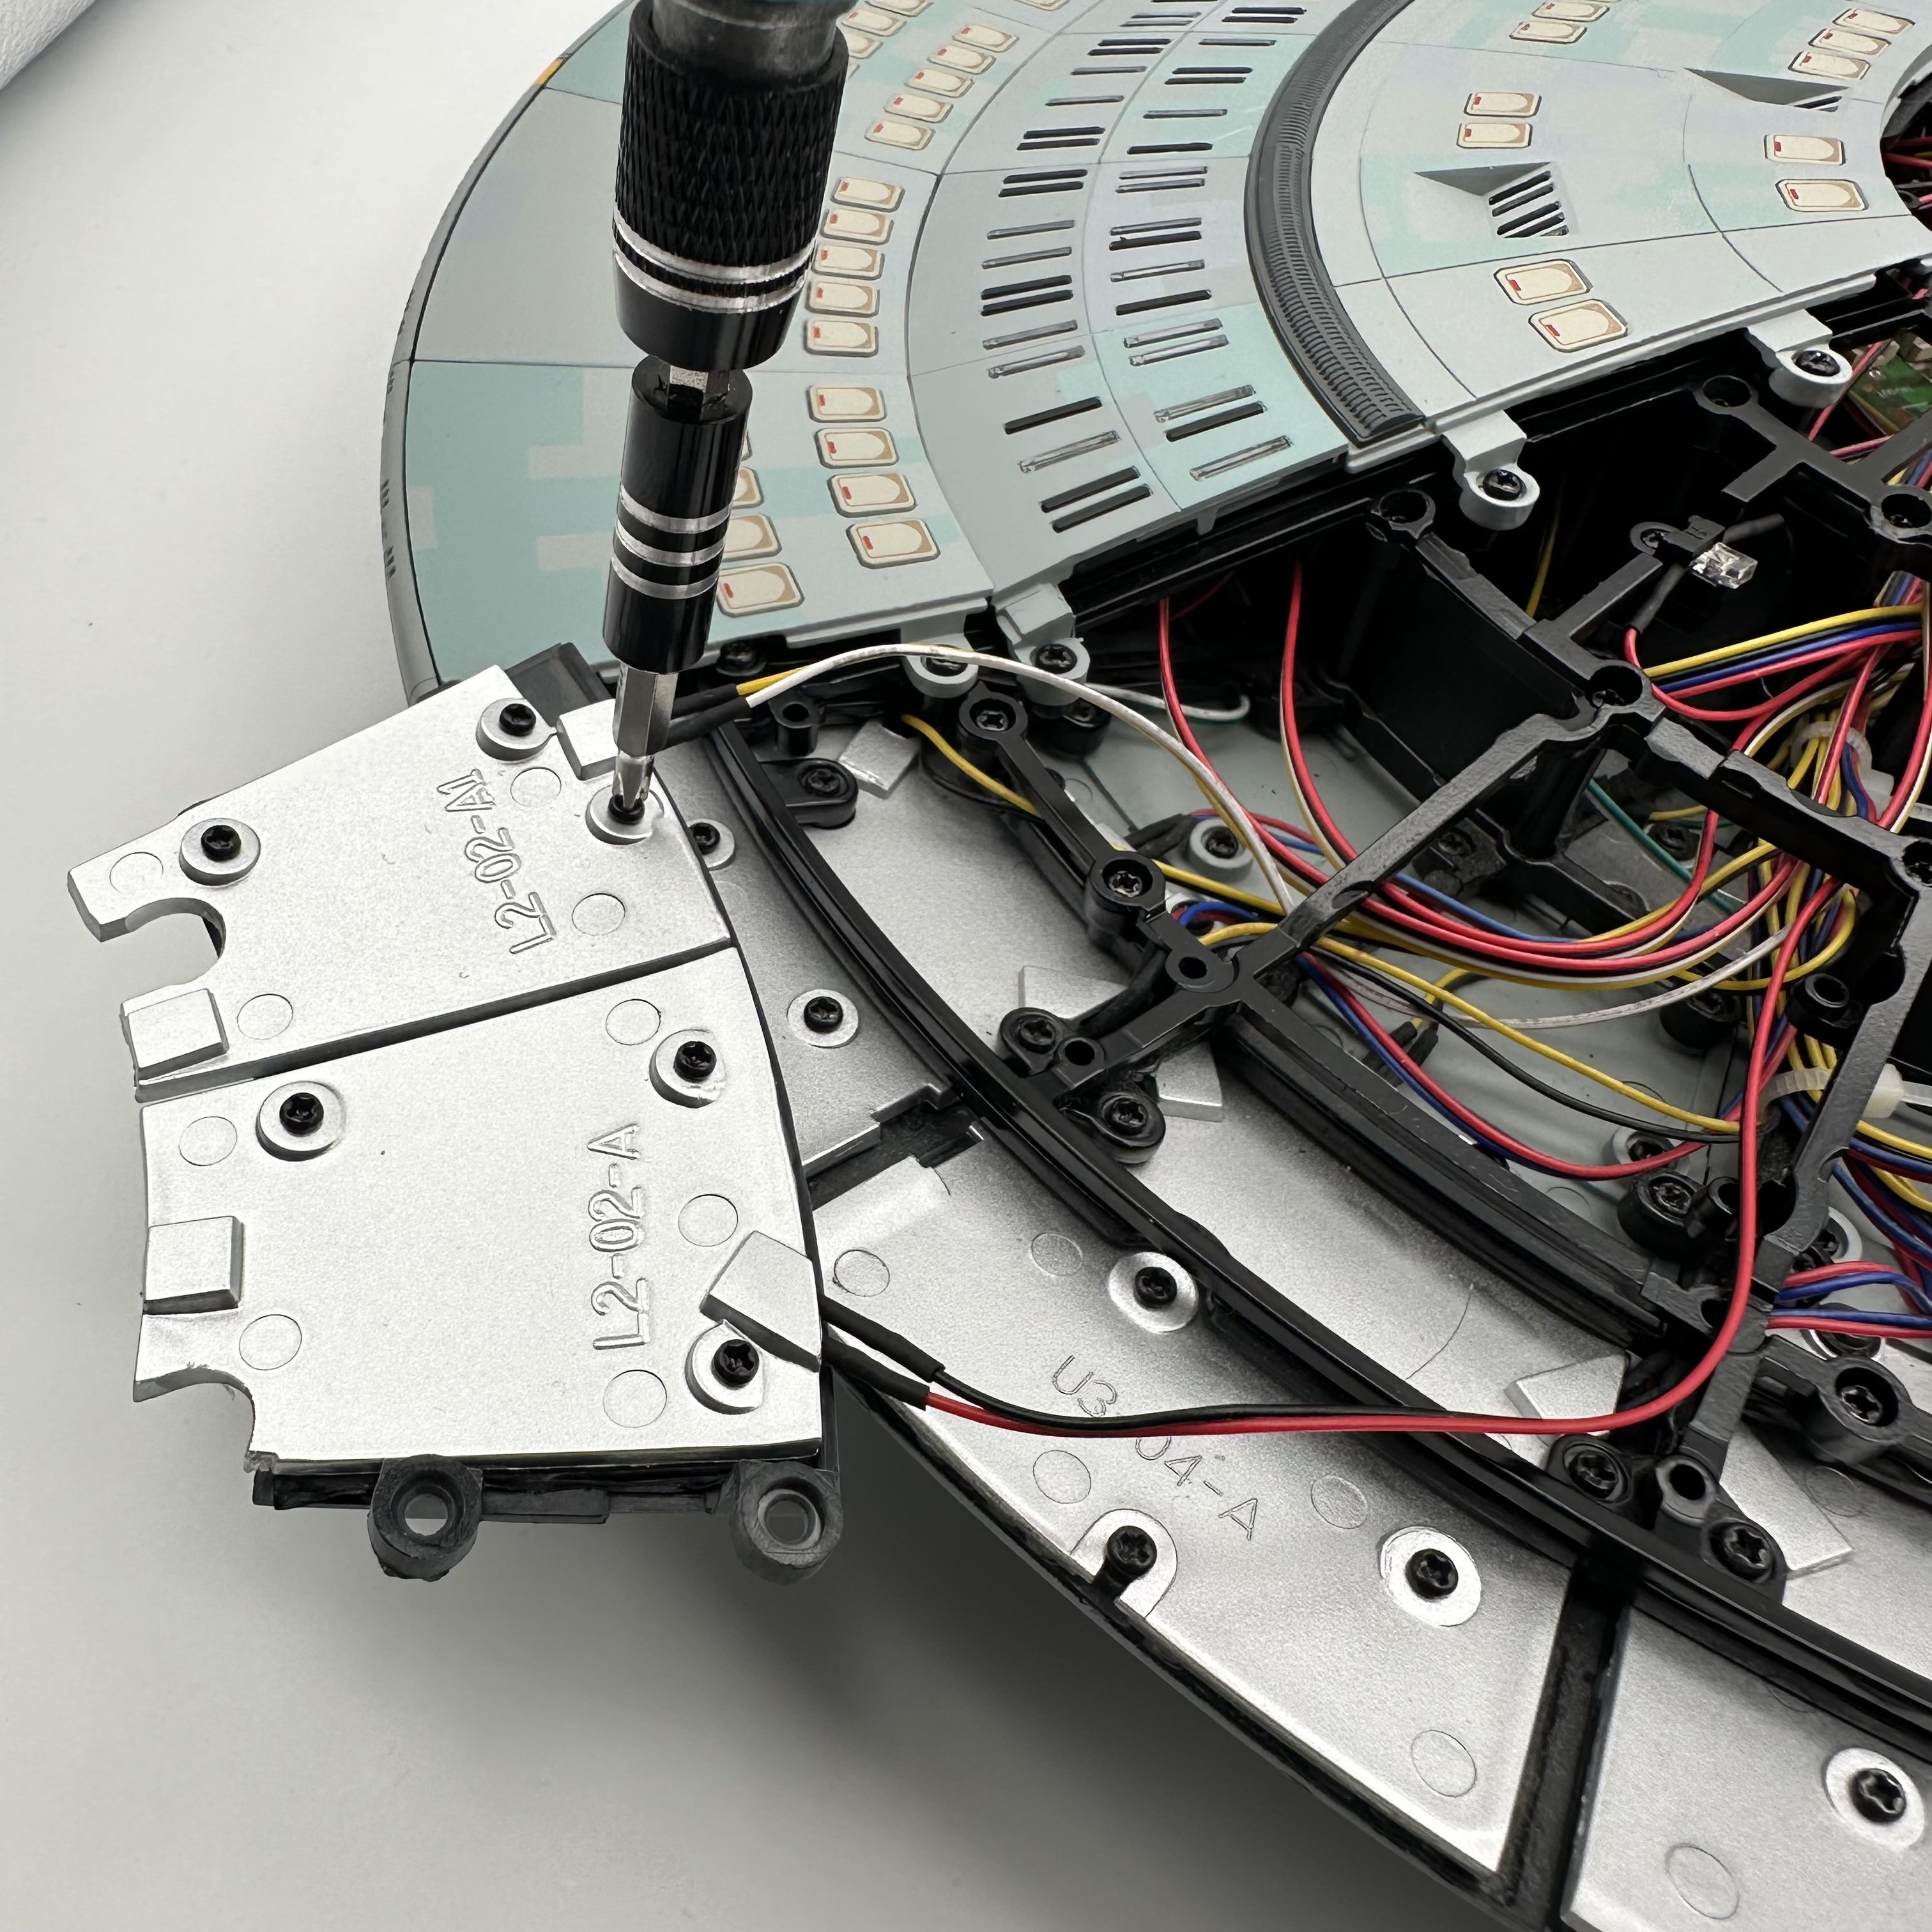
The windows are covered with reflector panel L2-02-A1 and reflector panel L2-02-A. This is now partially secured using 2 BP screws.

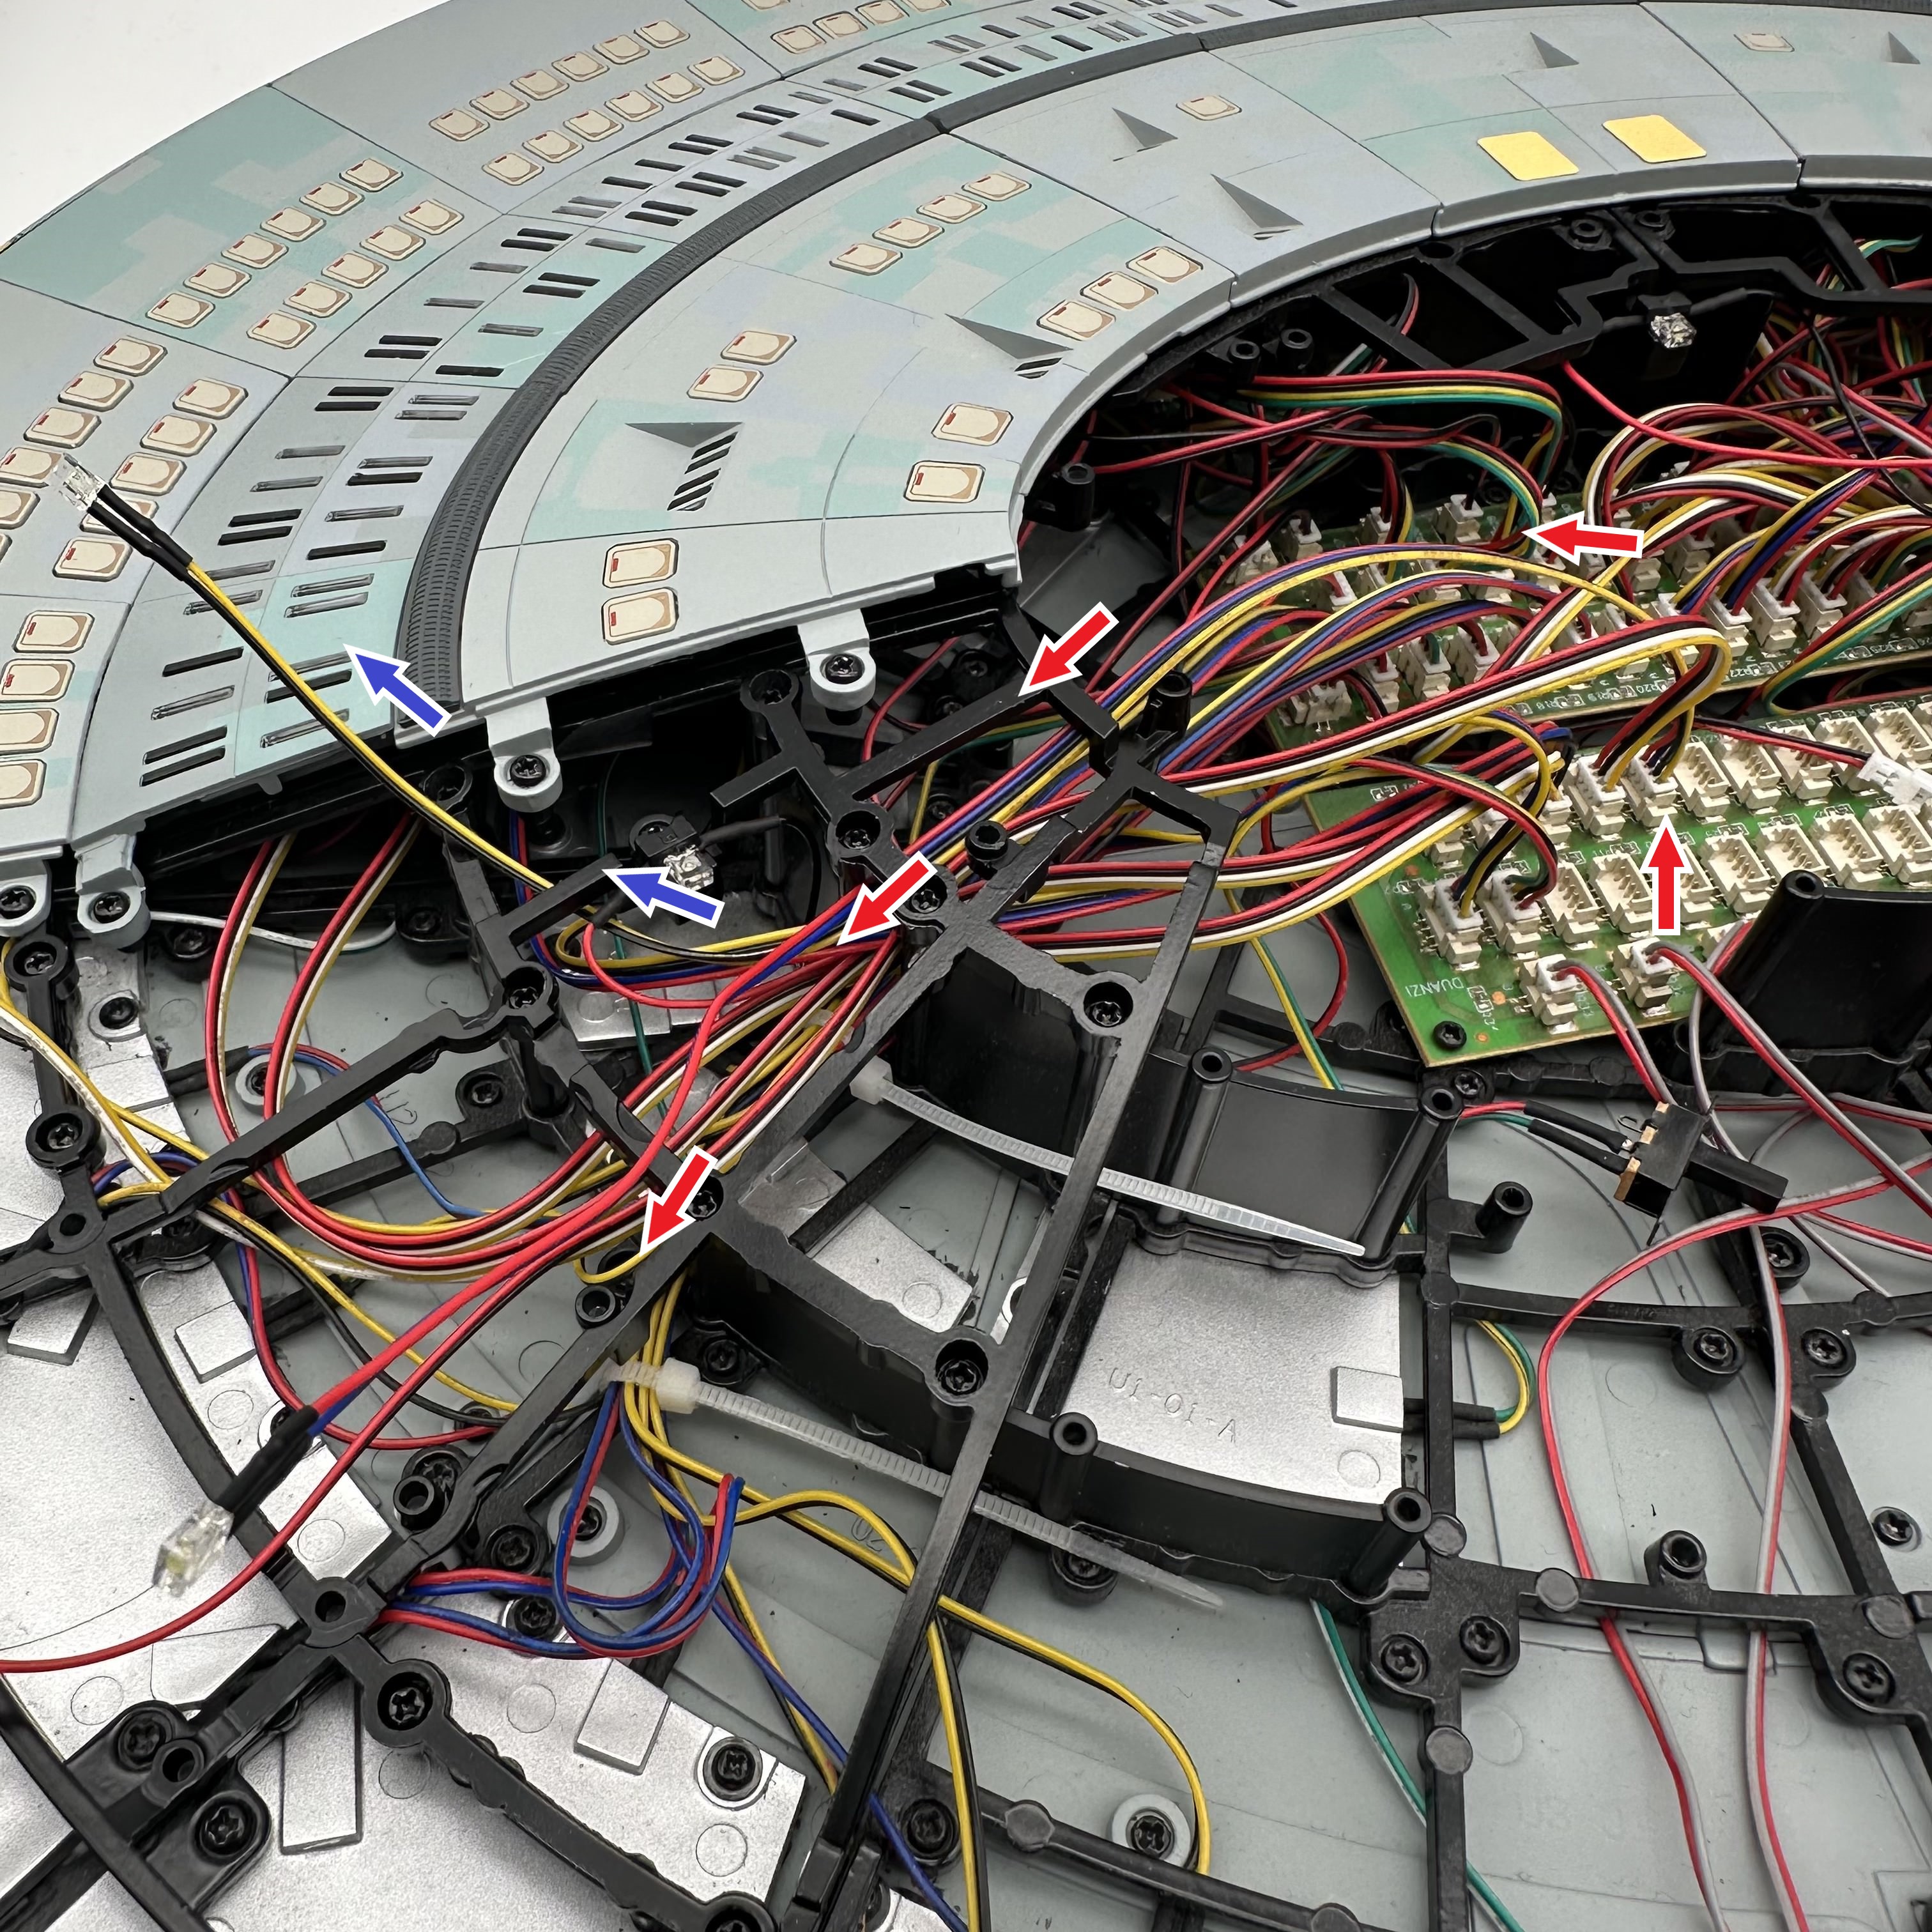
Deck panel lights ii are plugged into the socket marked ‘A’ on PCB 3. The cables are then threaded through the skeleton as pictured below. The bulbs are slotted into deck panel L2-02 and secured using 4 BP screws. The bulb casings are carefully bent away from the deck panel.
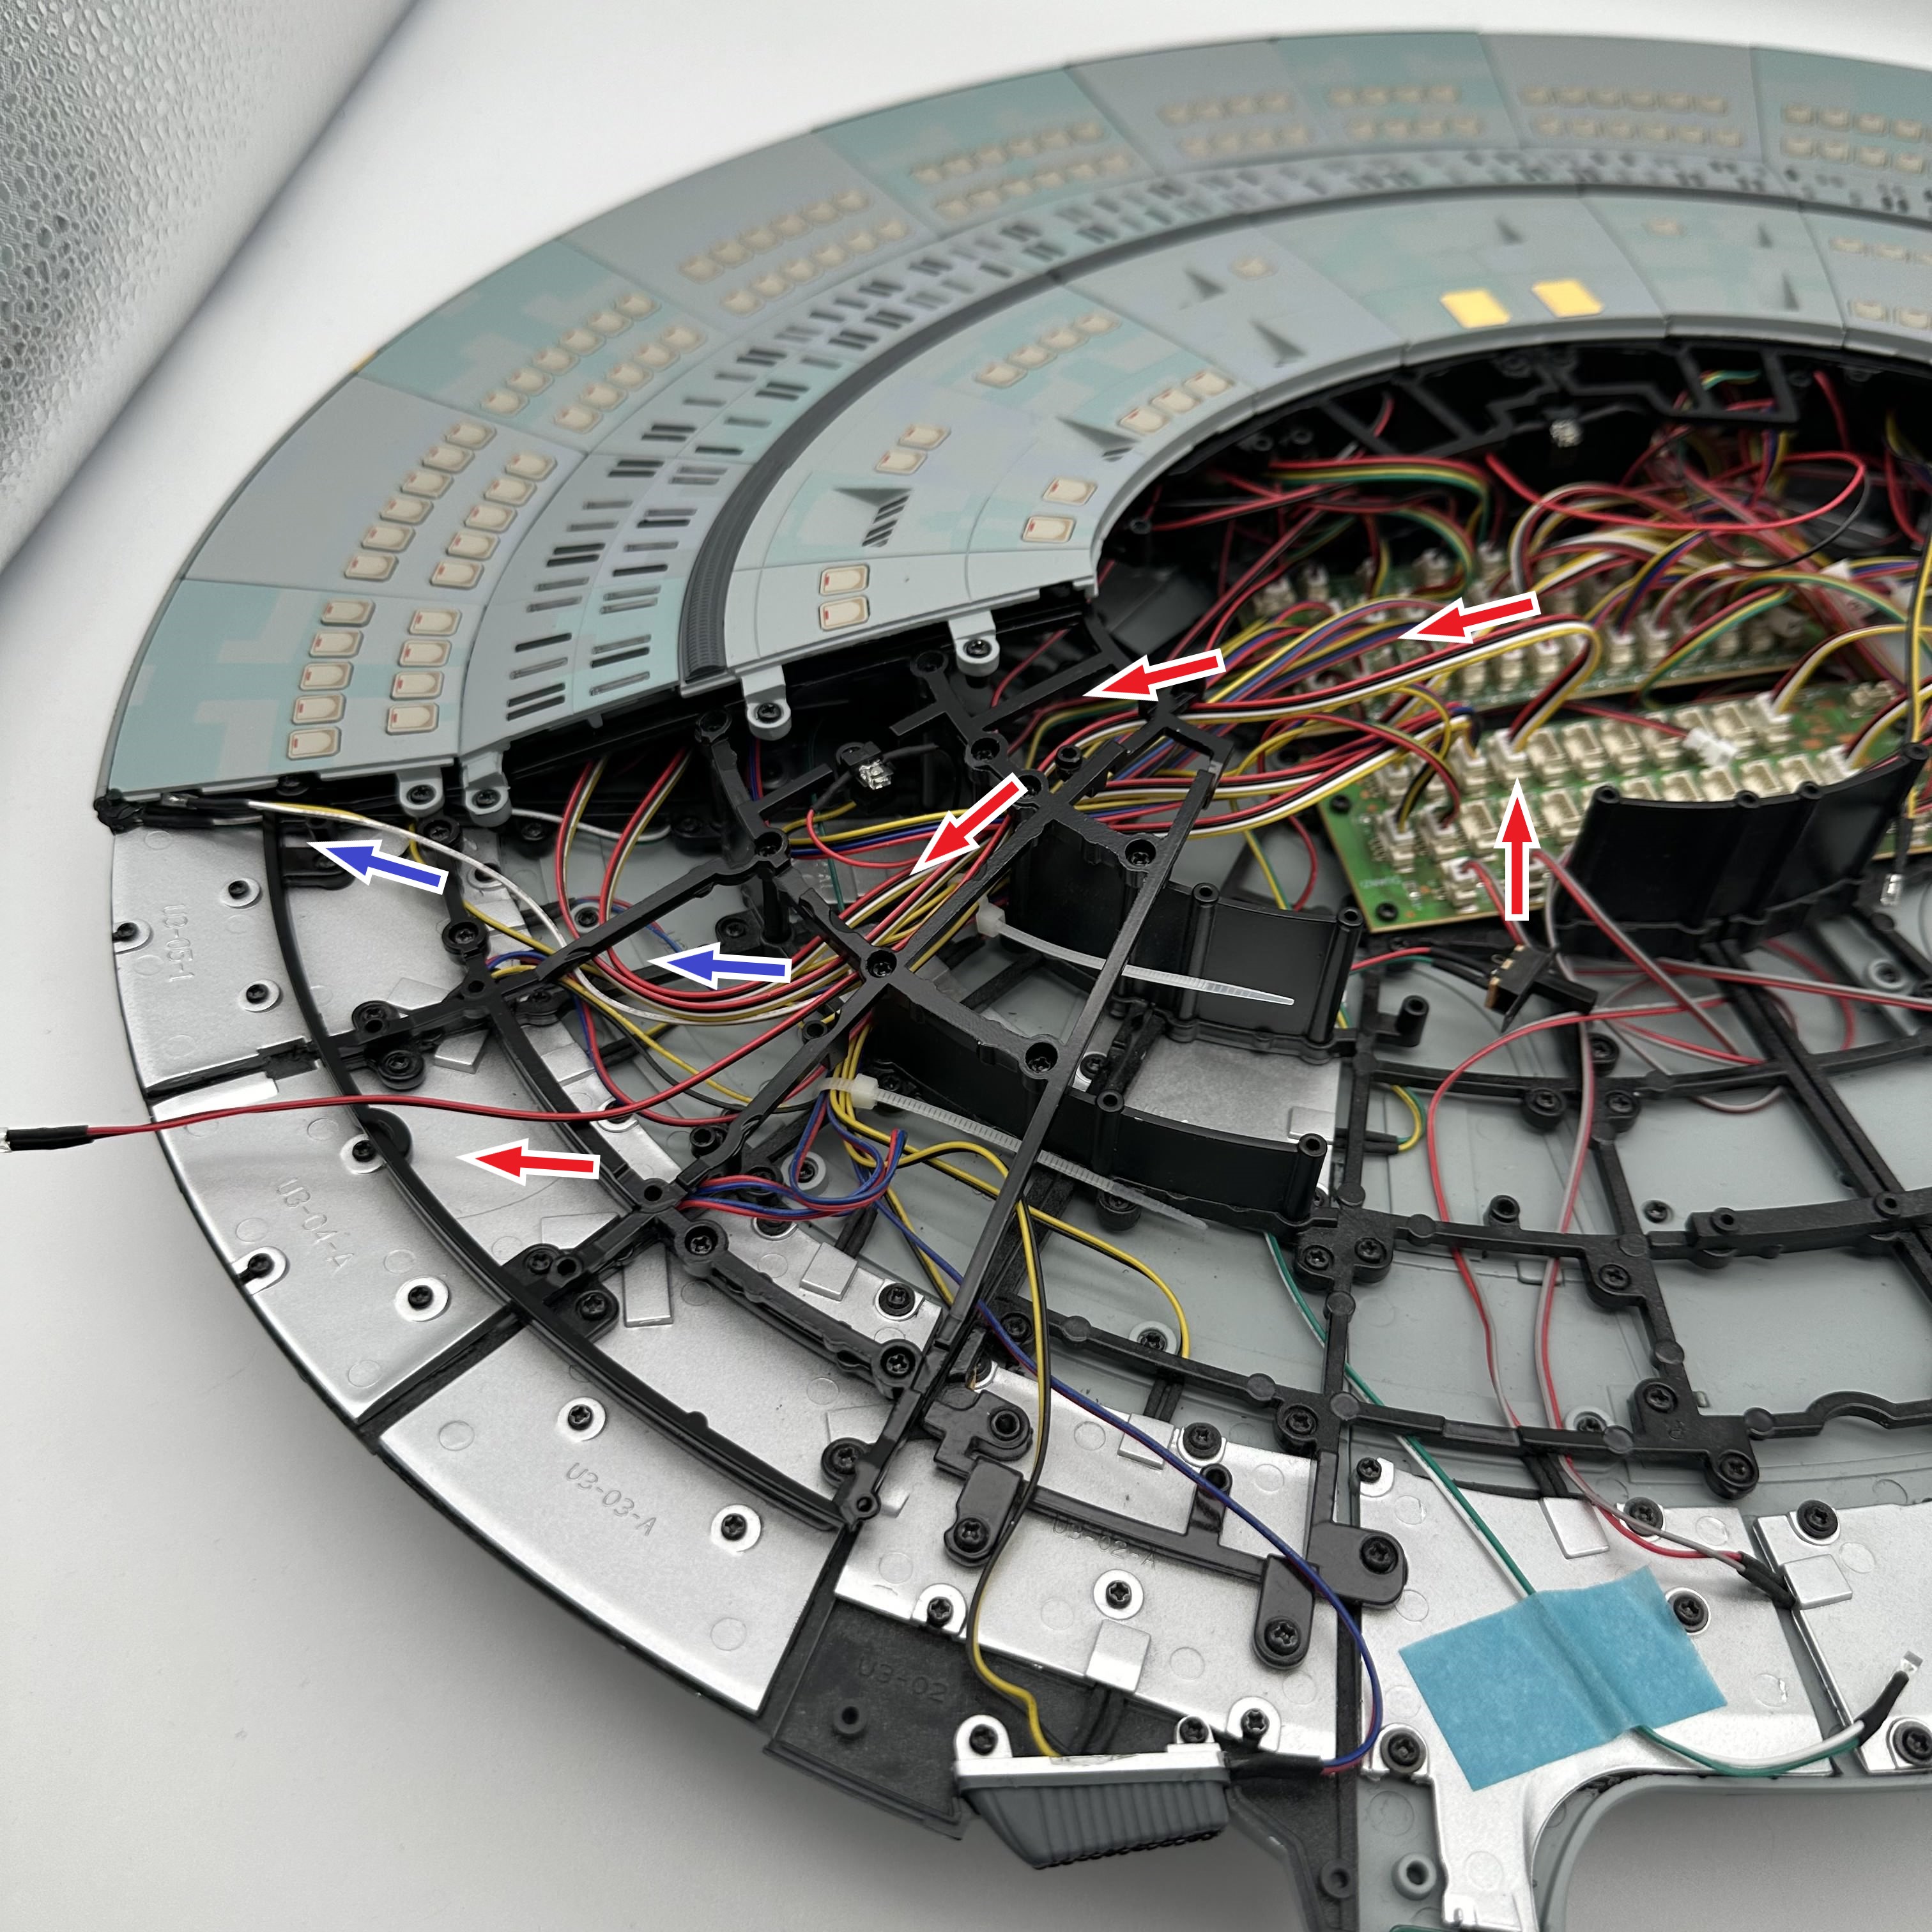

Deck panel lights i are plugged into the socket marked ‘A’ on PCB 3. The cables are then threaded through the skeleton as pictured below.
Deck panel L1-02 is placed on top of deck panel L2-02, with the deck panel light bulbs slotted into the recesses. The deck panel is now turned over and the bulb casings are bent away from the deck panel.
(I found it easier to turn over the deck panels and slot the bulbs in. I used a small piece of tape to keep the lights in place.)
These are carefully positioned on the saucer skeleton and secured using 3 FM screws.

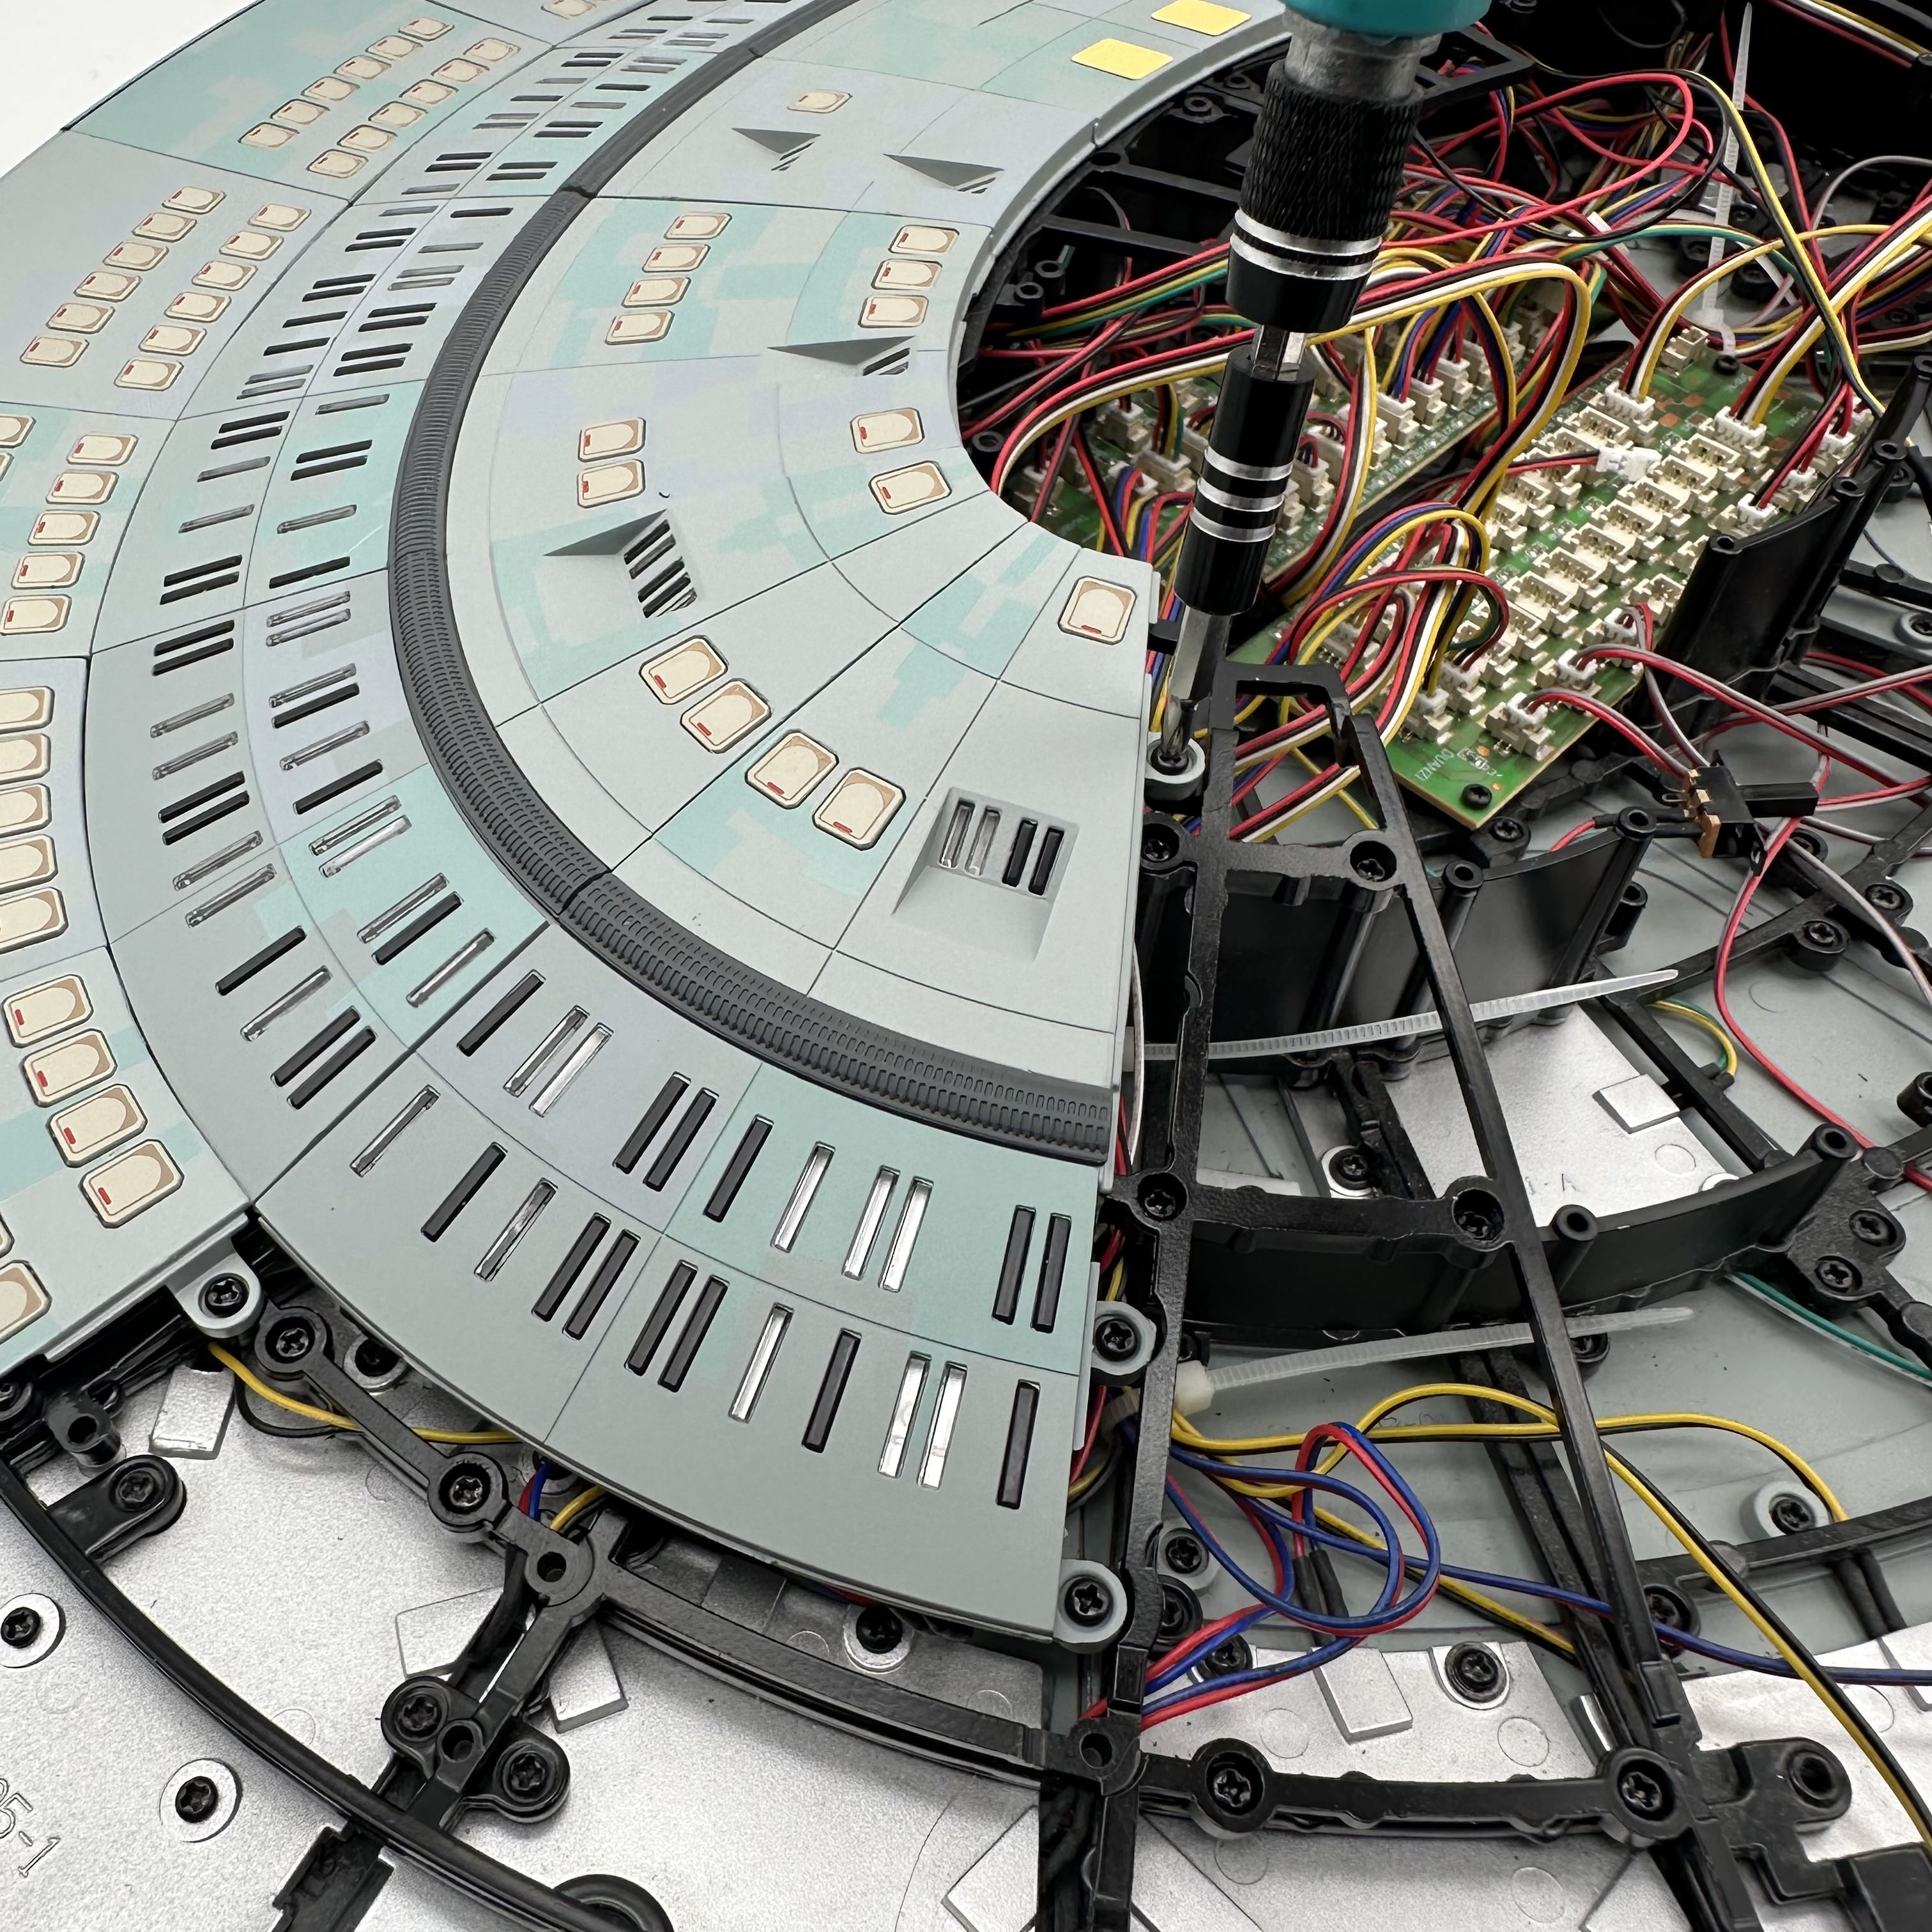
The last part of this stage involves tidying the cables on the main battle section build. The wire retainers are secured using 6 AM screws. (These are very fiddly to attach and care should be taken not to screw into the cables.)


This now completes stage 88.
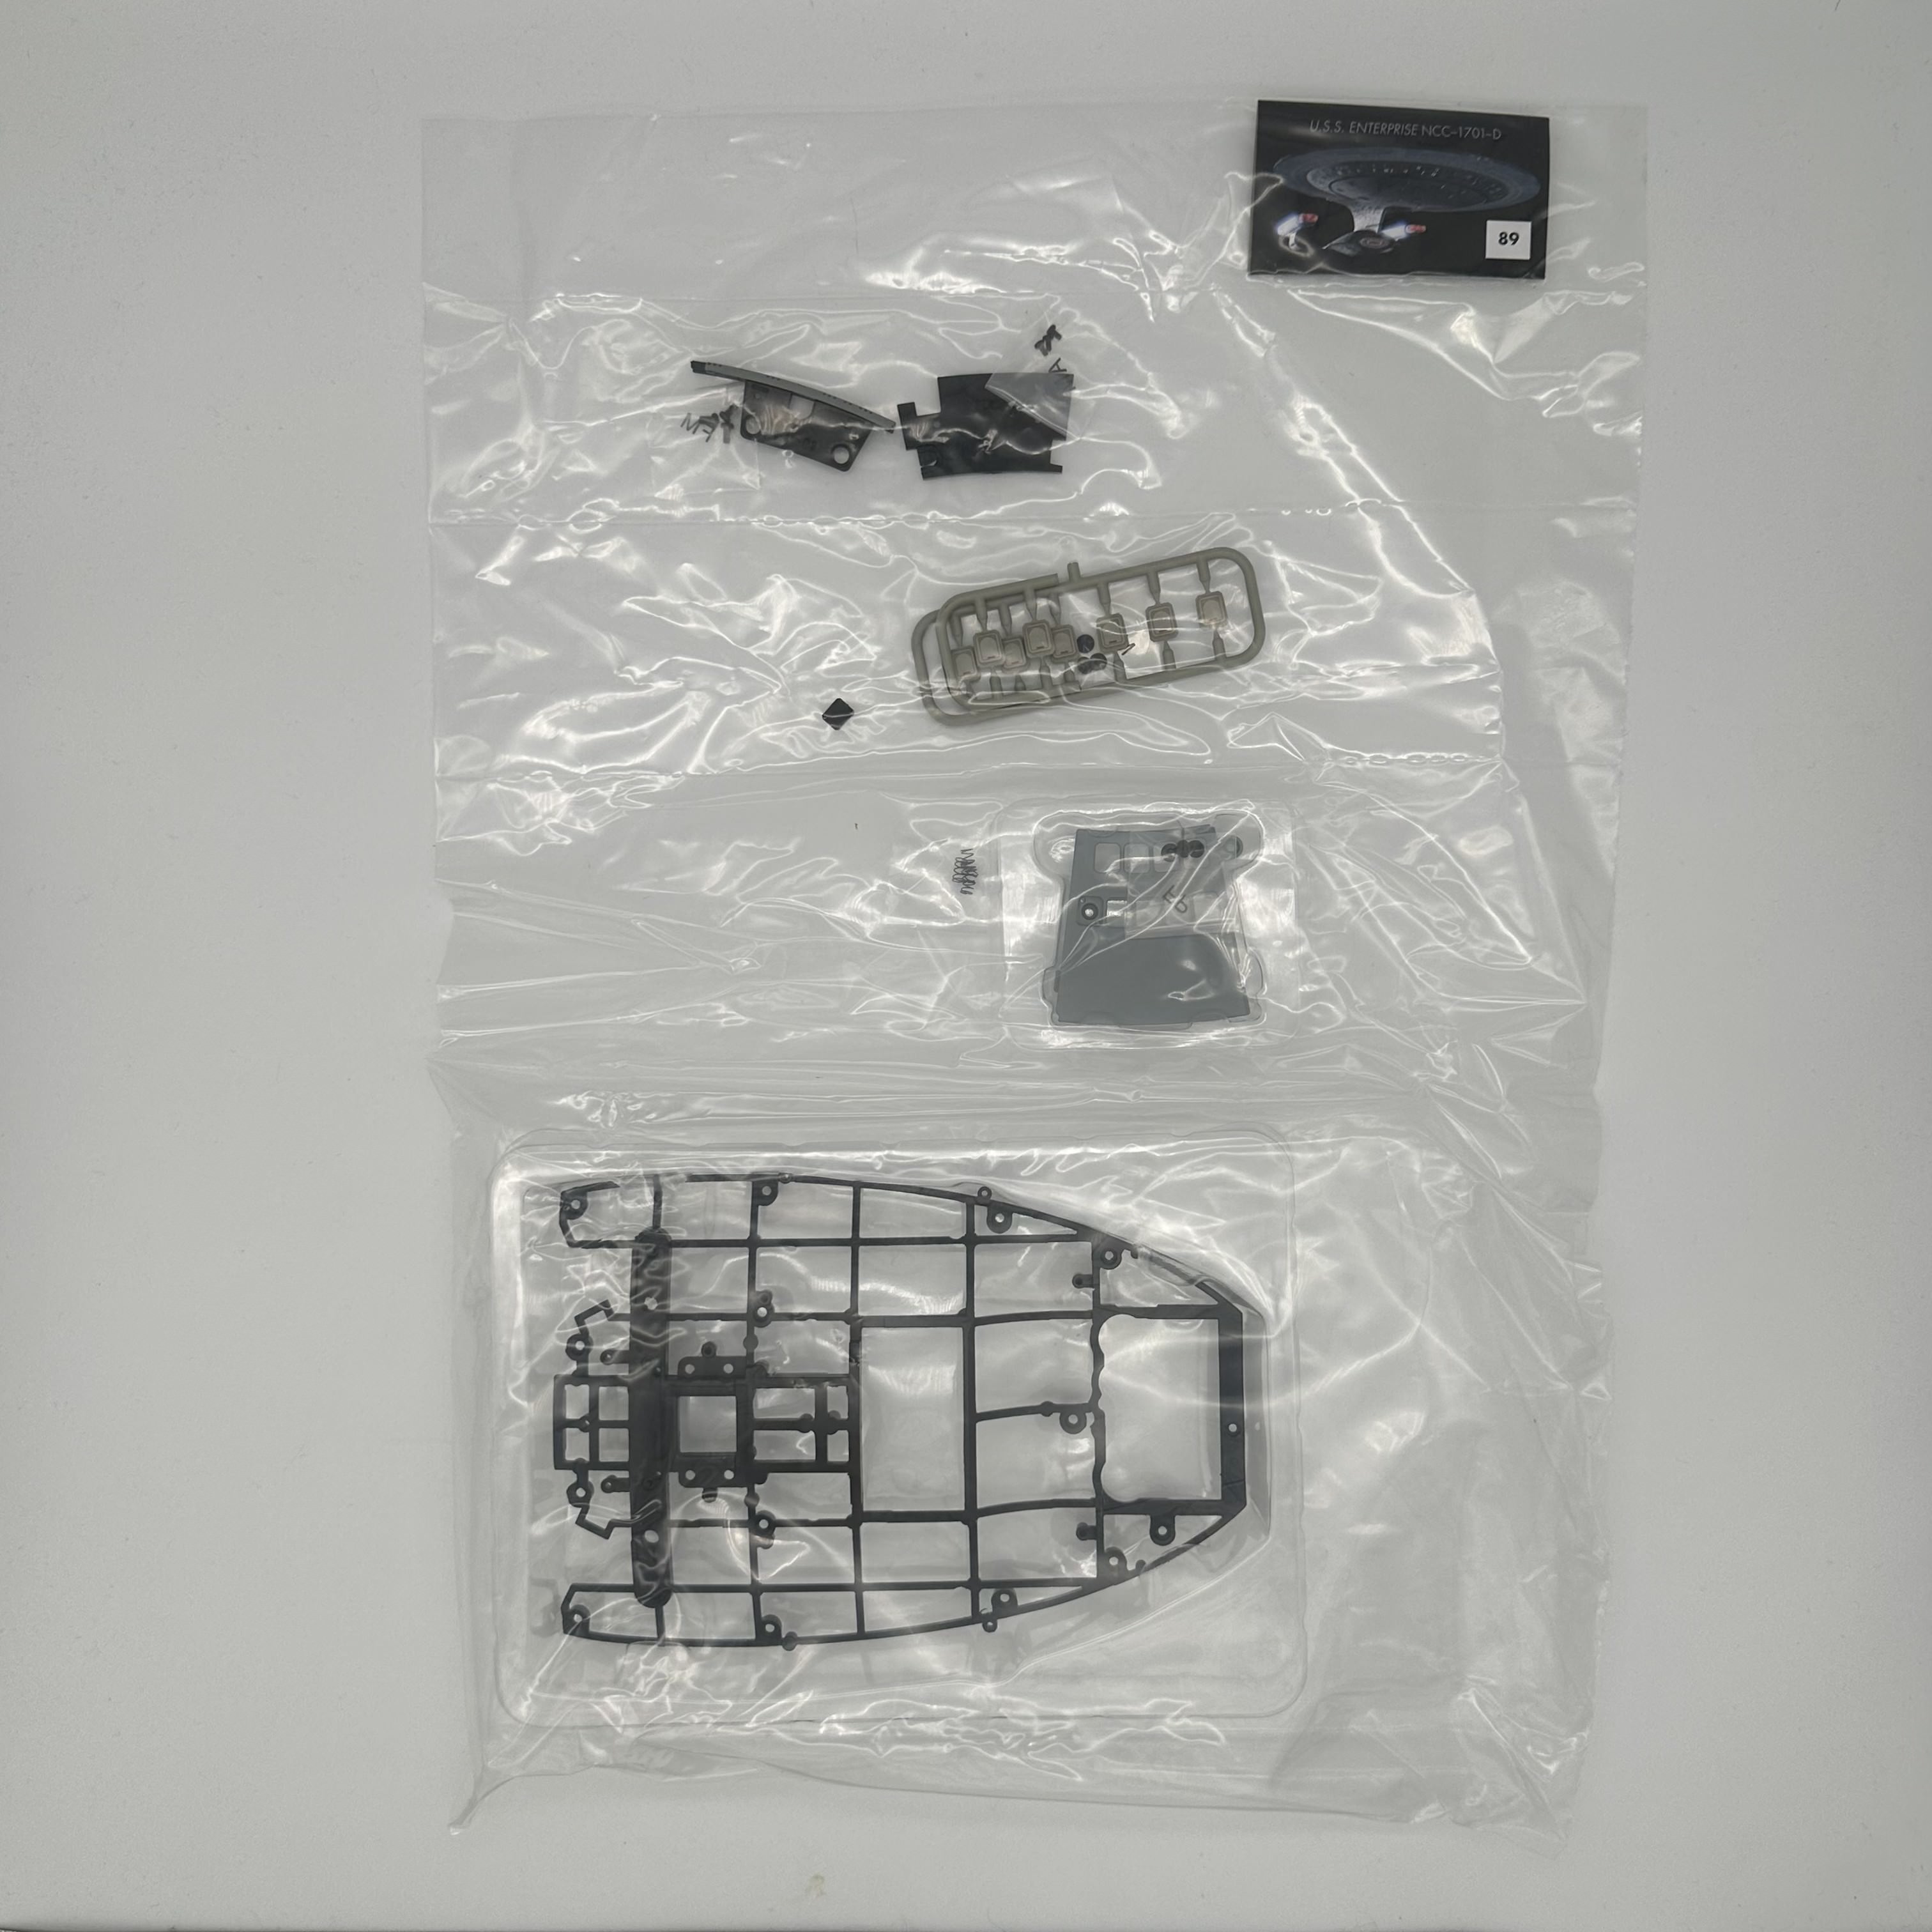
Kit no.89 begins work on the battle section lower bracket and another deck panel for the lower saucer.
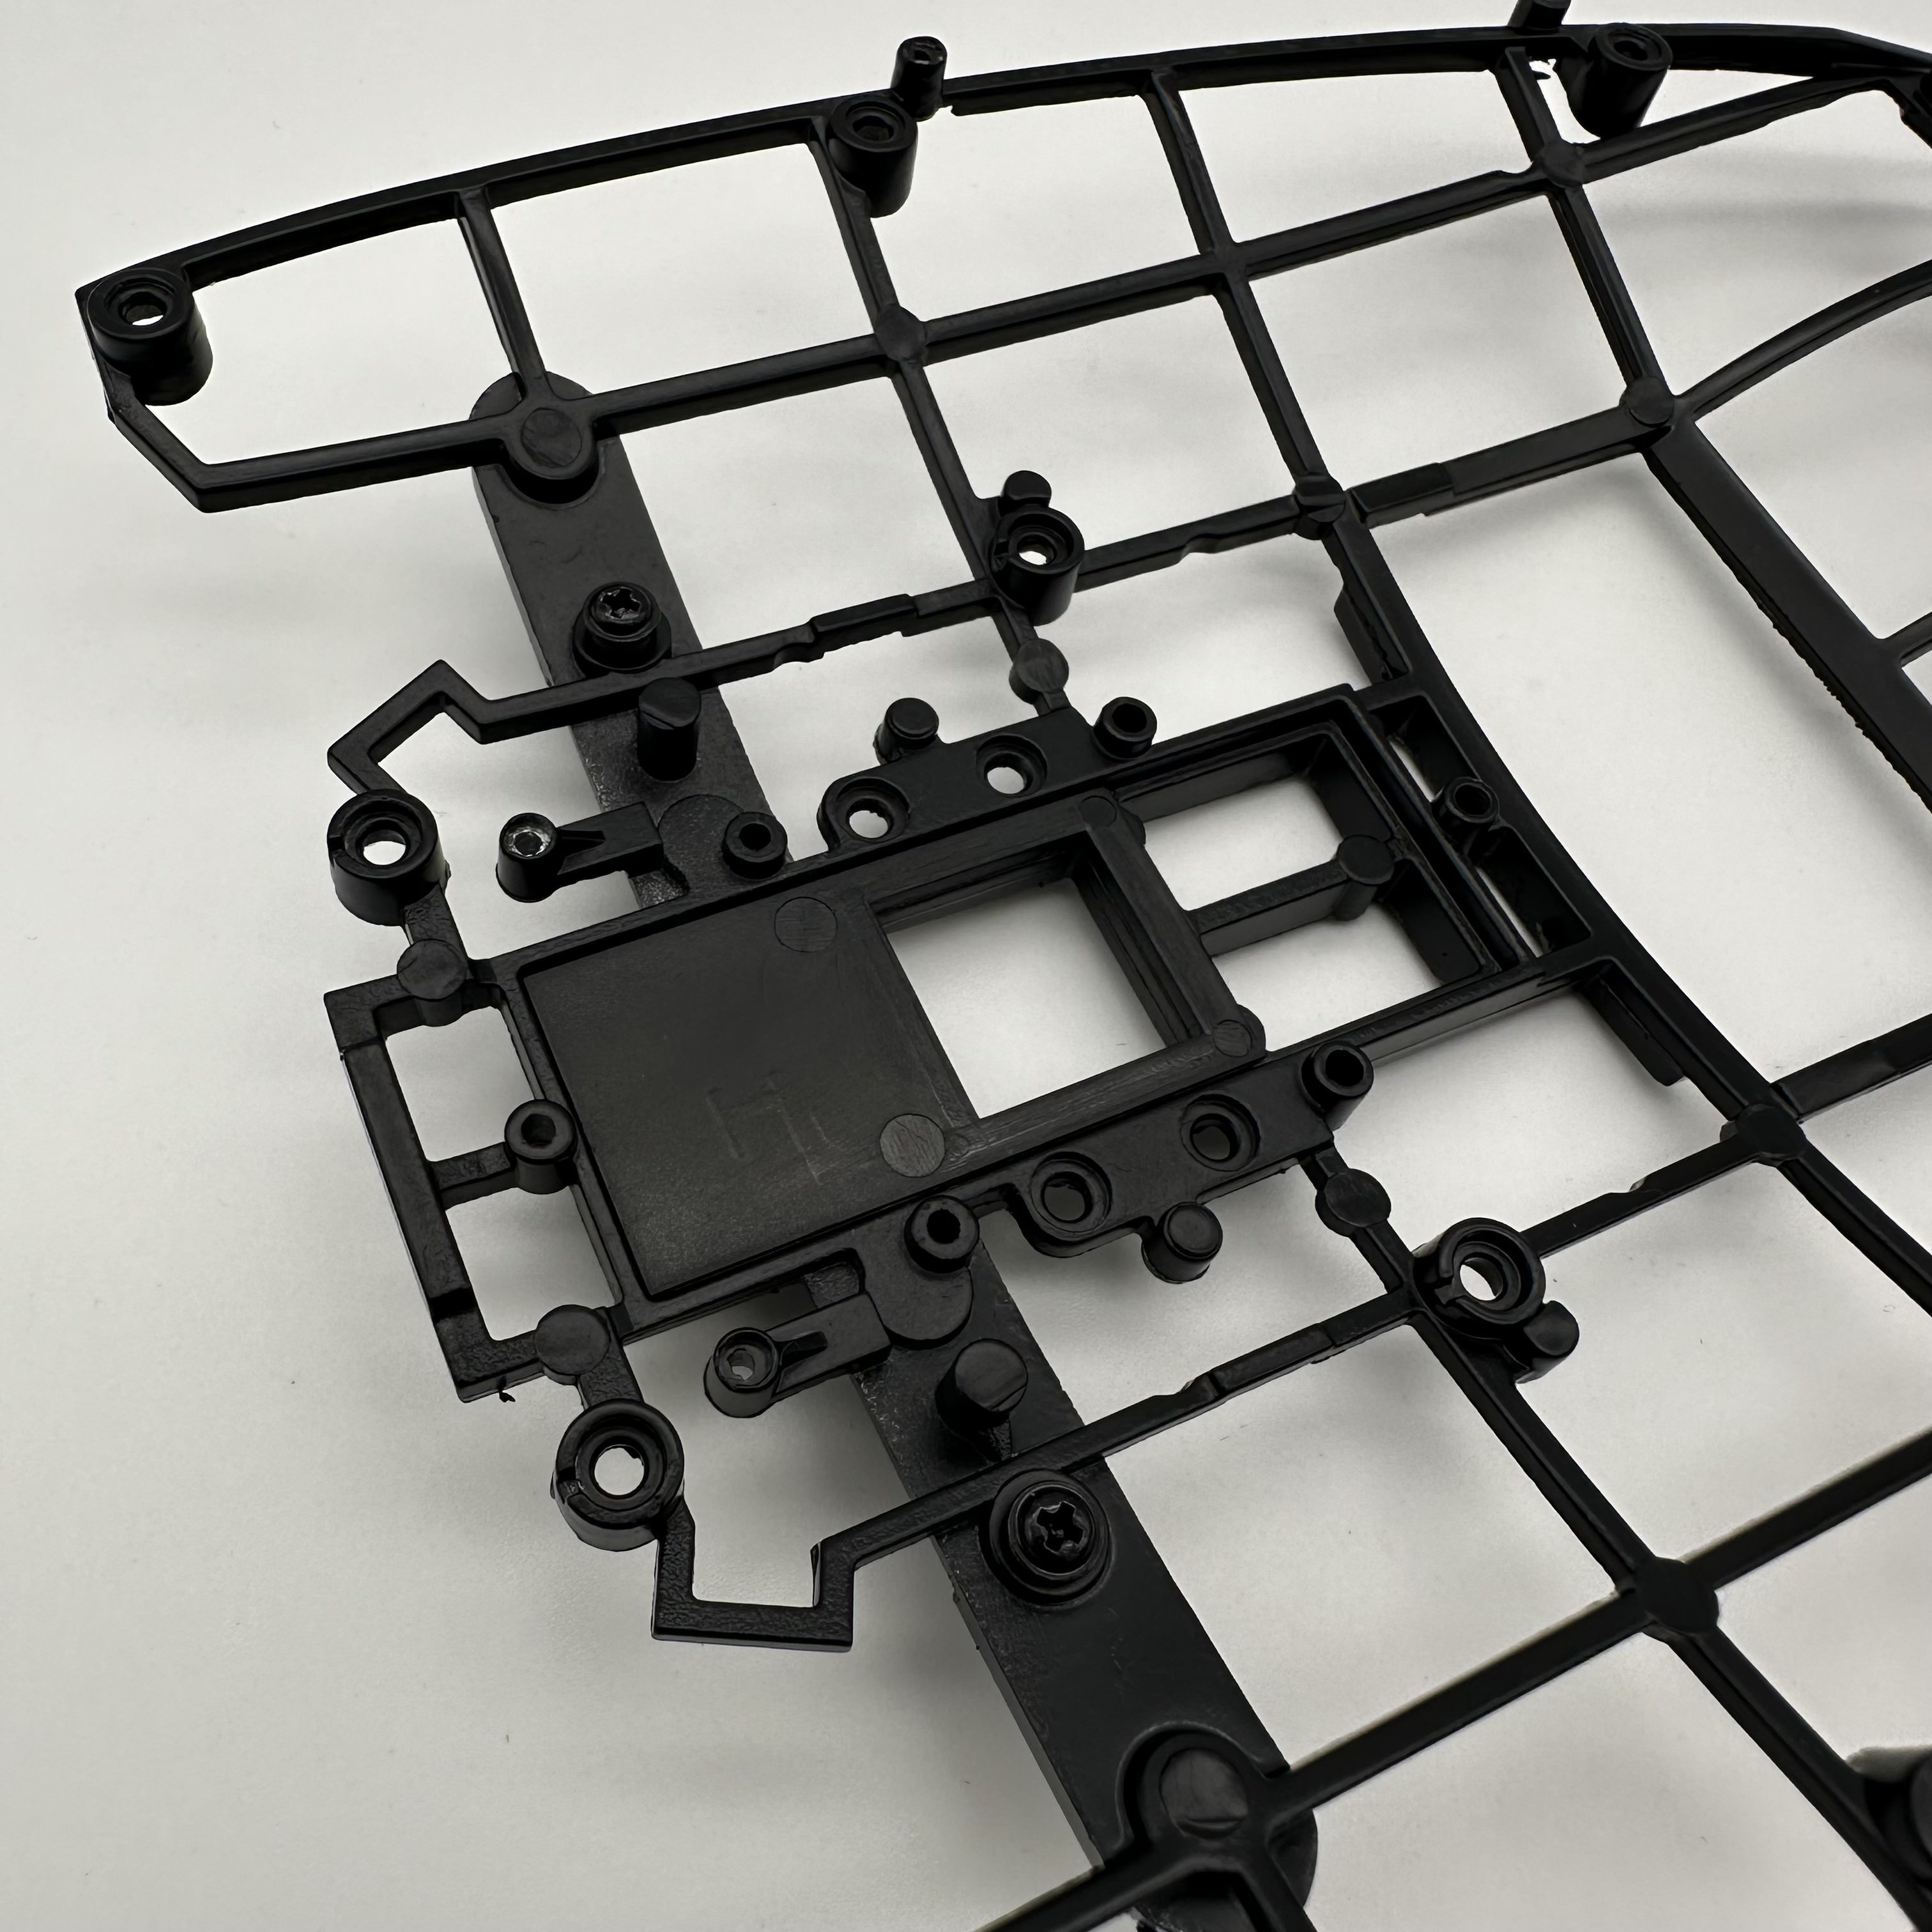
We start work on the battle section lower bracket and place four springs into the recesses as shown.


The ventral phaser array which was included in the stage 83 parts is now brought back and insected on top of the springs. The parts are now held together for it to be secured using 2 FP screws.


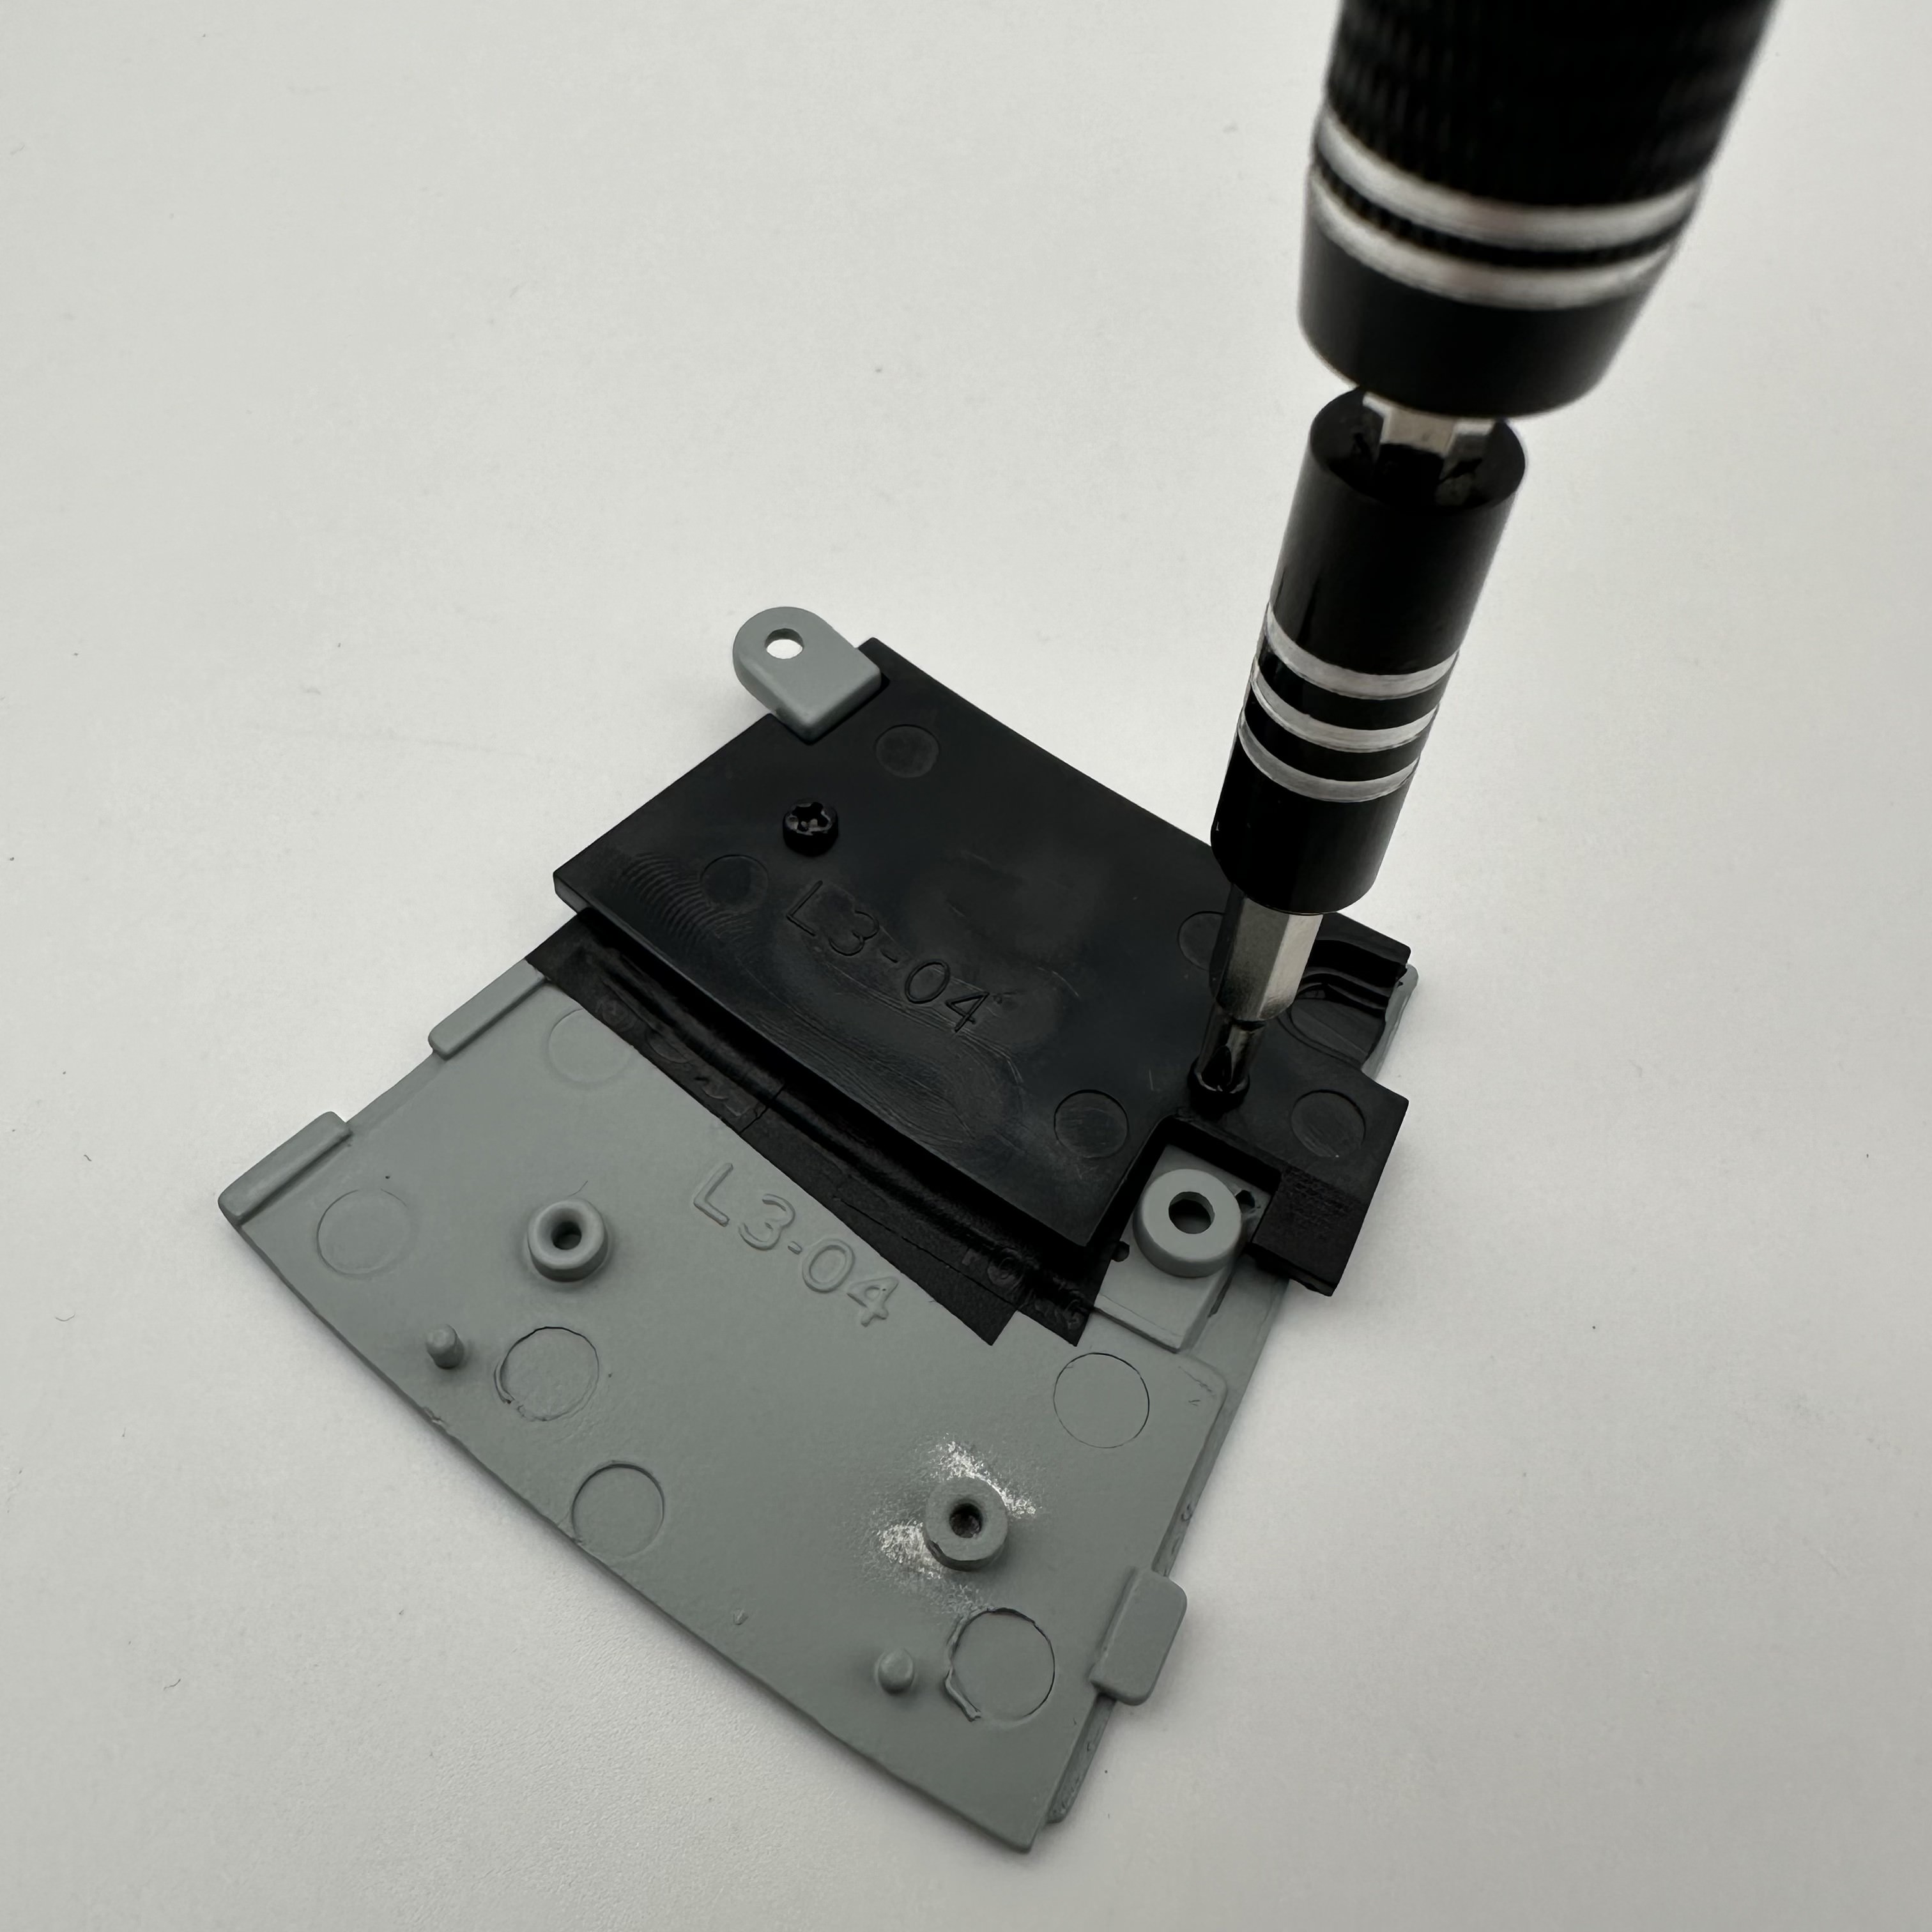
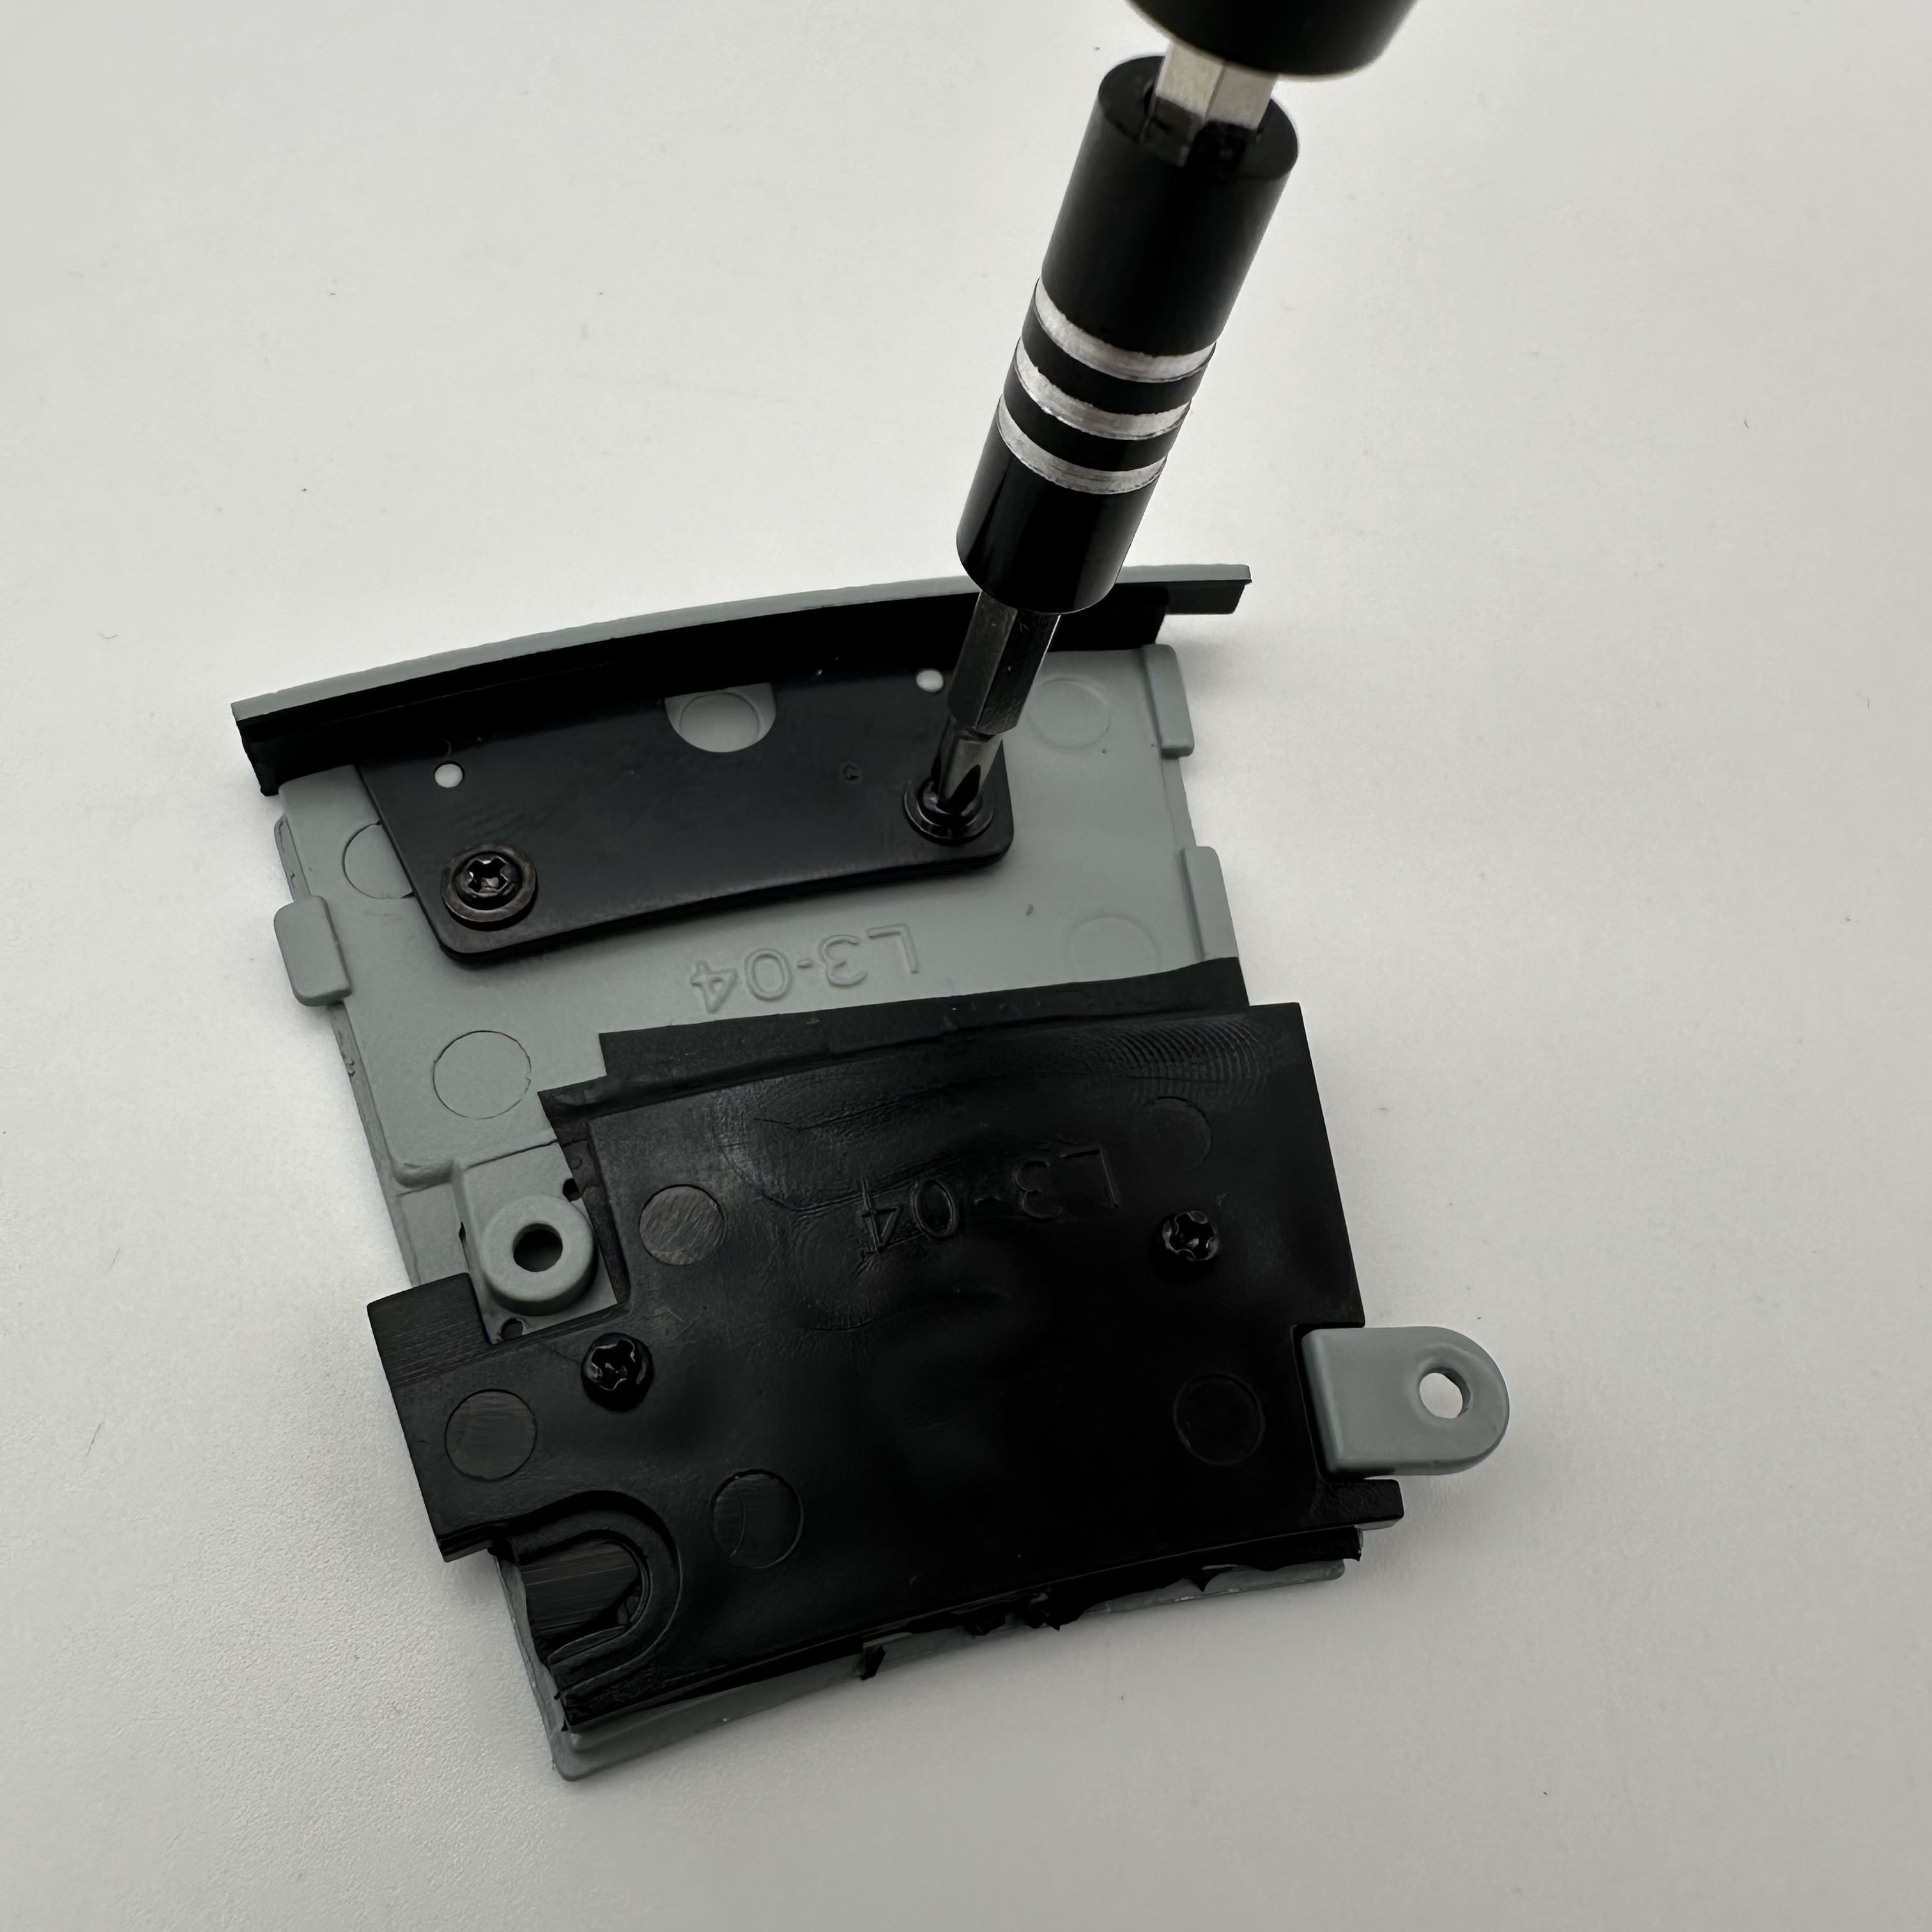
8 escape pod covers are inserted into deck panel L3-04. I use black tape to block out the light on the escape pod covers. The reflector panel L3-04 is attached to the panel with 2 AM screws.
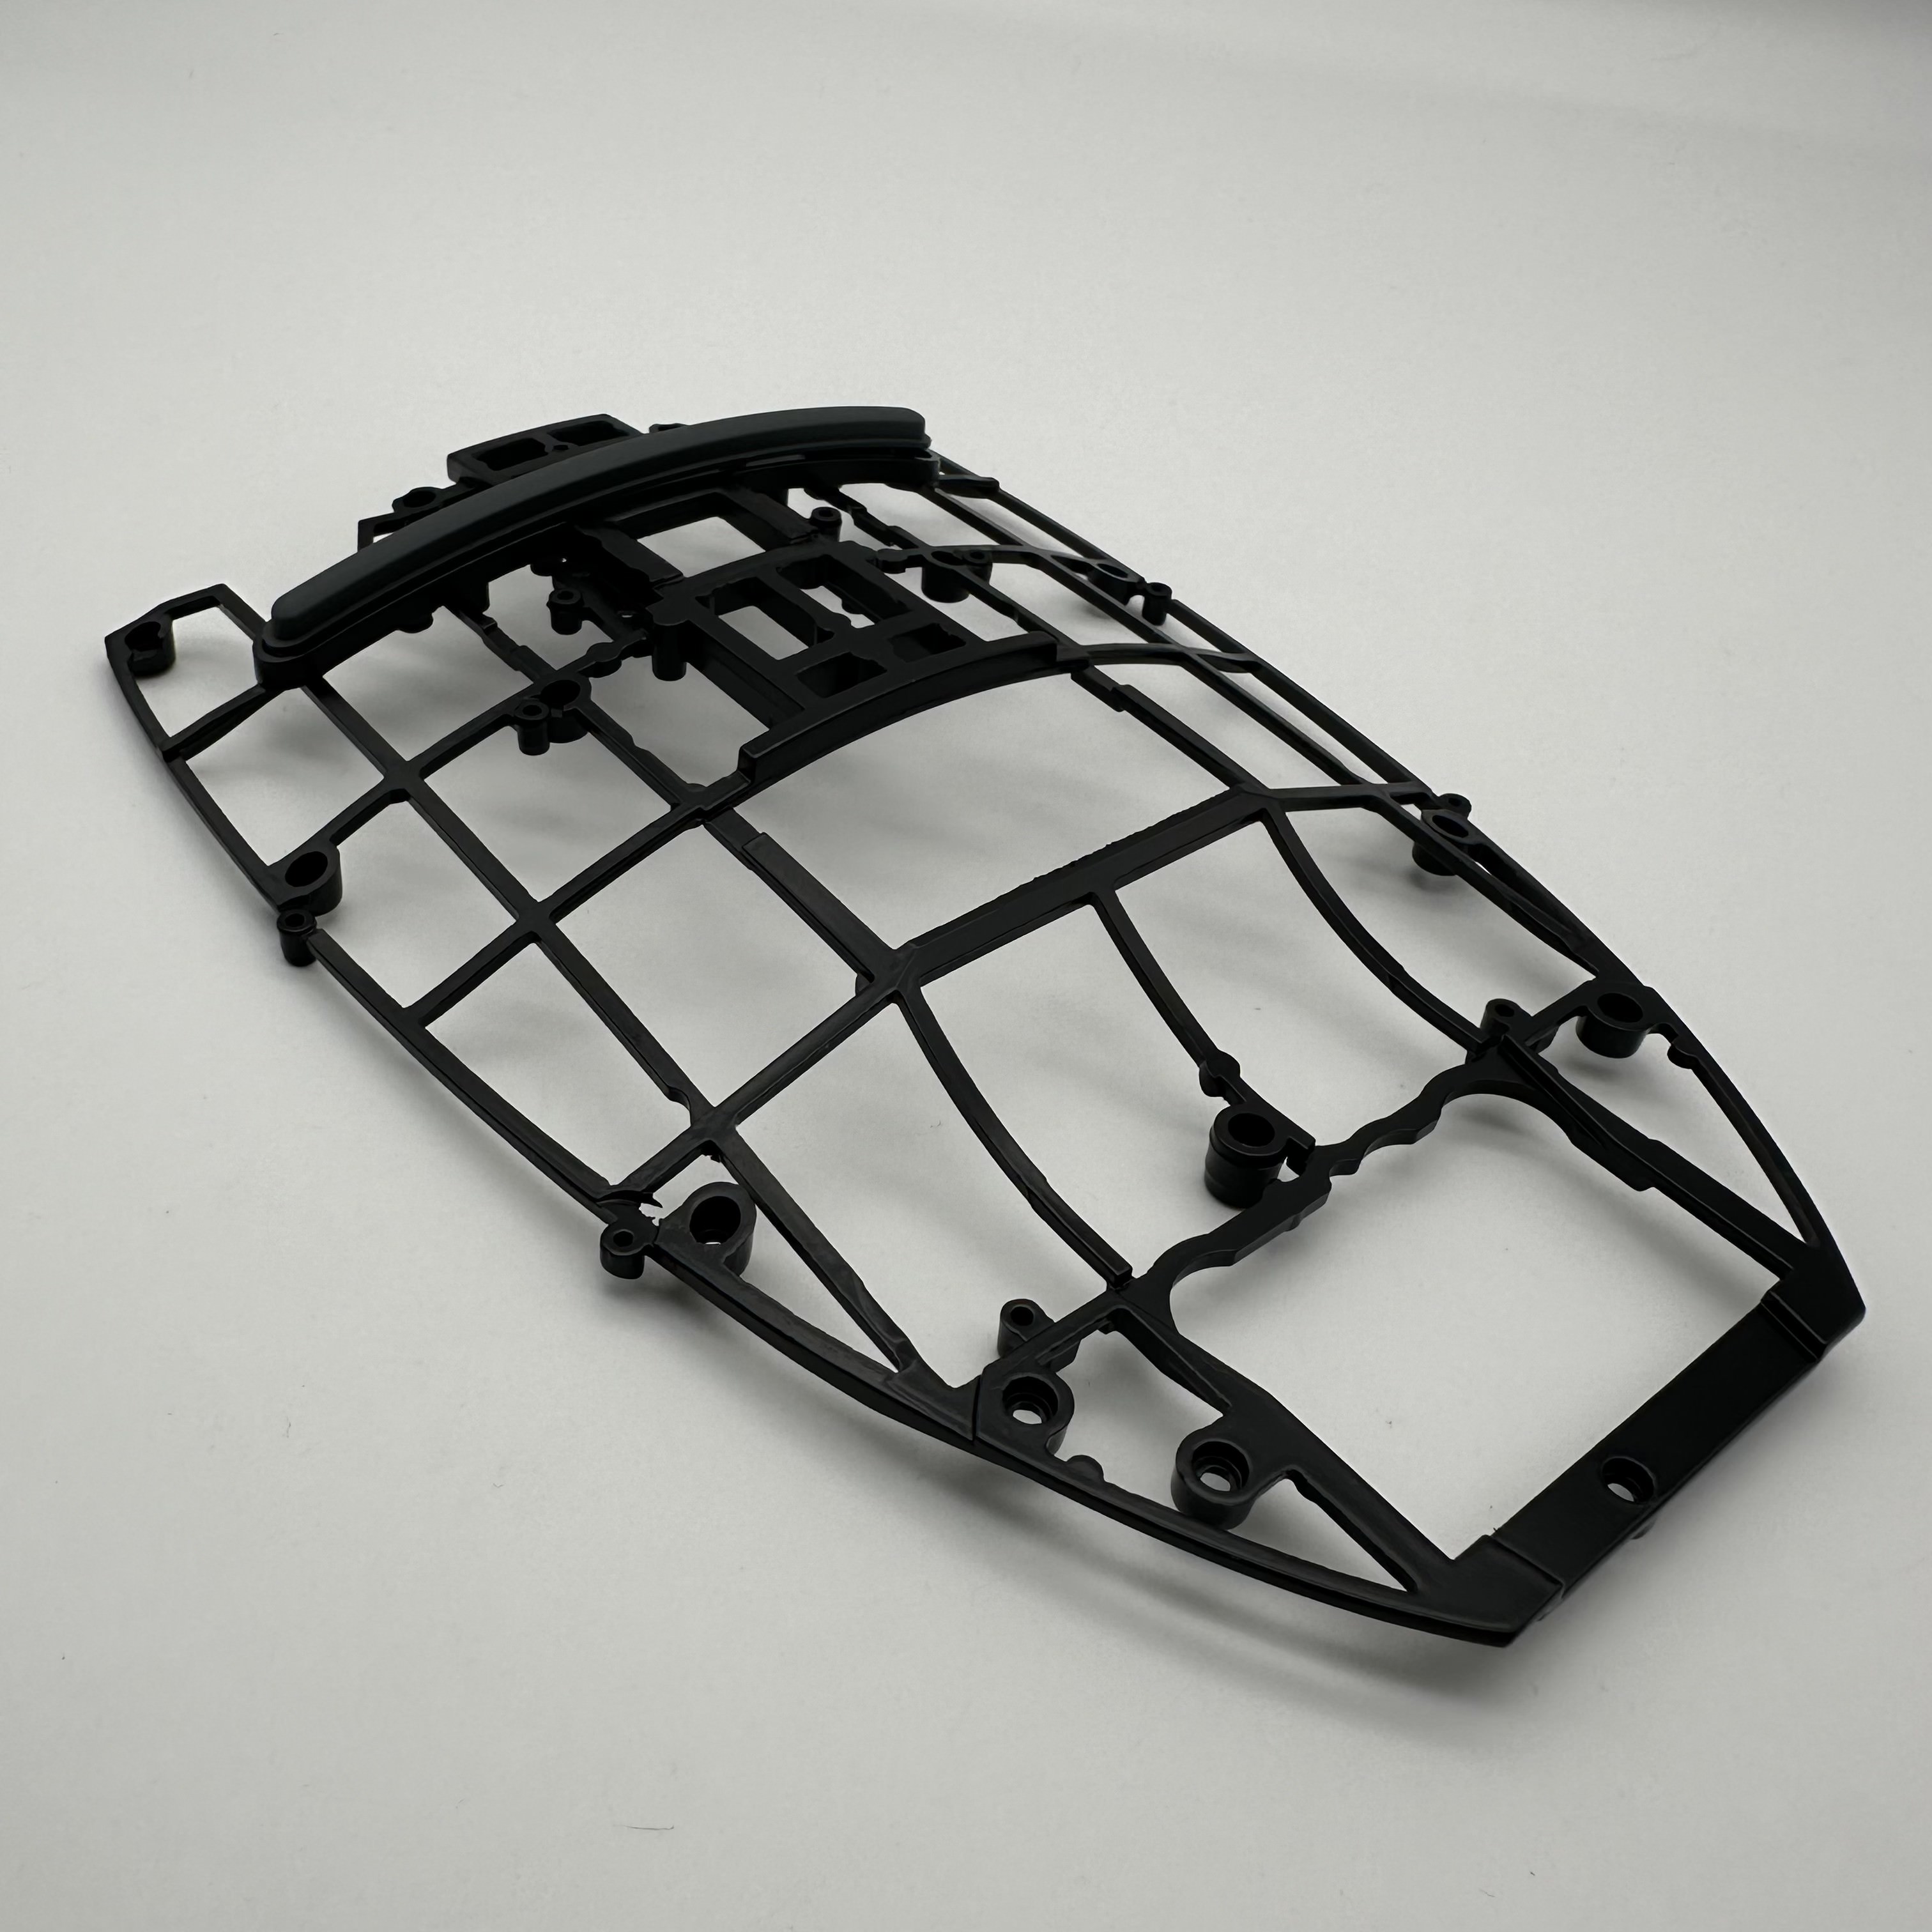
The outer frame L4-03 is the next piece to be attached to deck panel L3-04. This is secured using 2 IM screws.

The deck panel is now positioned on the lower saucer skeleton so that the outer frame L4-03 overlaps the edge of the deck panel on the upper saucer and secures the navigation light lens in position. This is secured using 2 FM screws.
The escape pod screw cover is now placed into the slot to hide the FM screw.

This now completes stage 89.
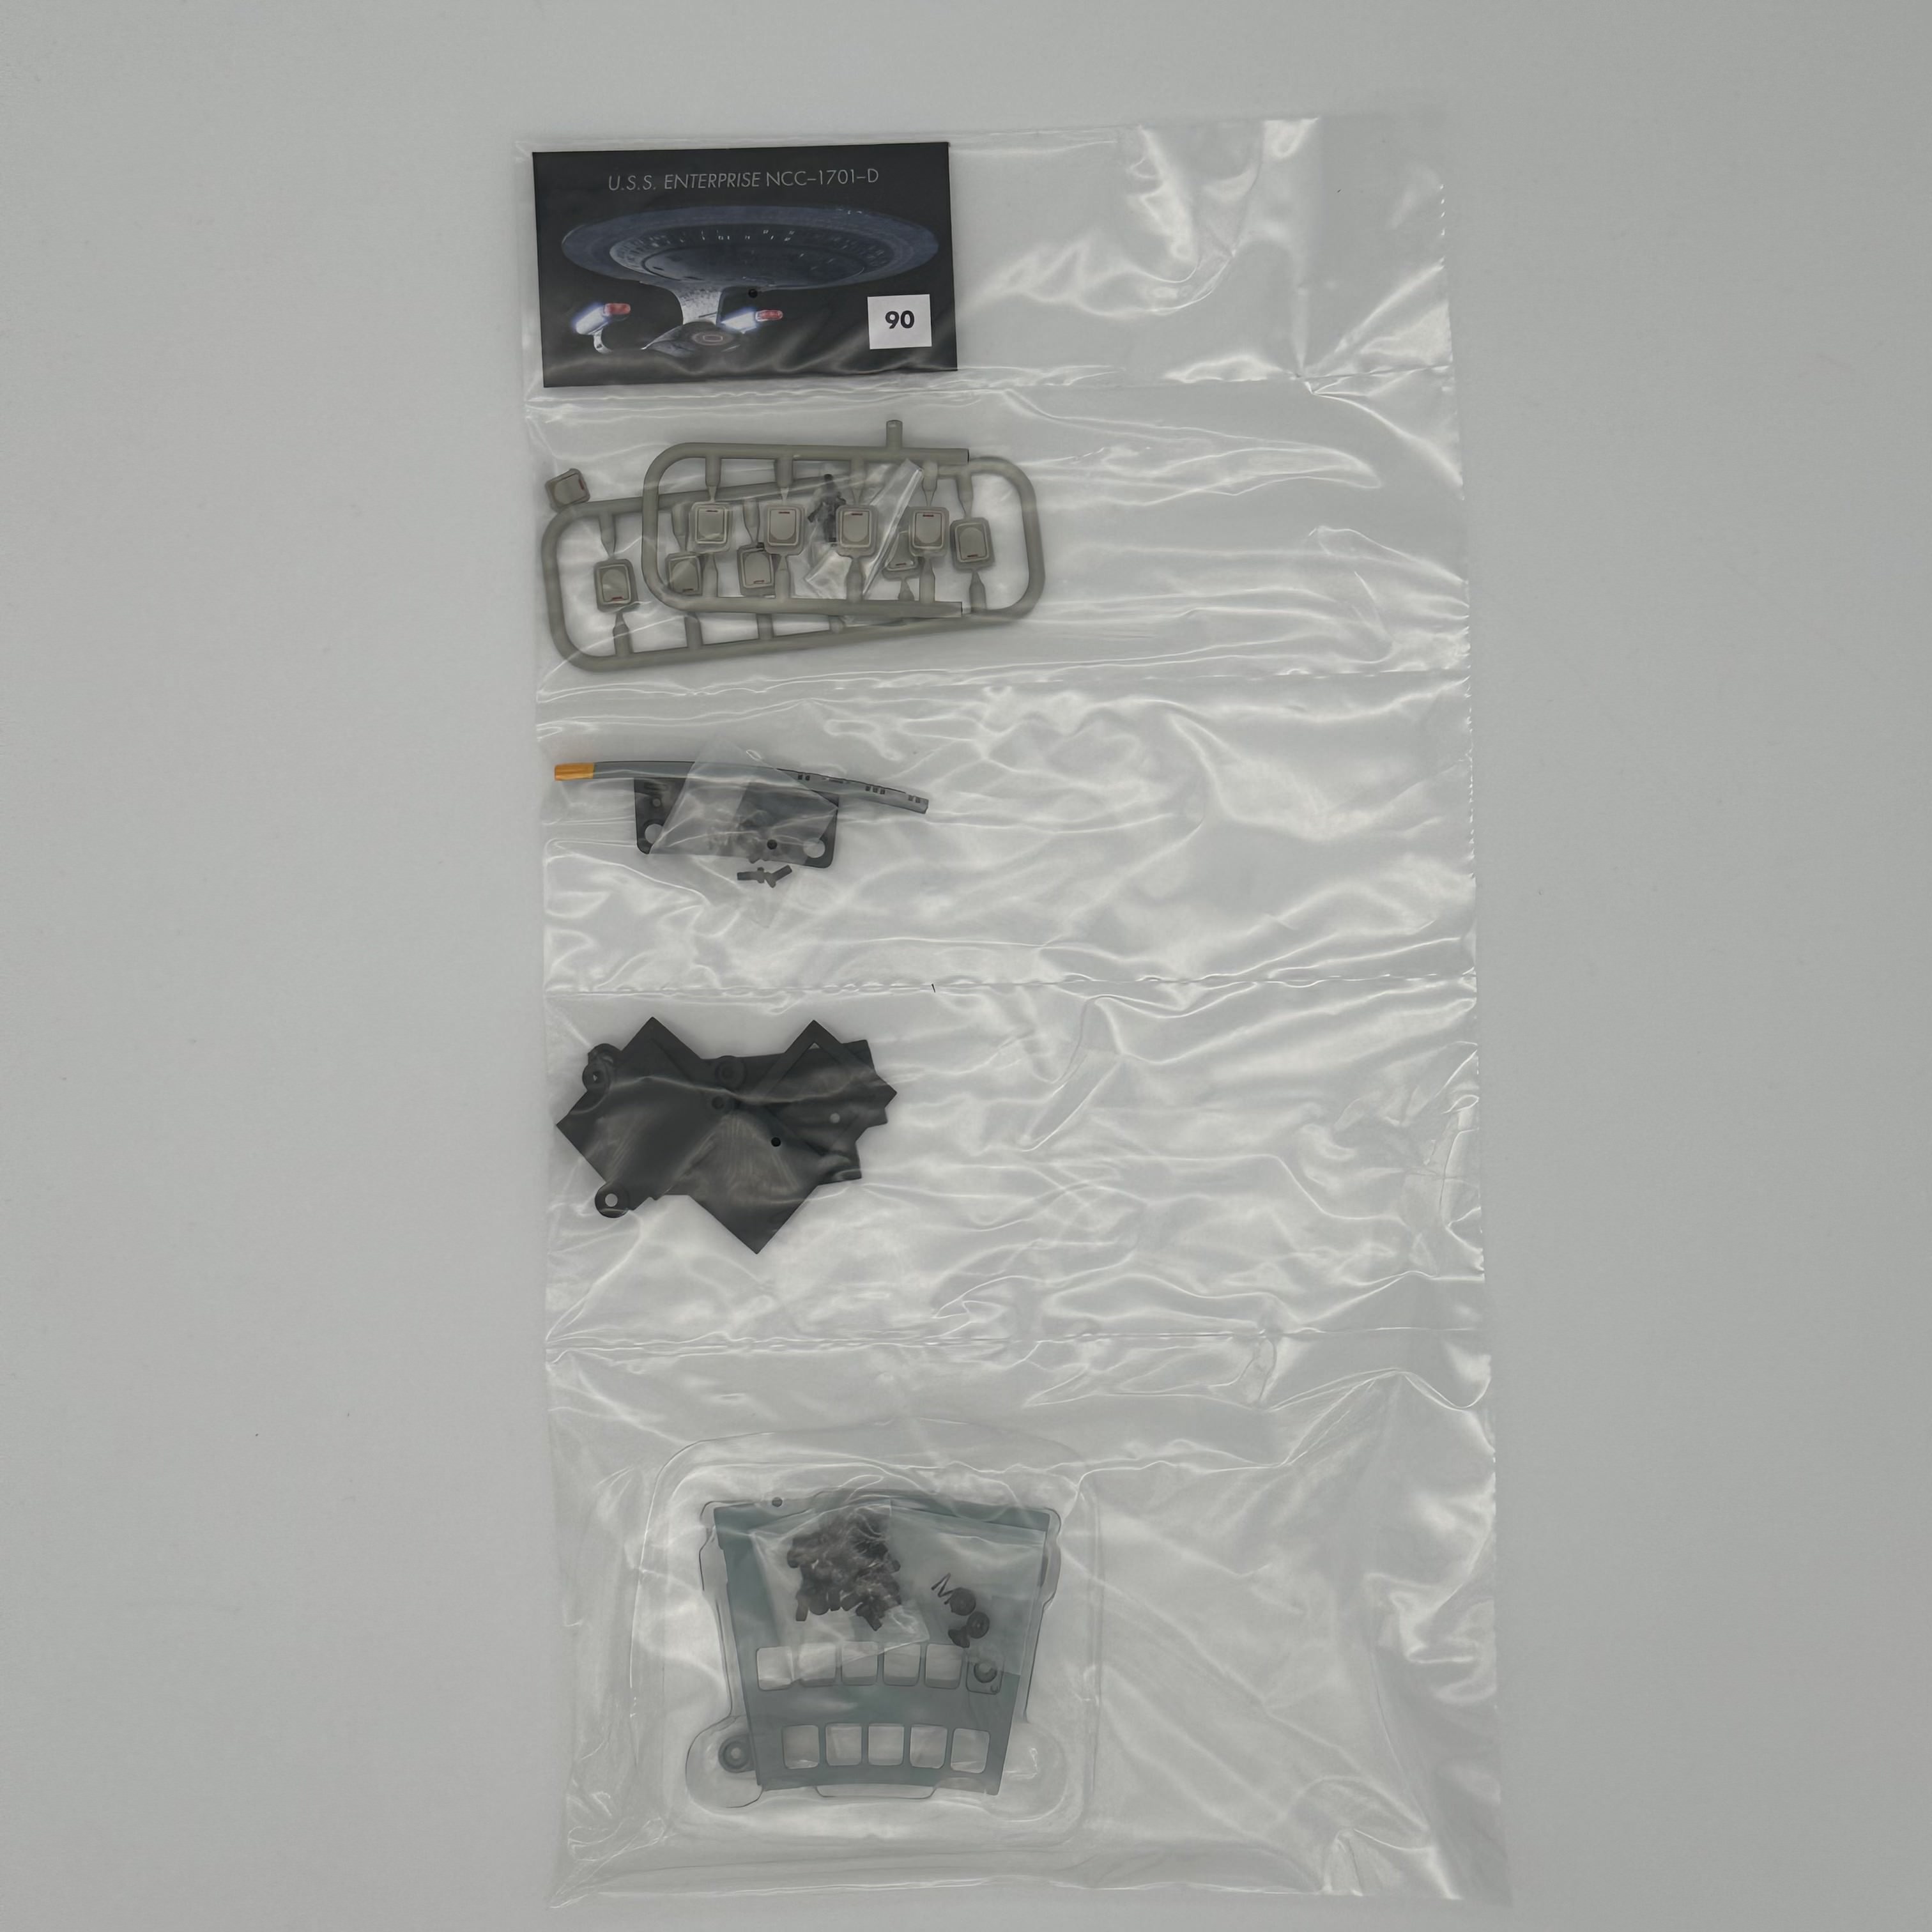
Kit no.90 continues work on the battle section lower bracket and connects it to the main battle section build.
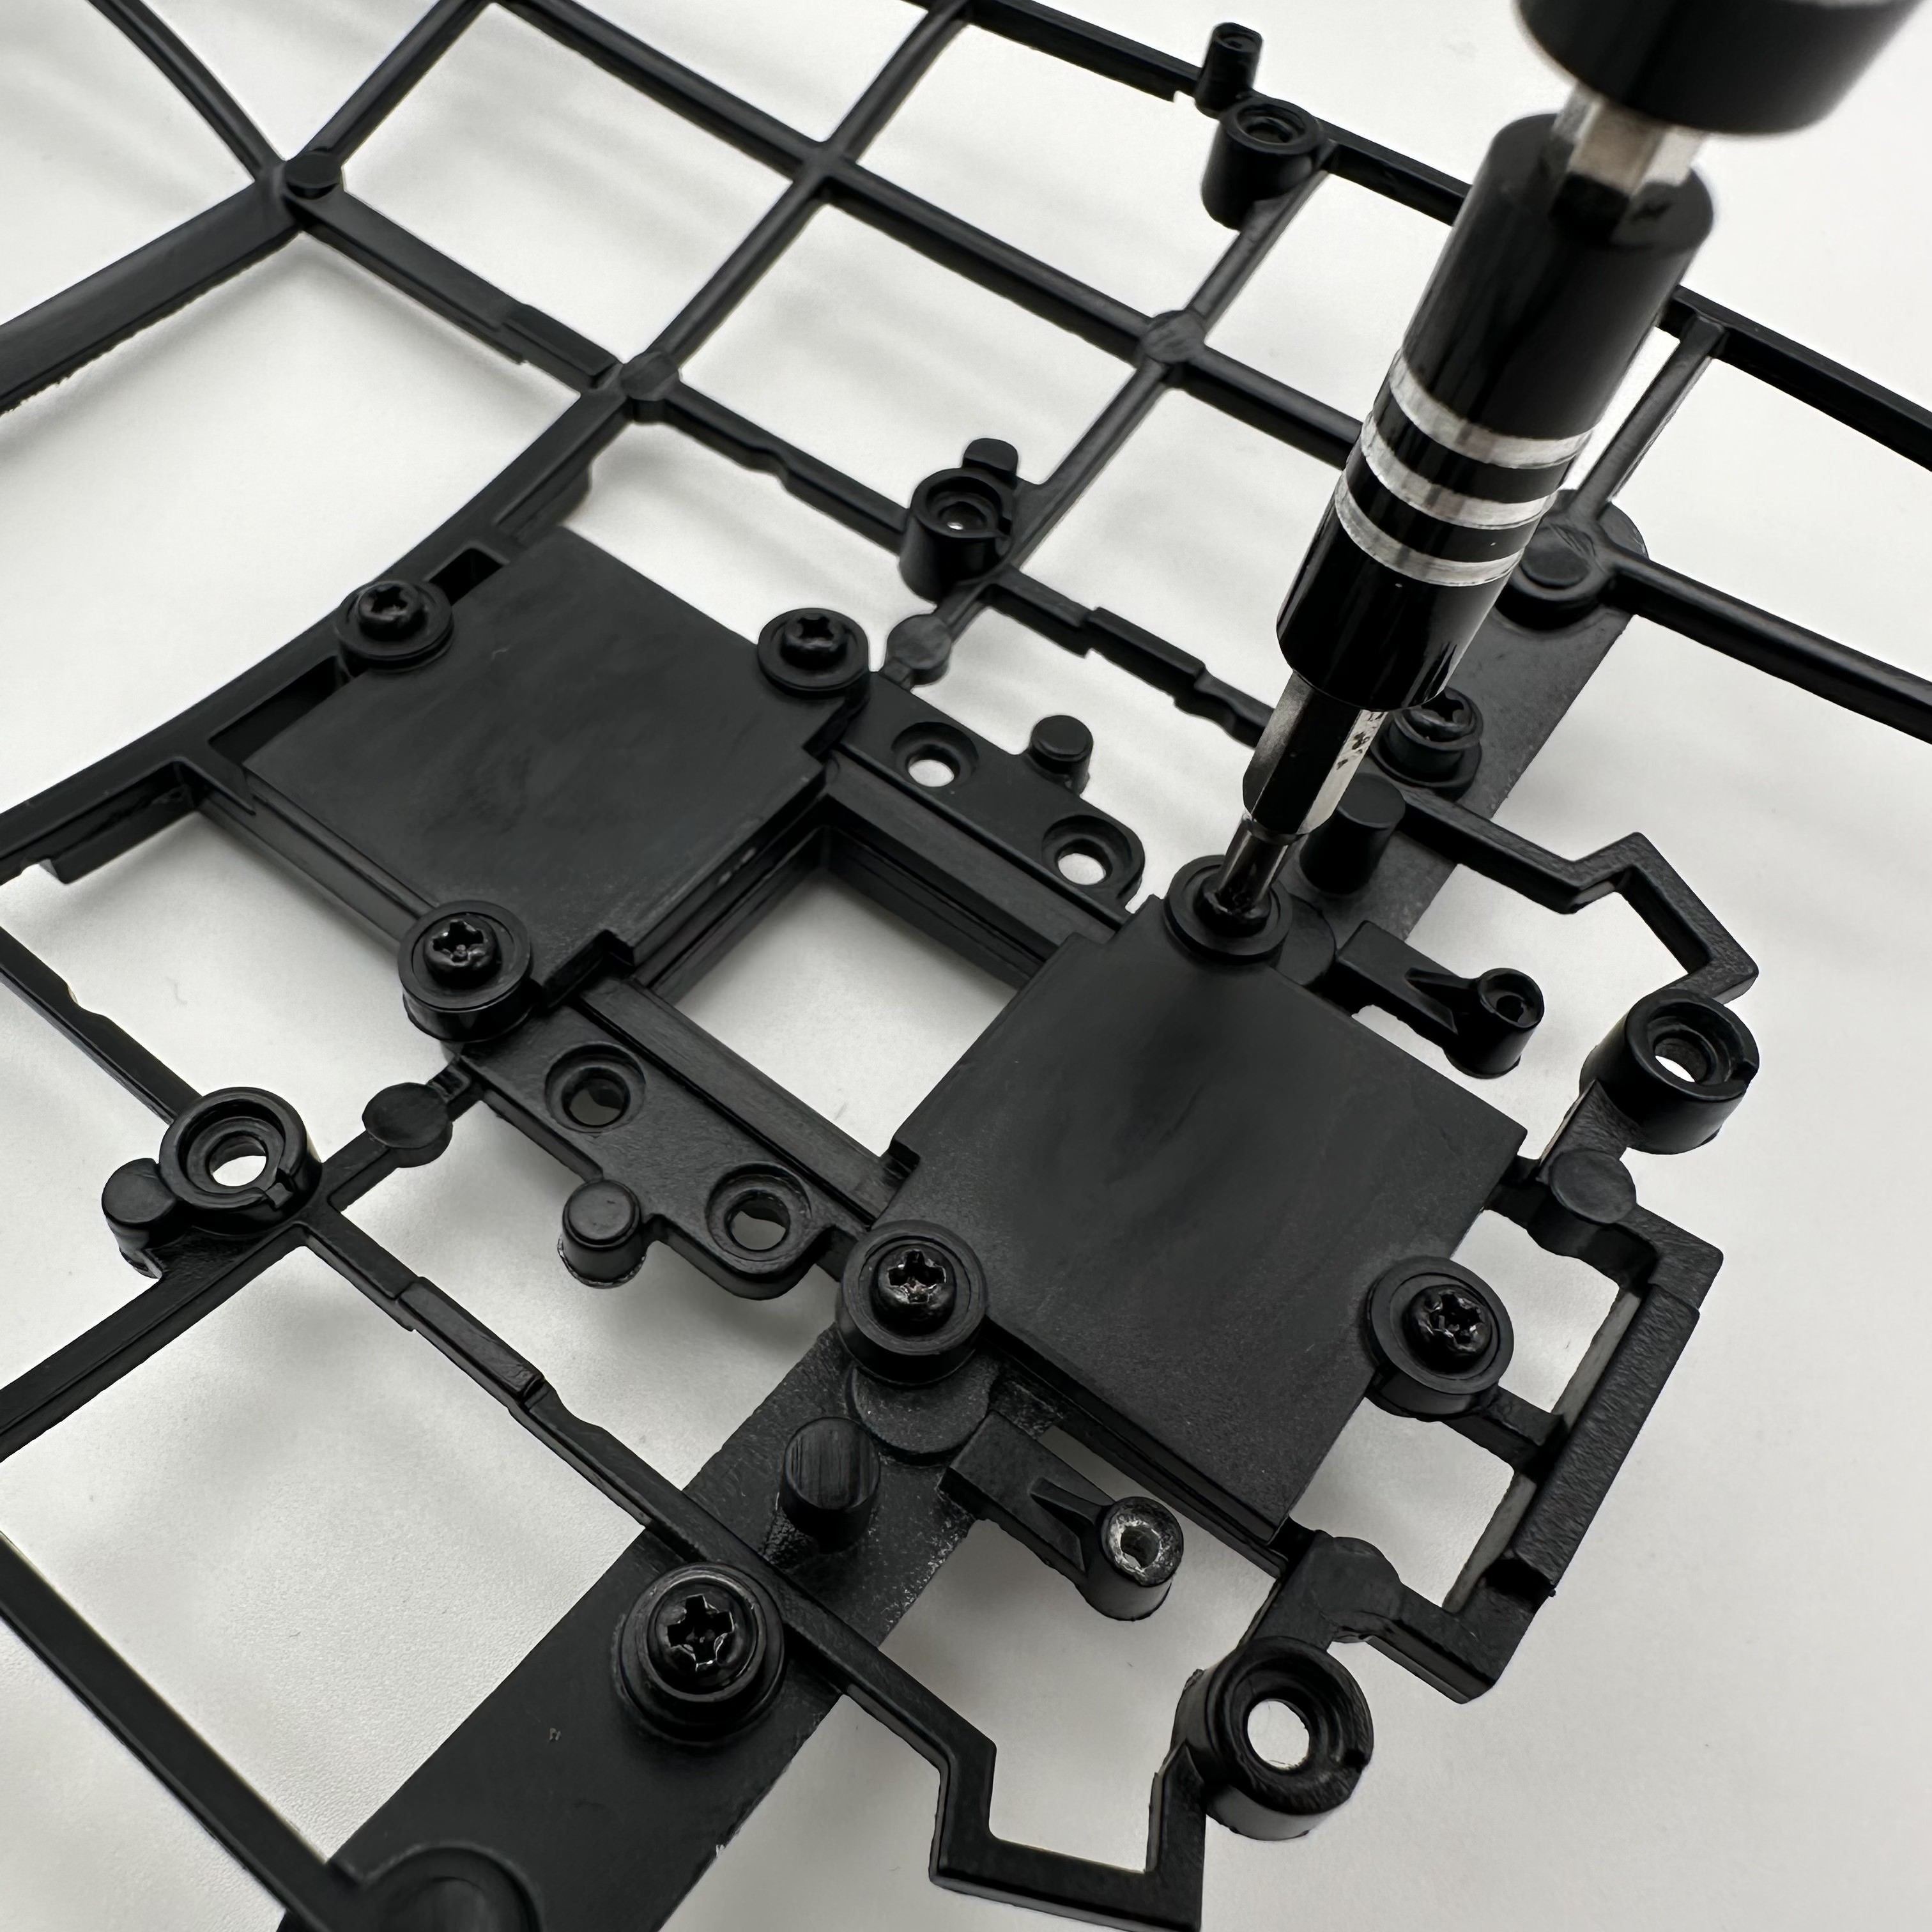
First, the sliding door is positioned on the battle section lower bracket as shown. Now two sliding door brackets are placed over the sliding door as shown. These are secured using 6 FM screws. The sliding door should now be able to move to the open and closed positions.

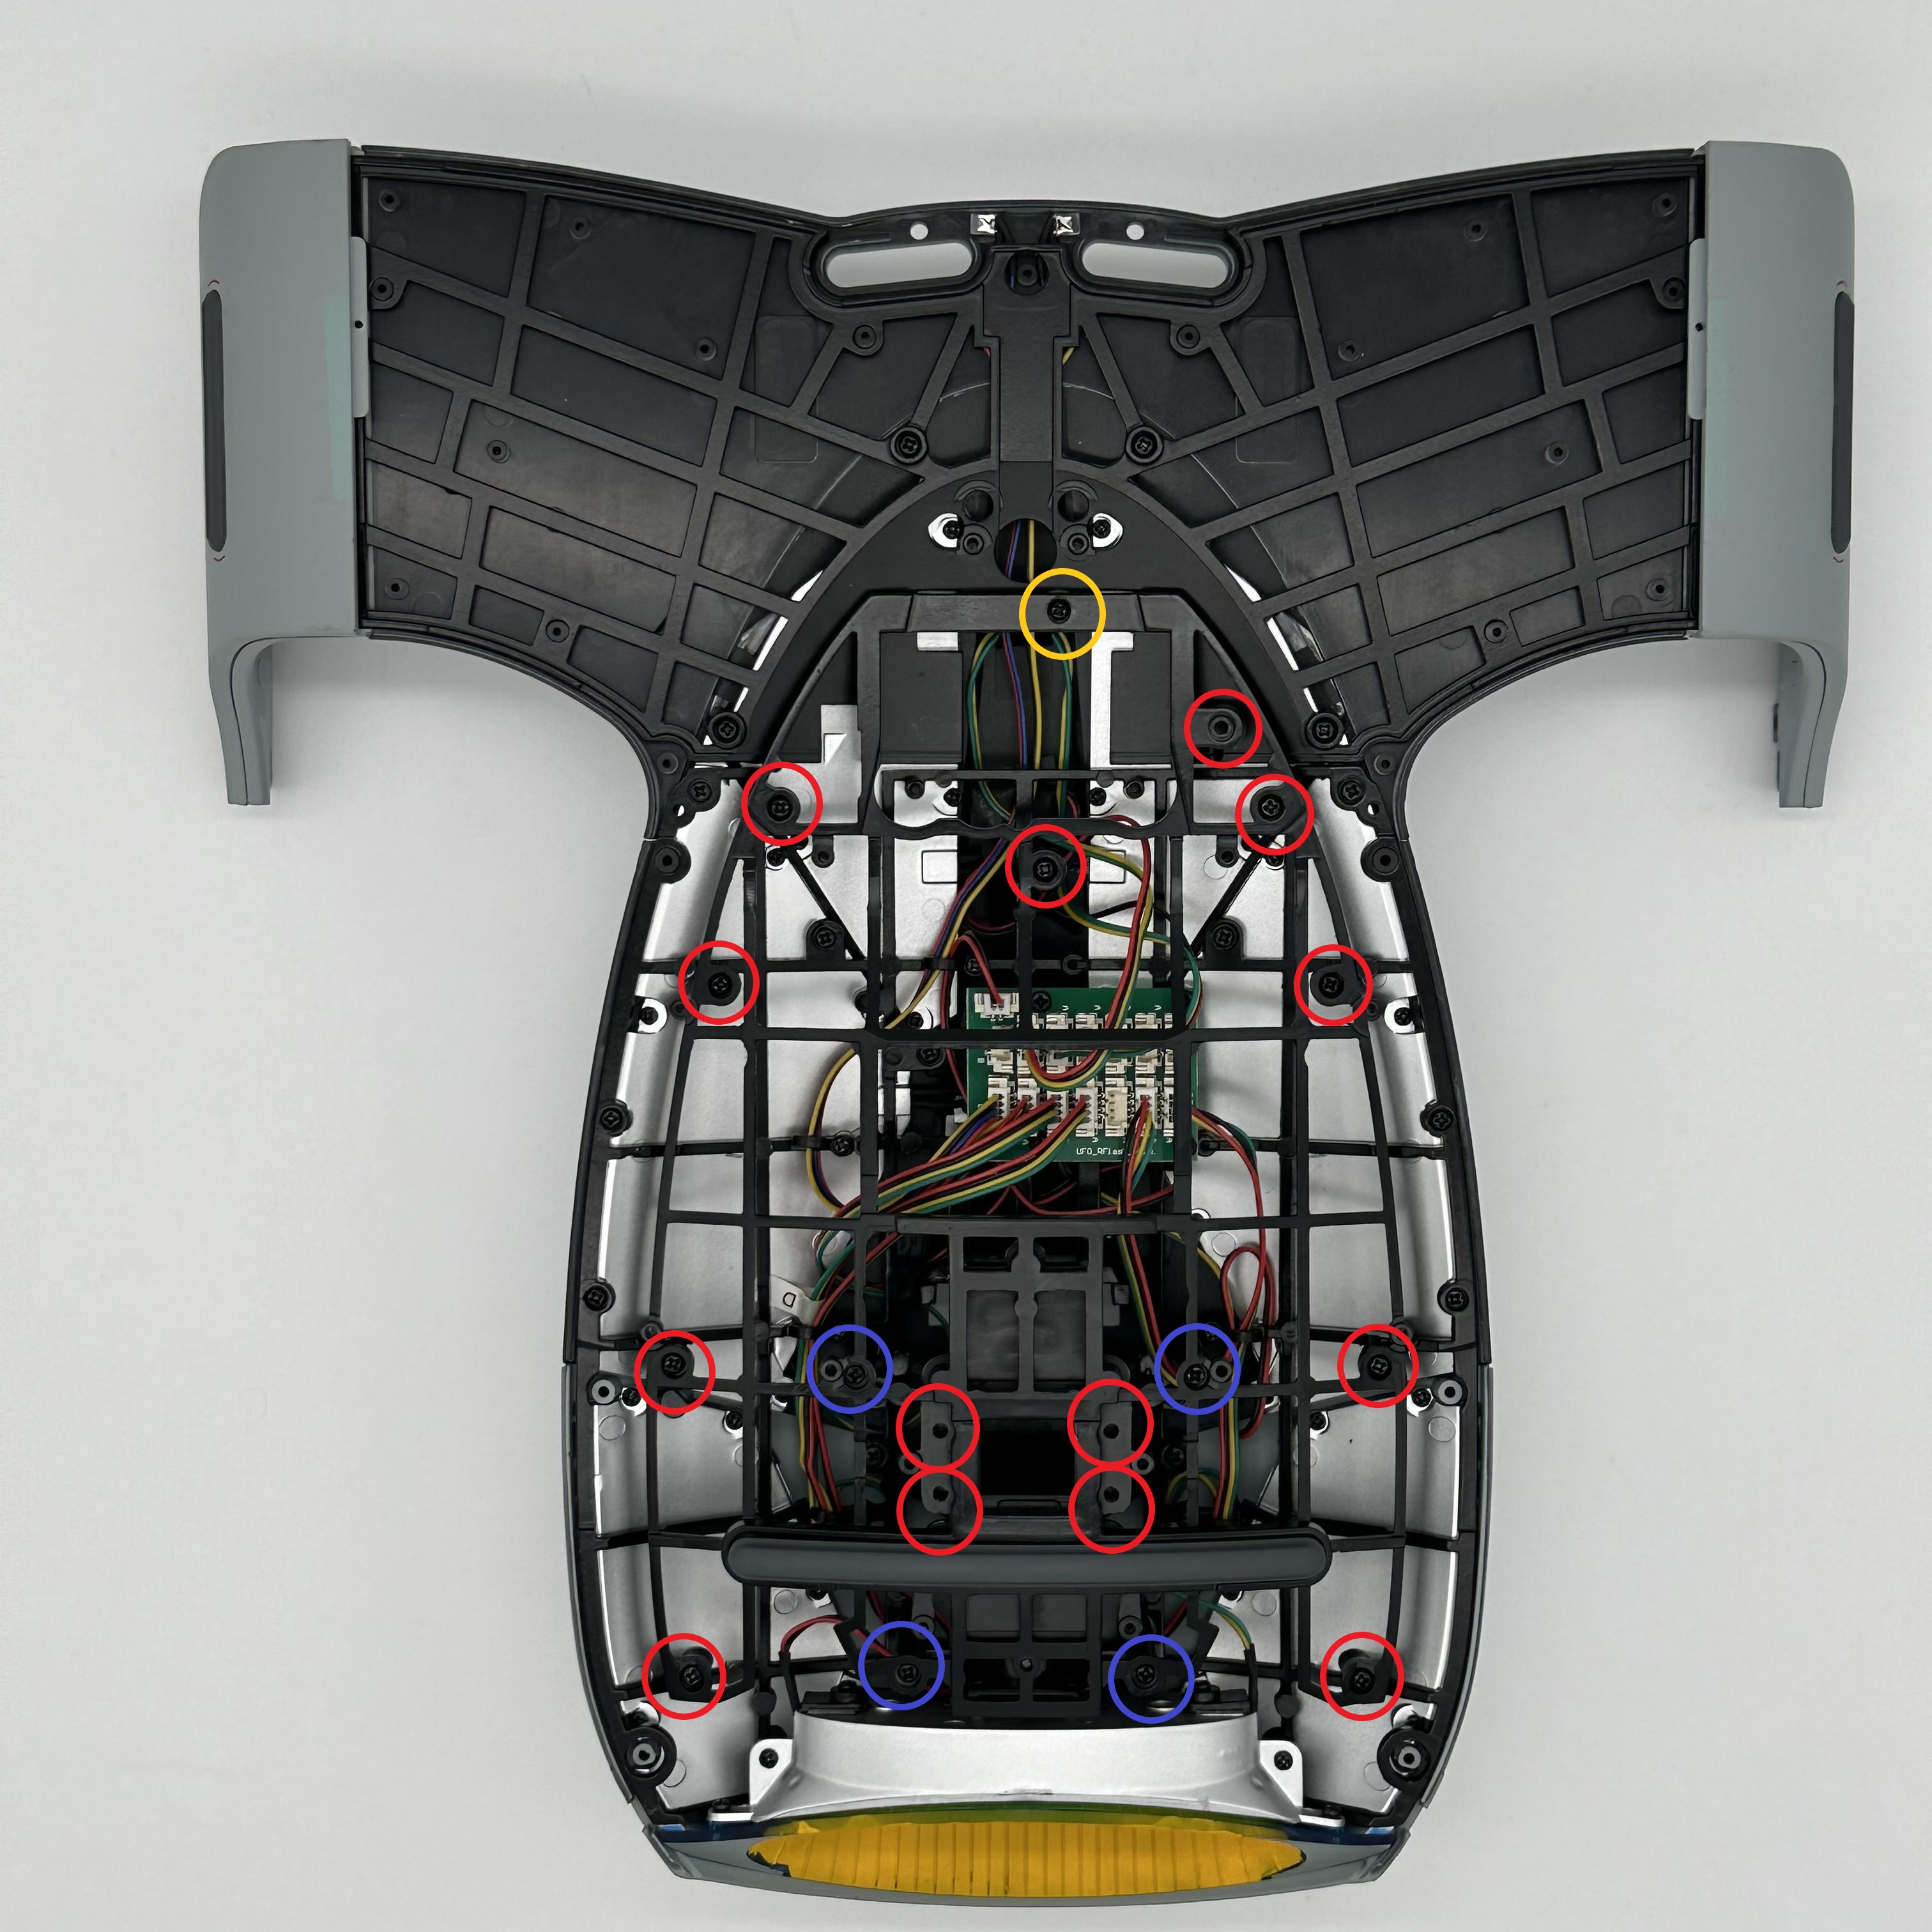
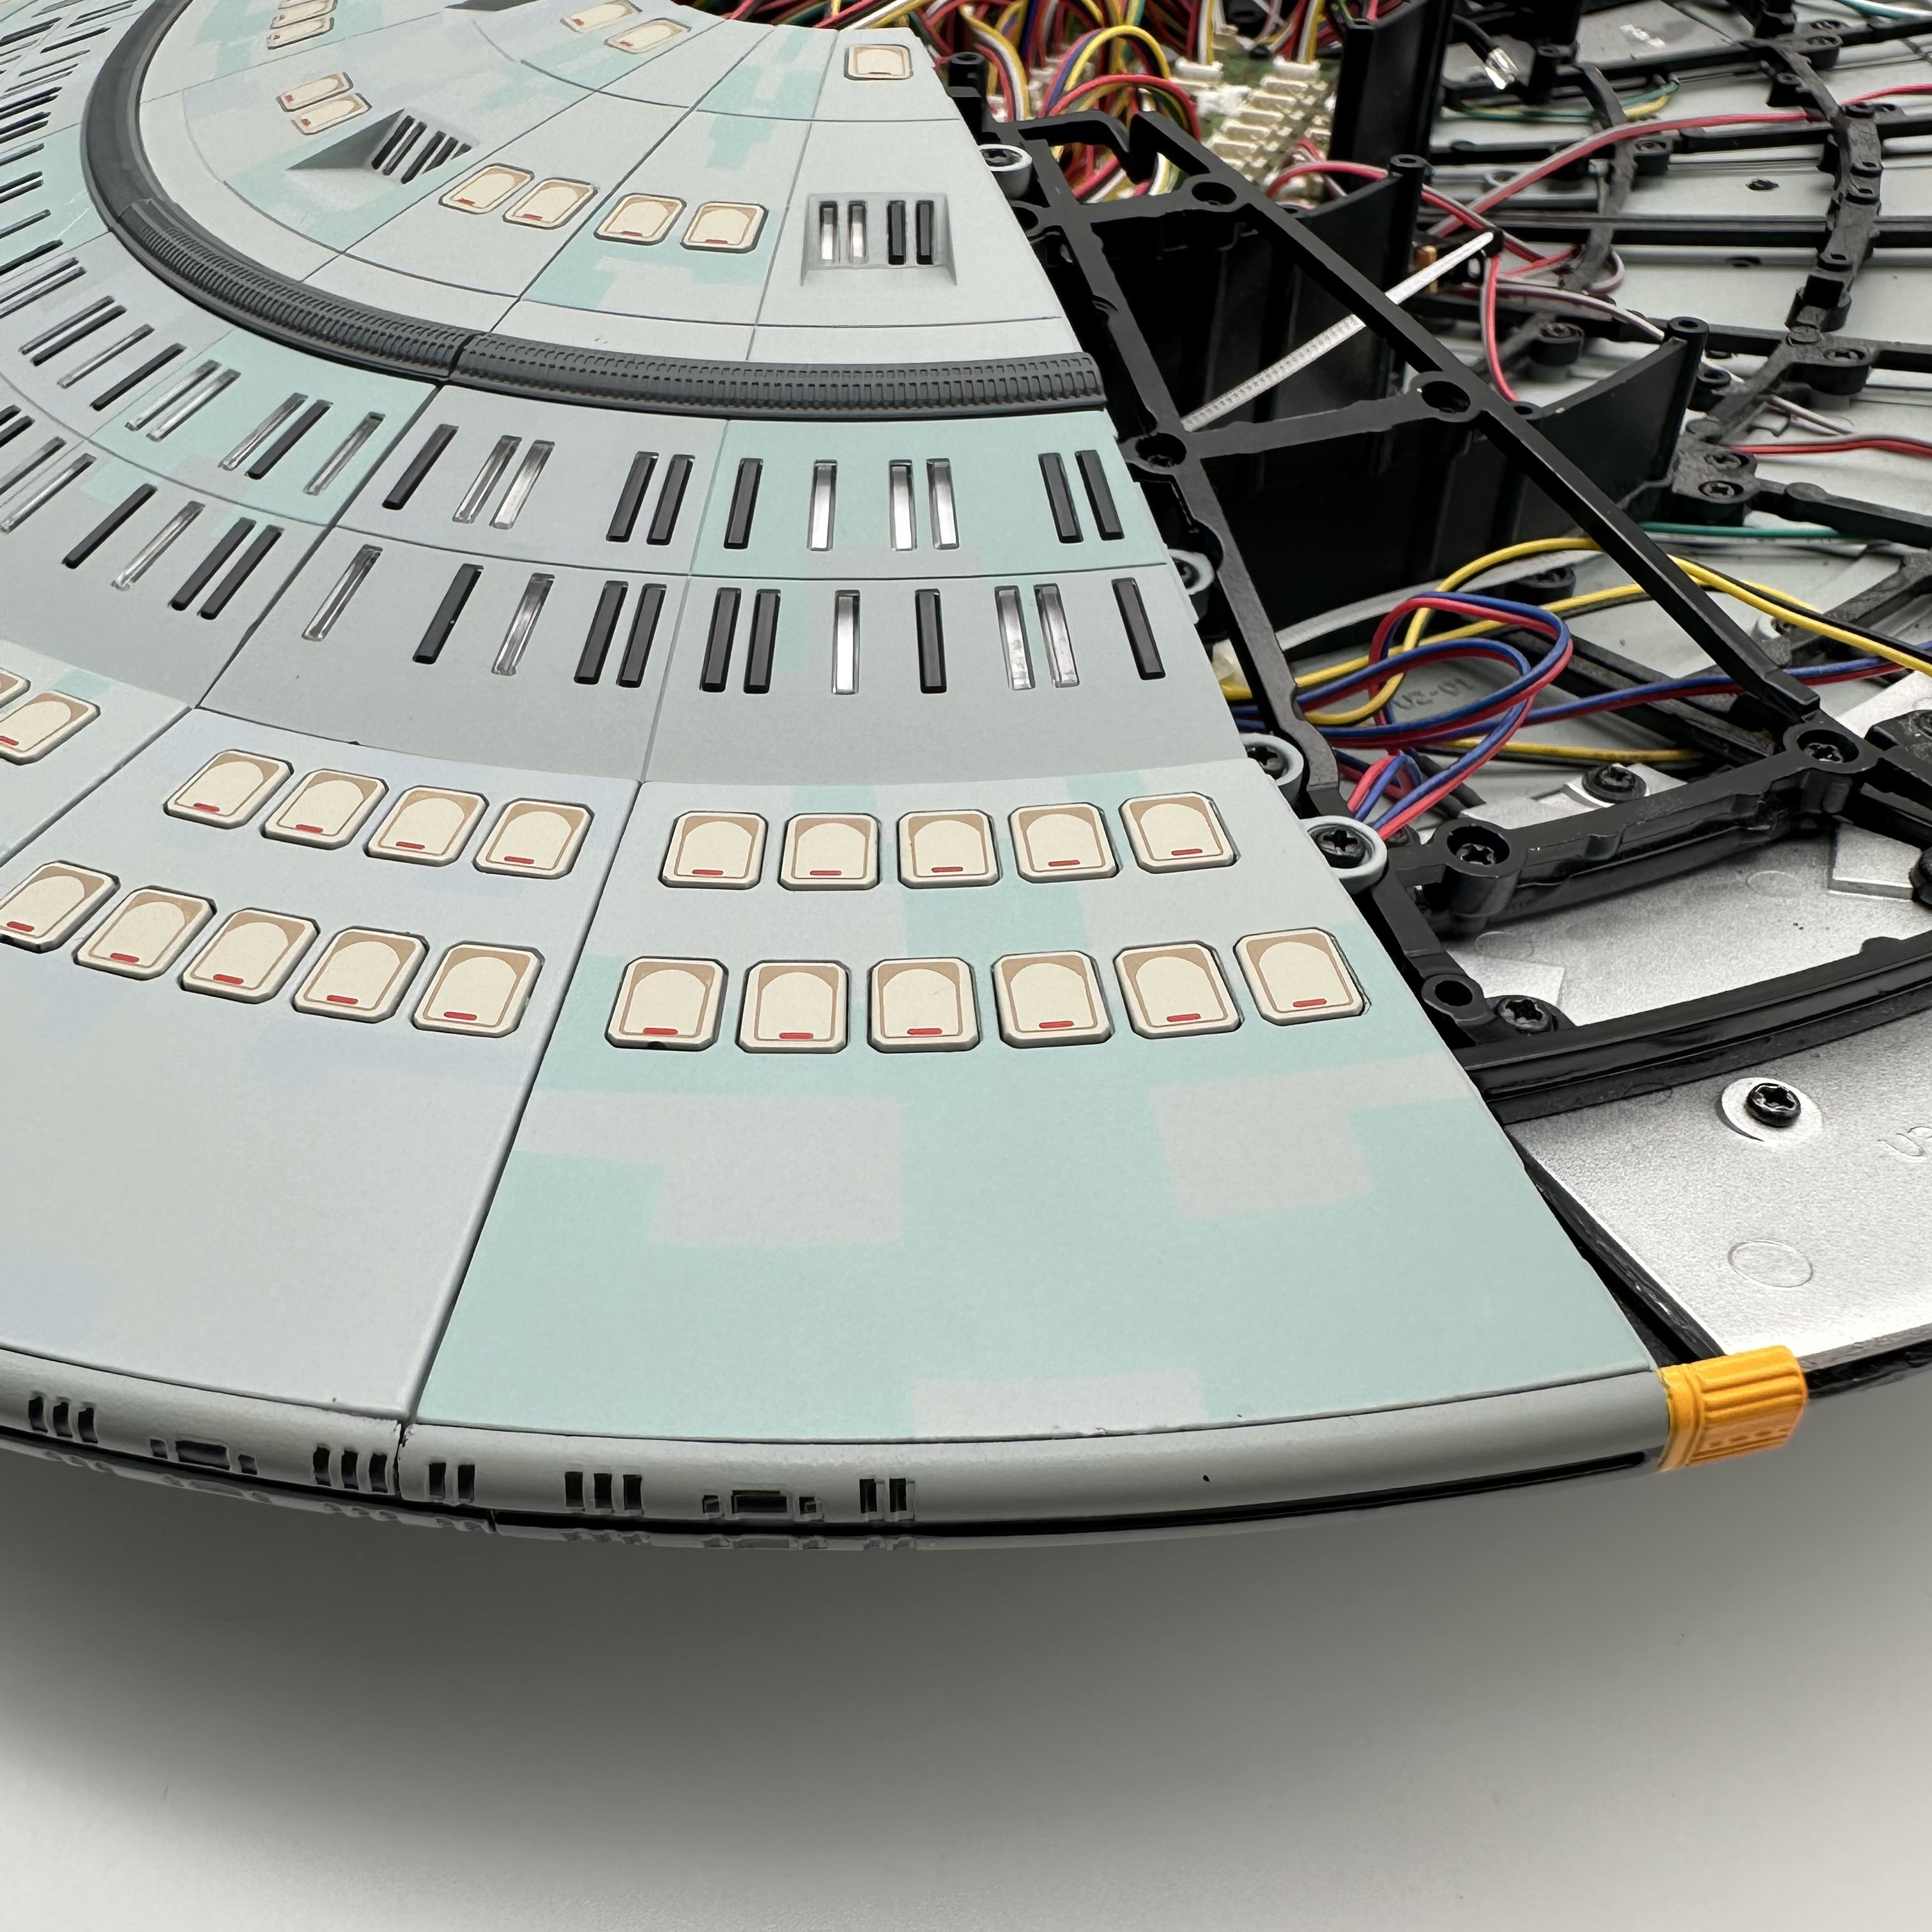
The battle section lower bracket is now placed on top of the main battle section build as shown and is secured using 14 FM screws (red circles), 4 BM screws (blue circles) and 1 AM screw (yellow circle).
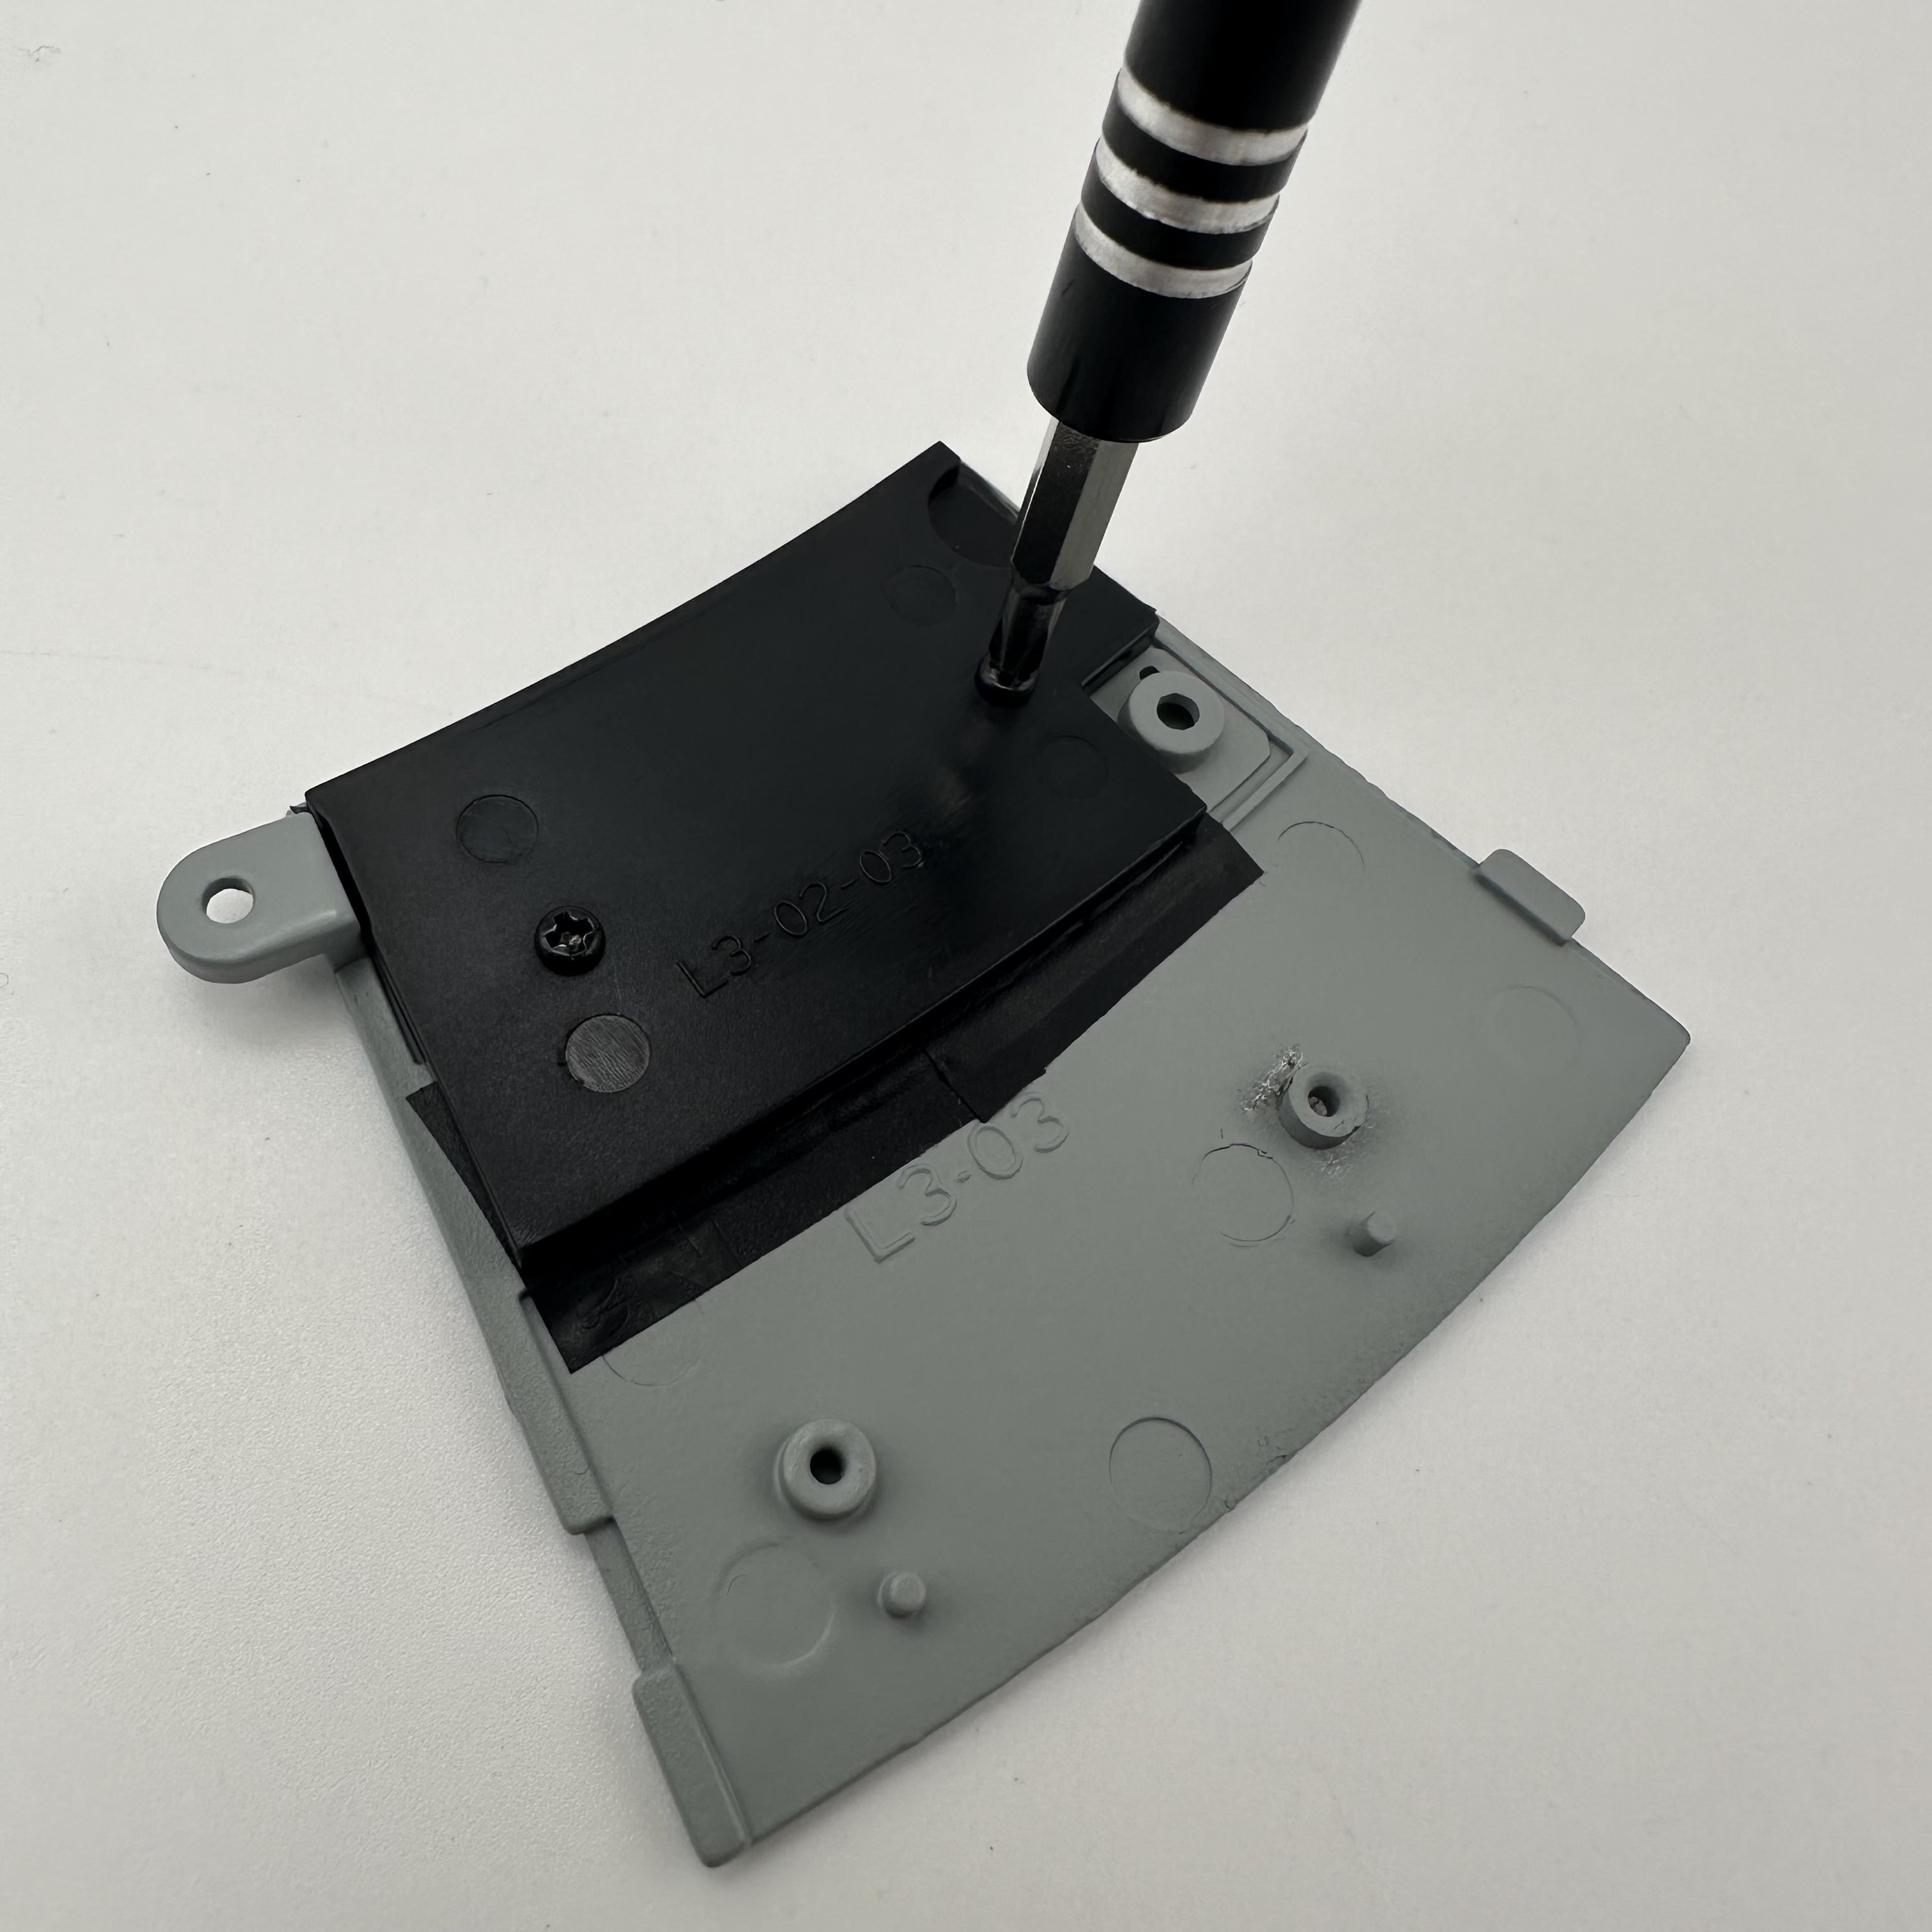
10 escape pod covers are inserted into deck panel L3-03. I use black tape to block out the light on the escape pod covers. The reflector panel L3-02-03 is attached to the panel with 2 AM screws.
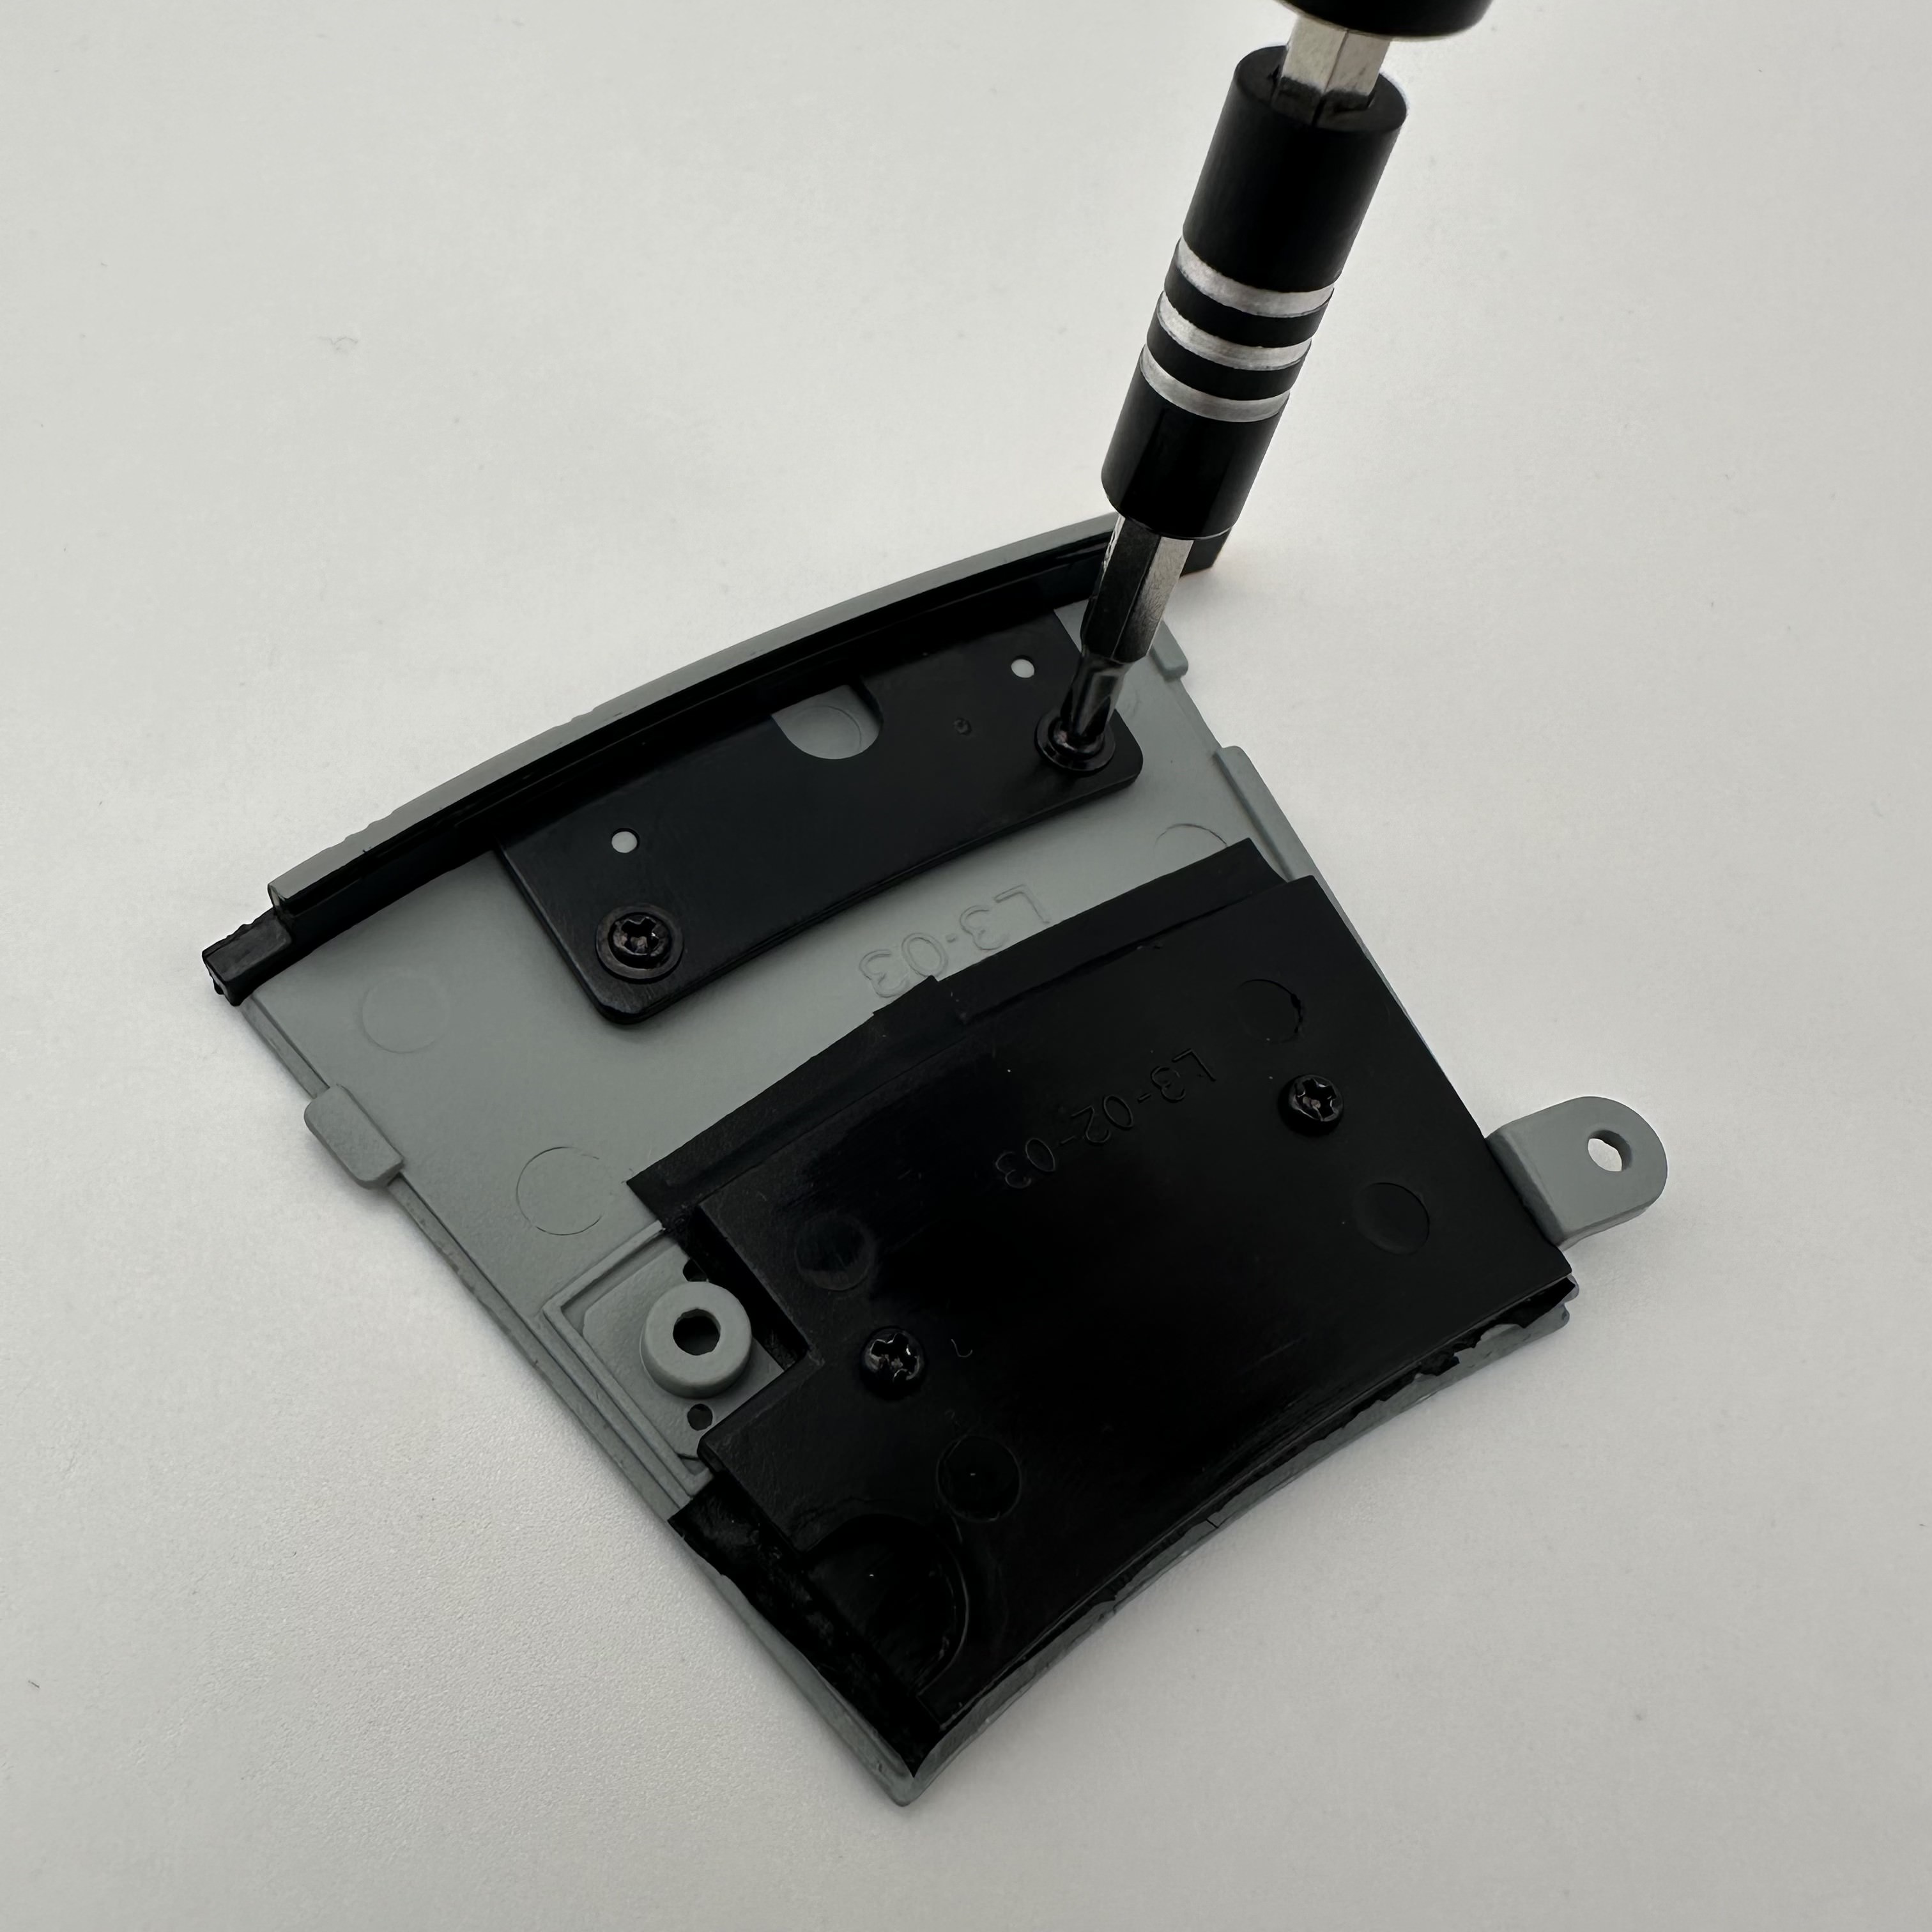
The outer frame L4-02 is the next piece to be attached to deck panel L3-03. This is secured using 2 IM screws.

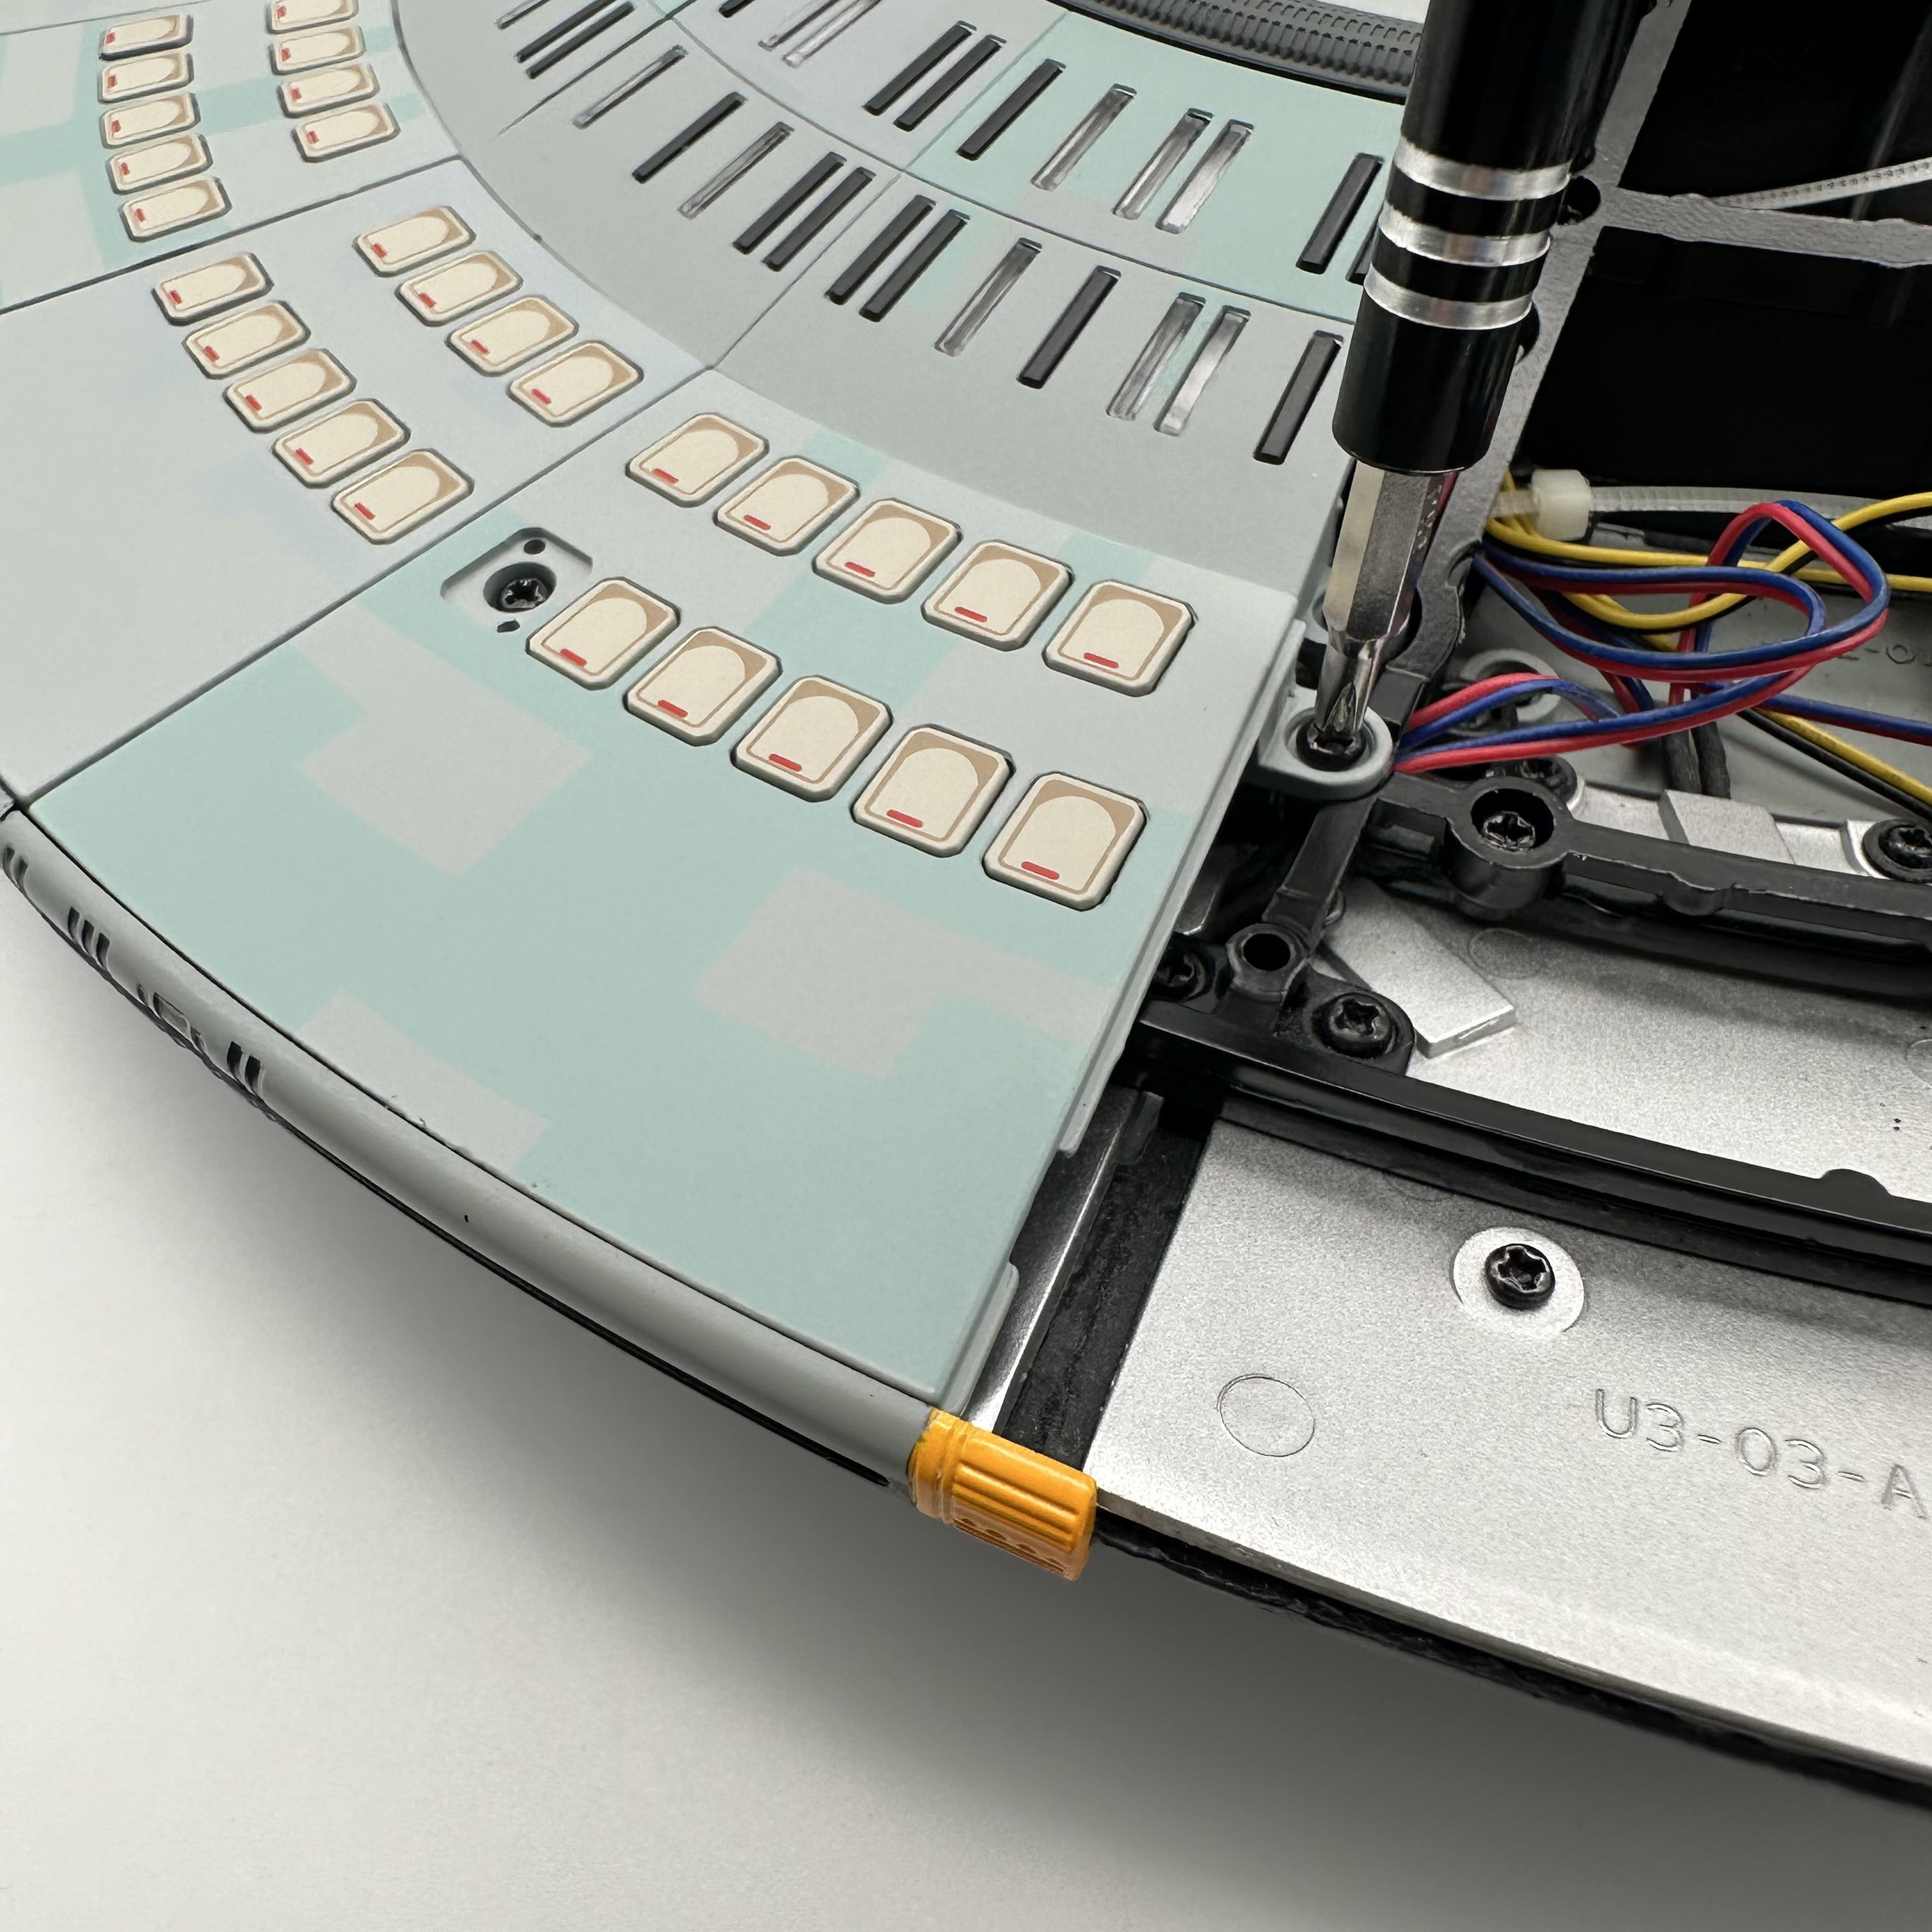
The deck panel is now positioned on the lower saucer skeleton so that the outer frame L4-02 overlaps the edge of the deck panel on the upper saucer. This is secured using 2 FM screws.
The escape pod screw cover is now placed into the slot to hide the FM screw.

This now completes issue 23.
Coming up on the next blog is Issue 24.
Subscribe for future posts on the build.
